Deep Research is one of the most demanding things you can build with AI — not because the individual pieces are hard, but because multi-step reasoning, source tracking, report generation, and quality evaluation all have to work together.
Building it locally adds another layer: you need technical architecture thinking, not just vibe coding capability. Framework selection, execution model, observability — these decisions shape what the agent can and can't do. This tutorial covers the full local implementation: a CodeAct agent built on LangGraph, with LangSmith connected for tracing, debugging, and evaluation.
Showcase
1. Open Source Technical Framework Analysis
Building this locally doesn't mean starting from scratch — there are open-source frameworks that already handle the core agent infrastructure. The first step is picking the right one. That means comparing what's available, then building on top of the framework that fits best.
1.1 Framework Comparison
-
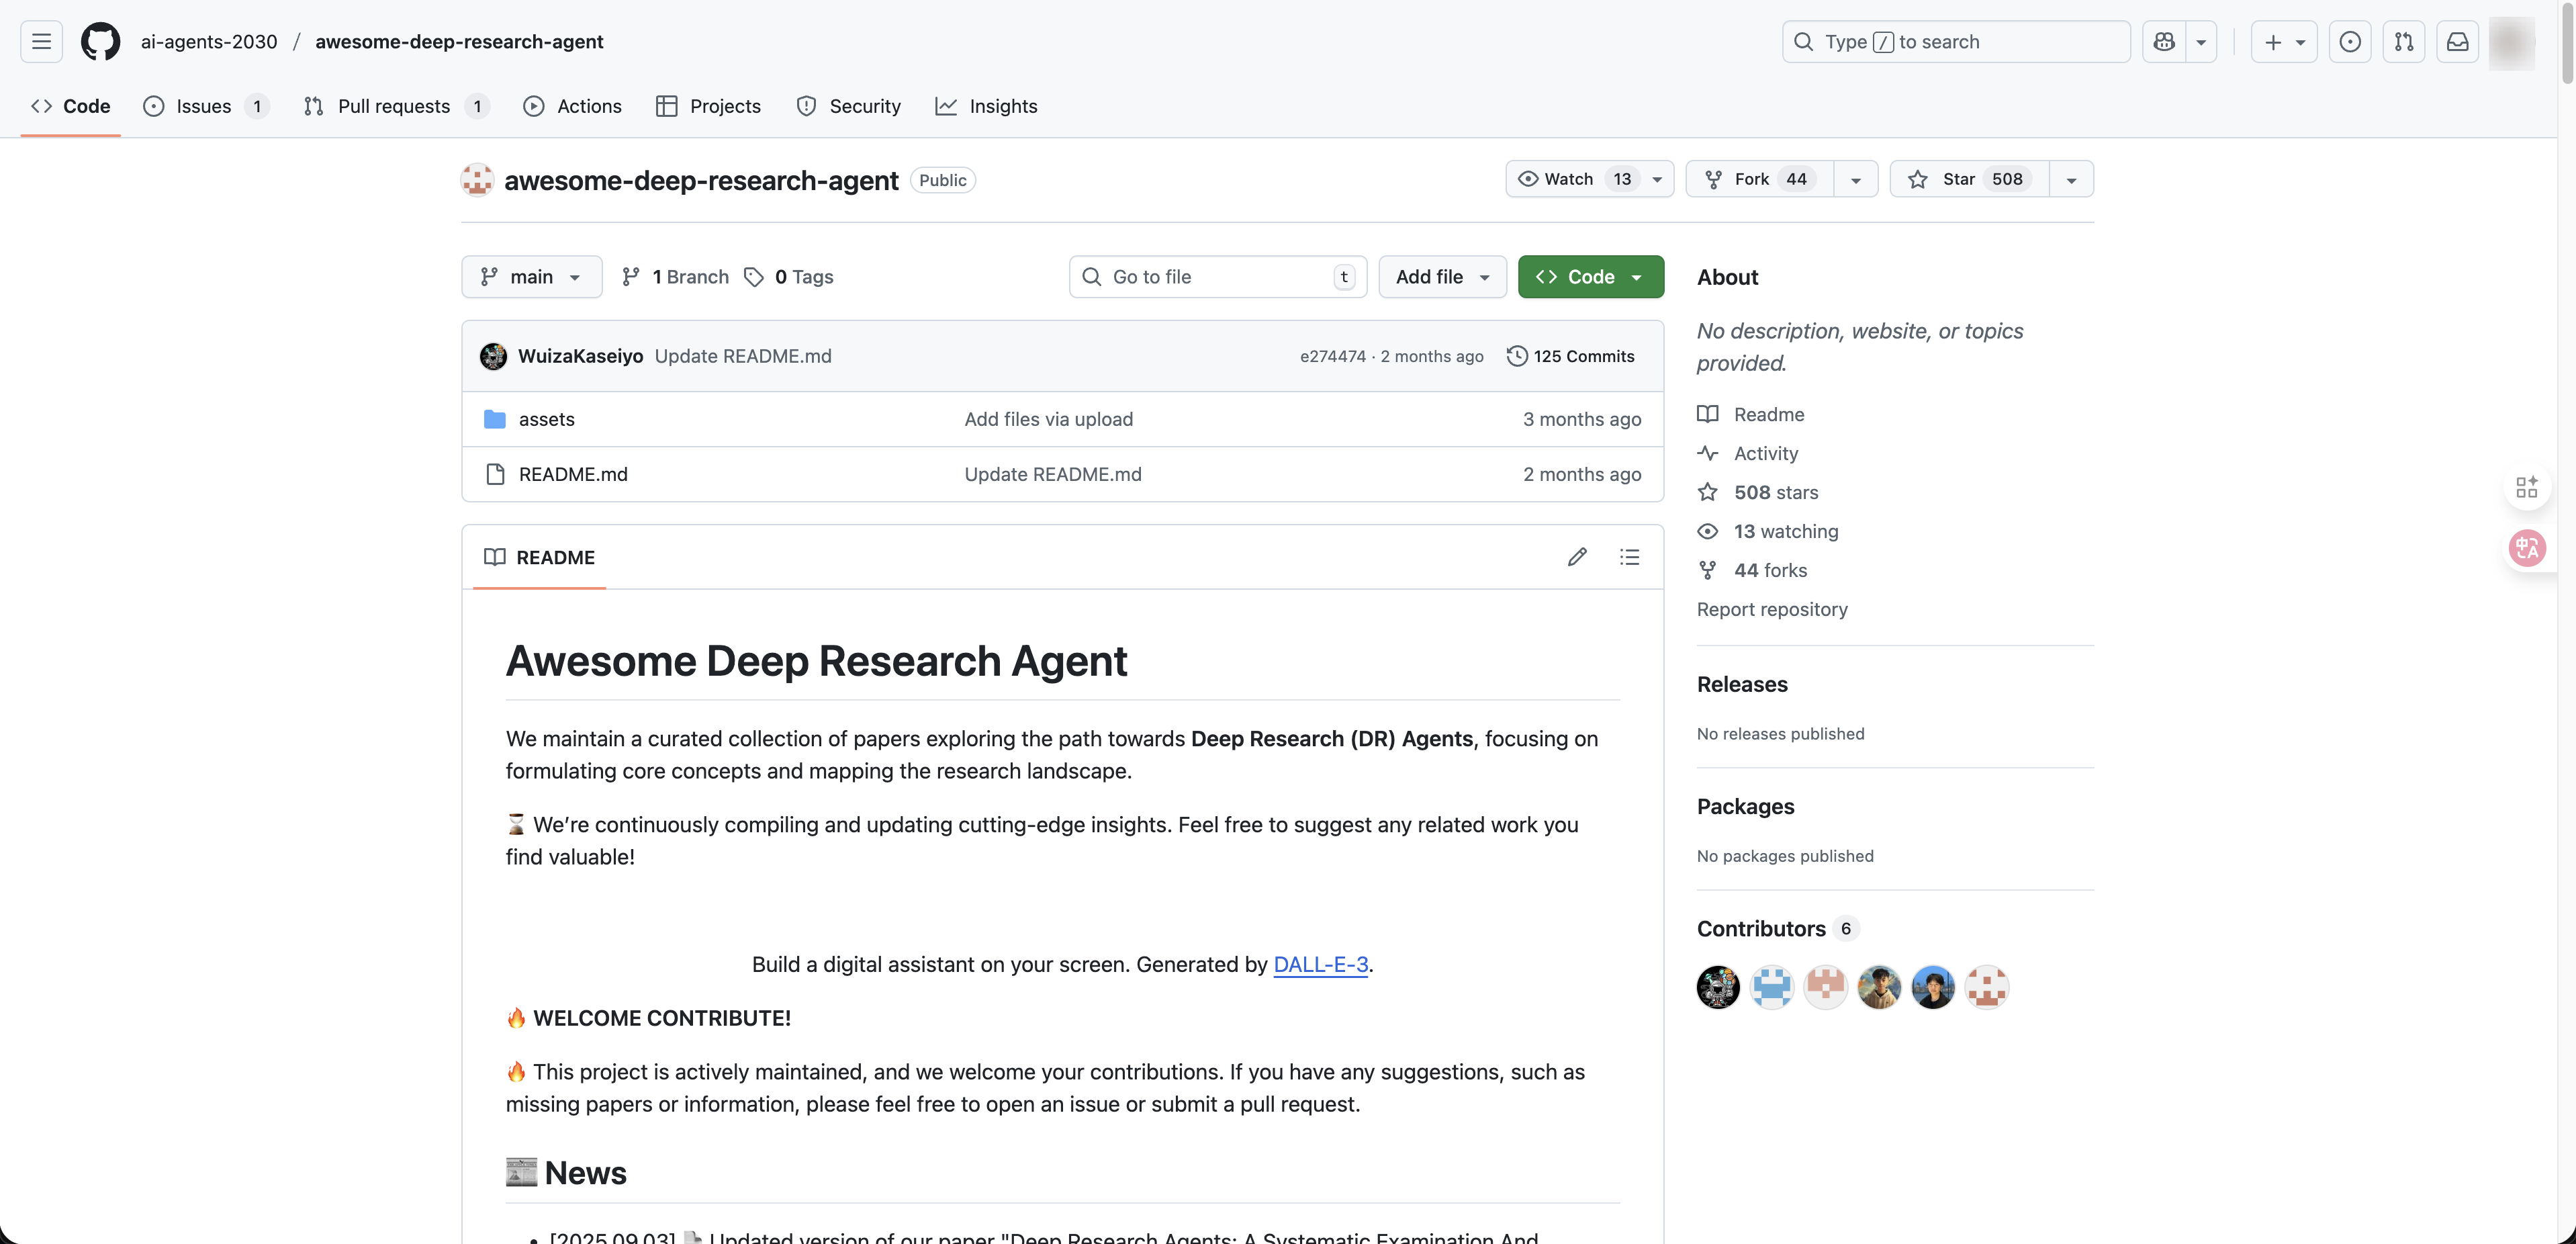
Awesome Deep Research Agent A curated survey of deep research agent architectures and papers, not a runnable framework. Its value is taxonomic: it organizes deep research systems along a spectrum from static workflow → dynamic single-agent → dynamic multi-agent, and provides the vocabulary for evaluating the other two options.
-
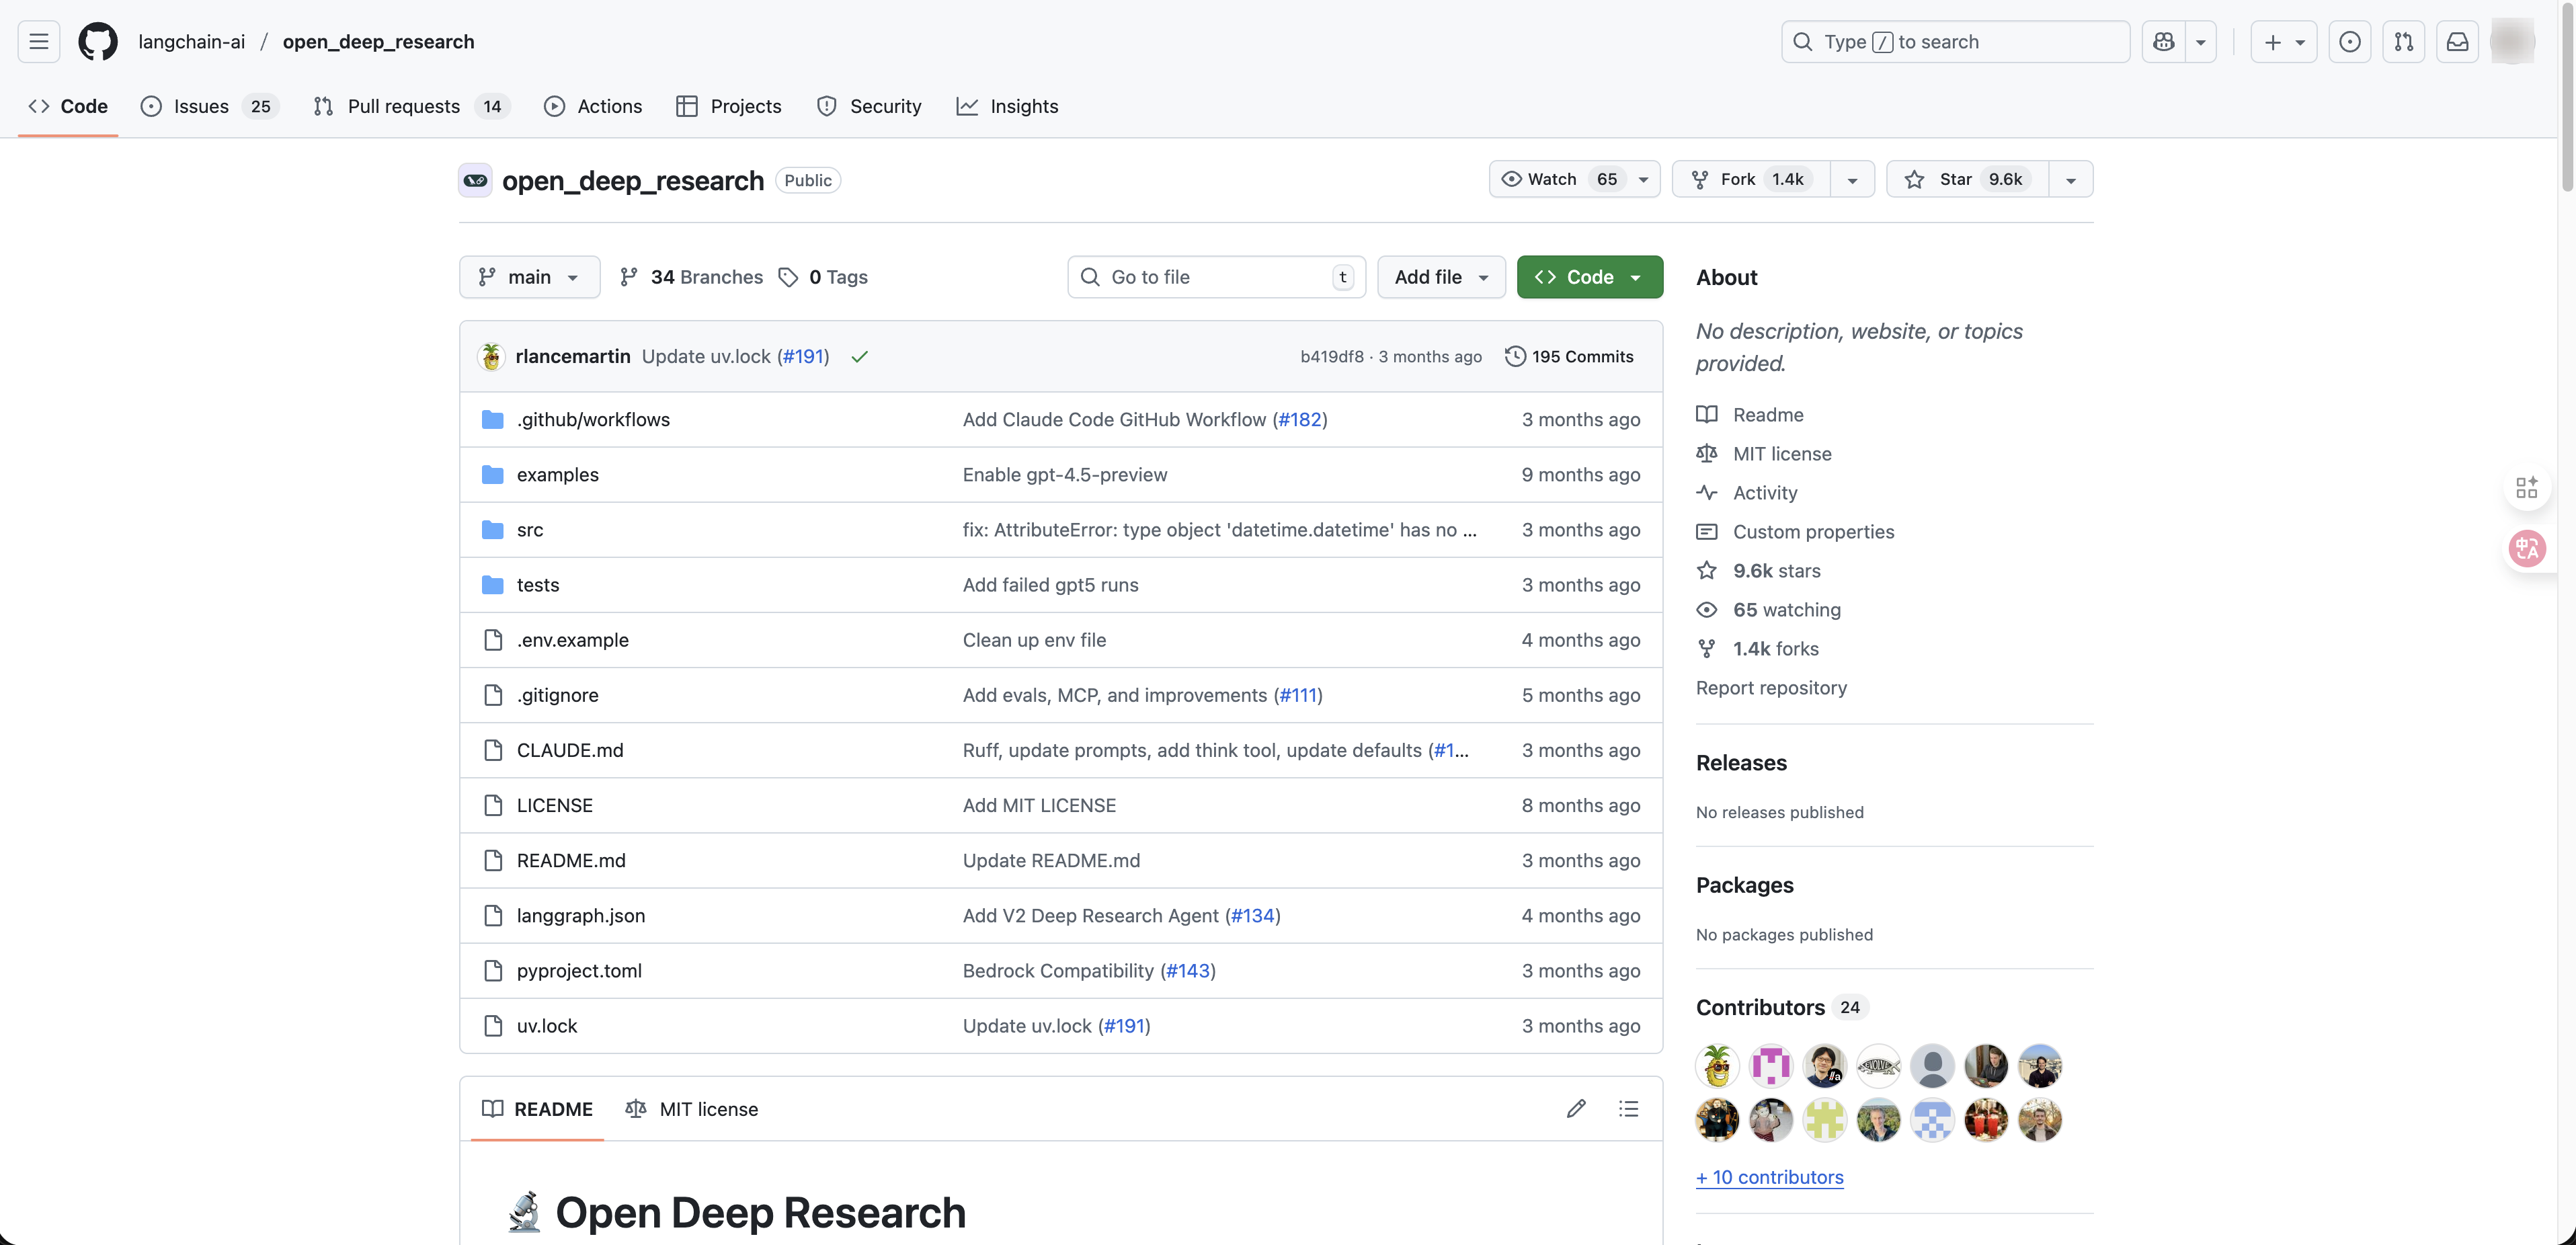
Open Deep Research A purpose-built pipeline on LangGraph with dedicated LLM roles for each stage — summarization, research, compression, and report generation. The pipeline is configurable, but the research logic is predetermined. The agent cannot restructure its search strategy mid-task. Best for reproducible, structured reports.
-
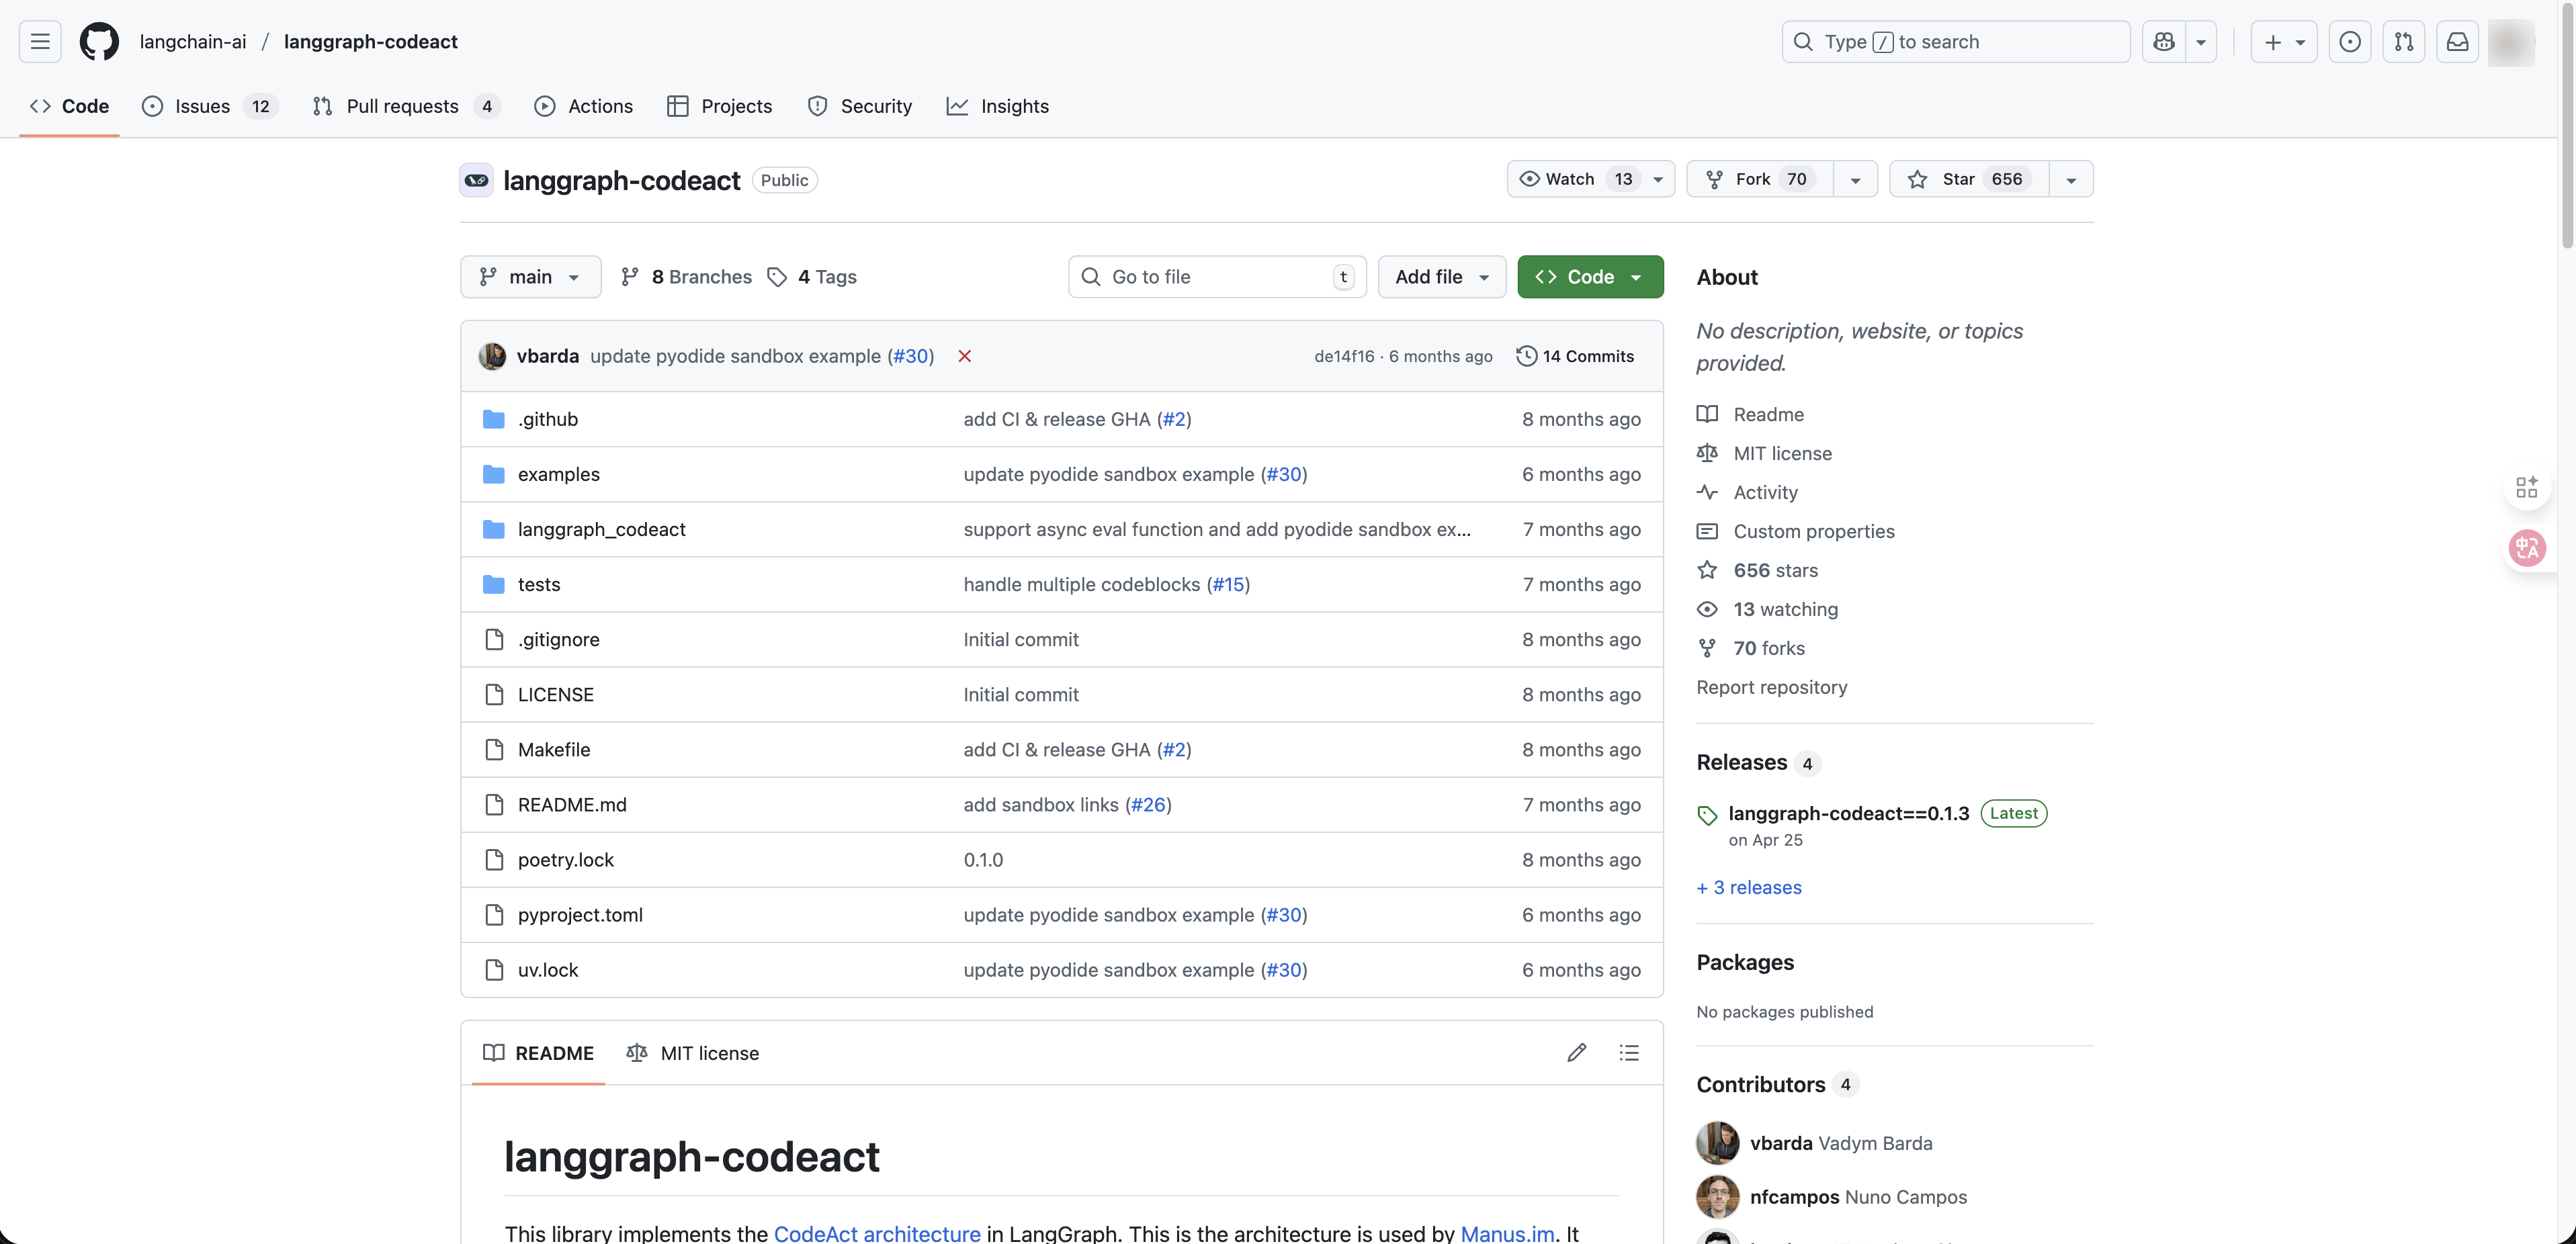
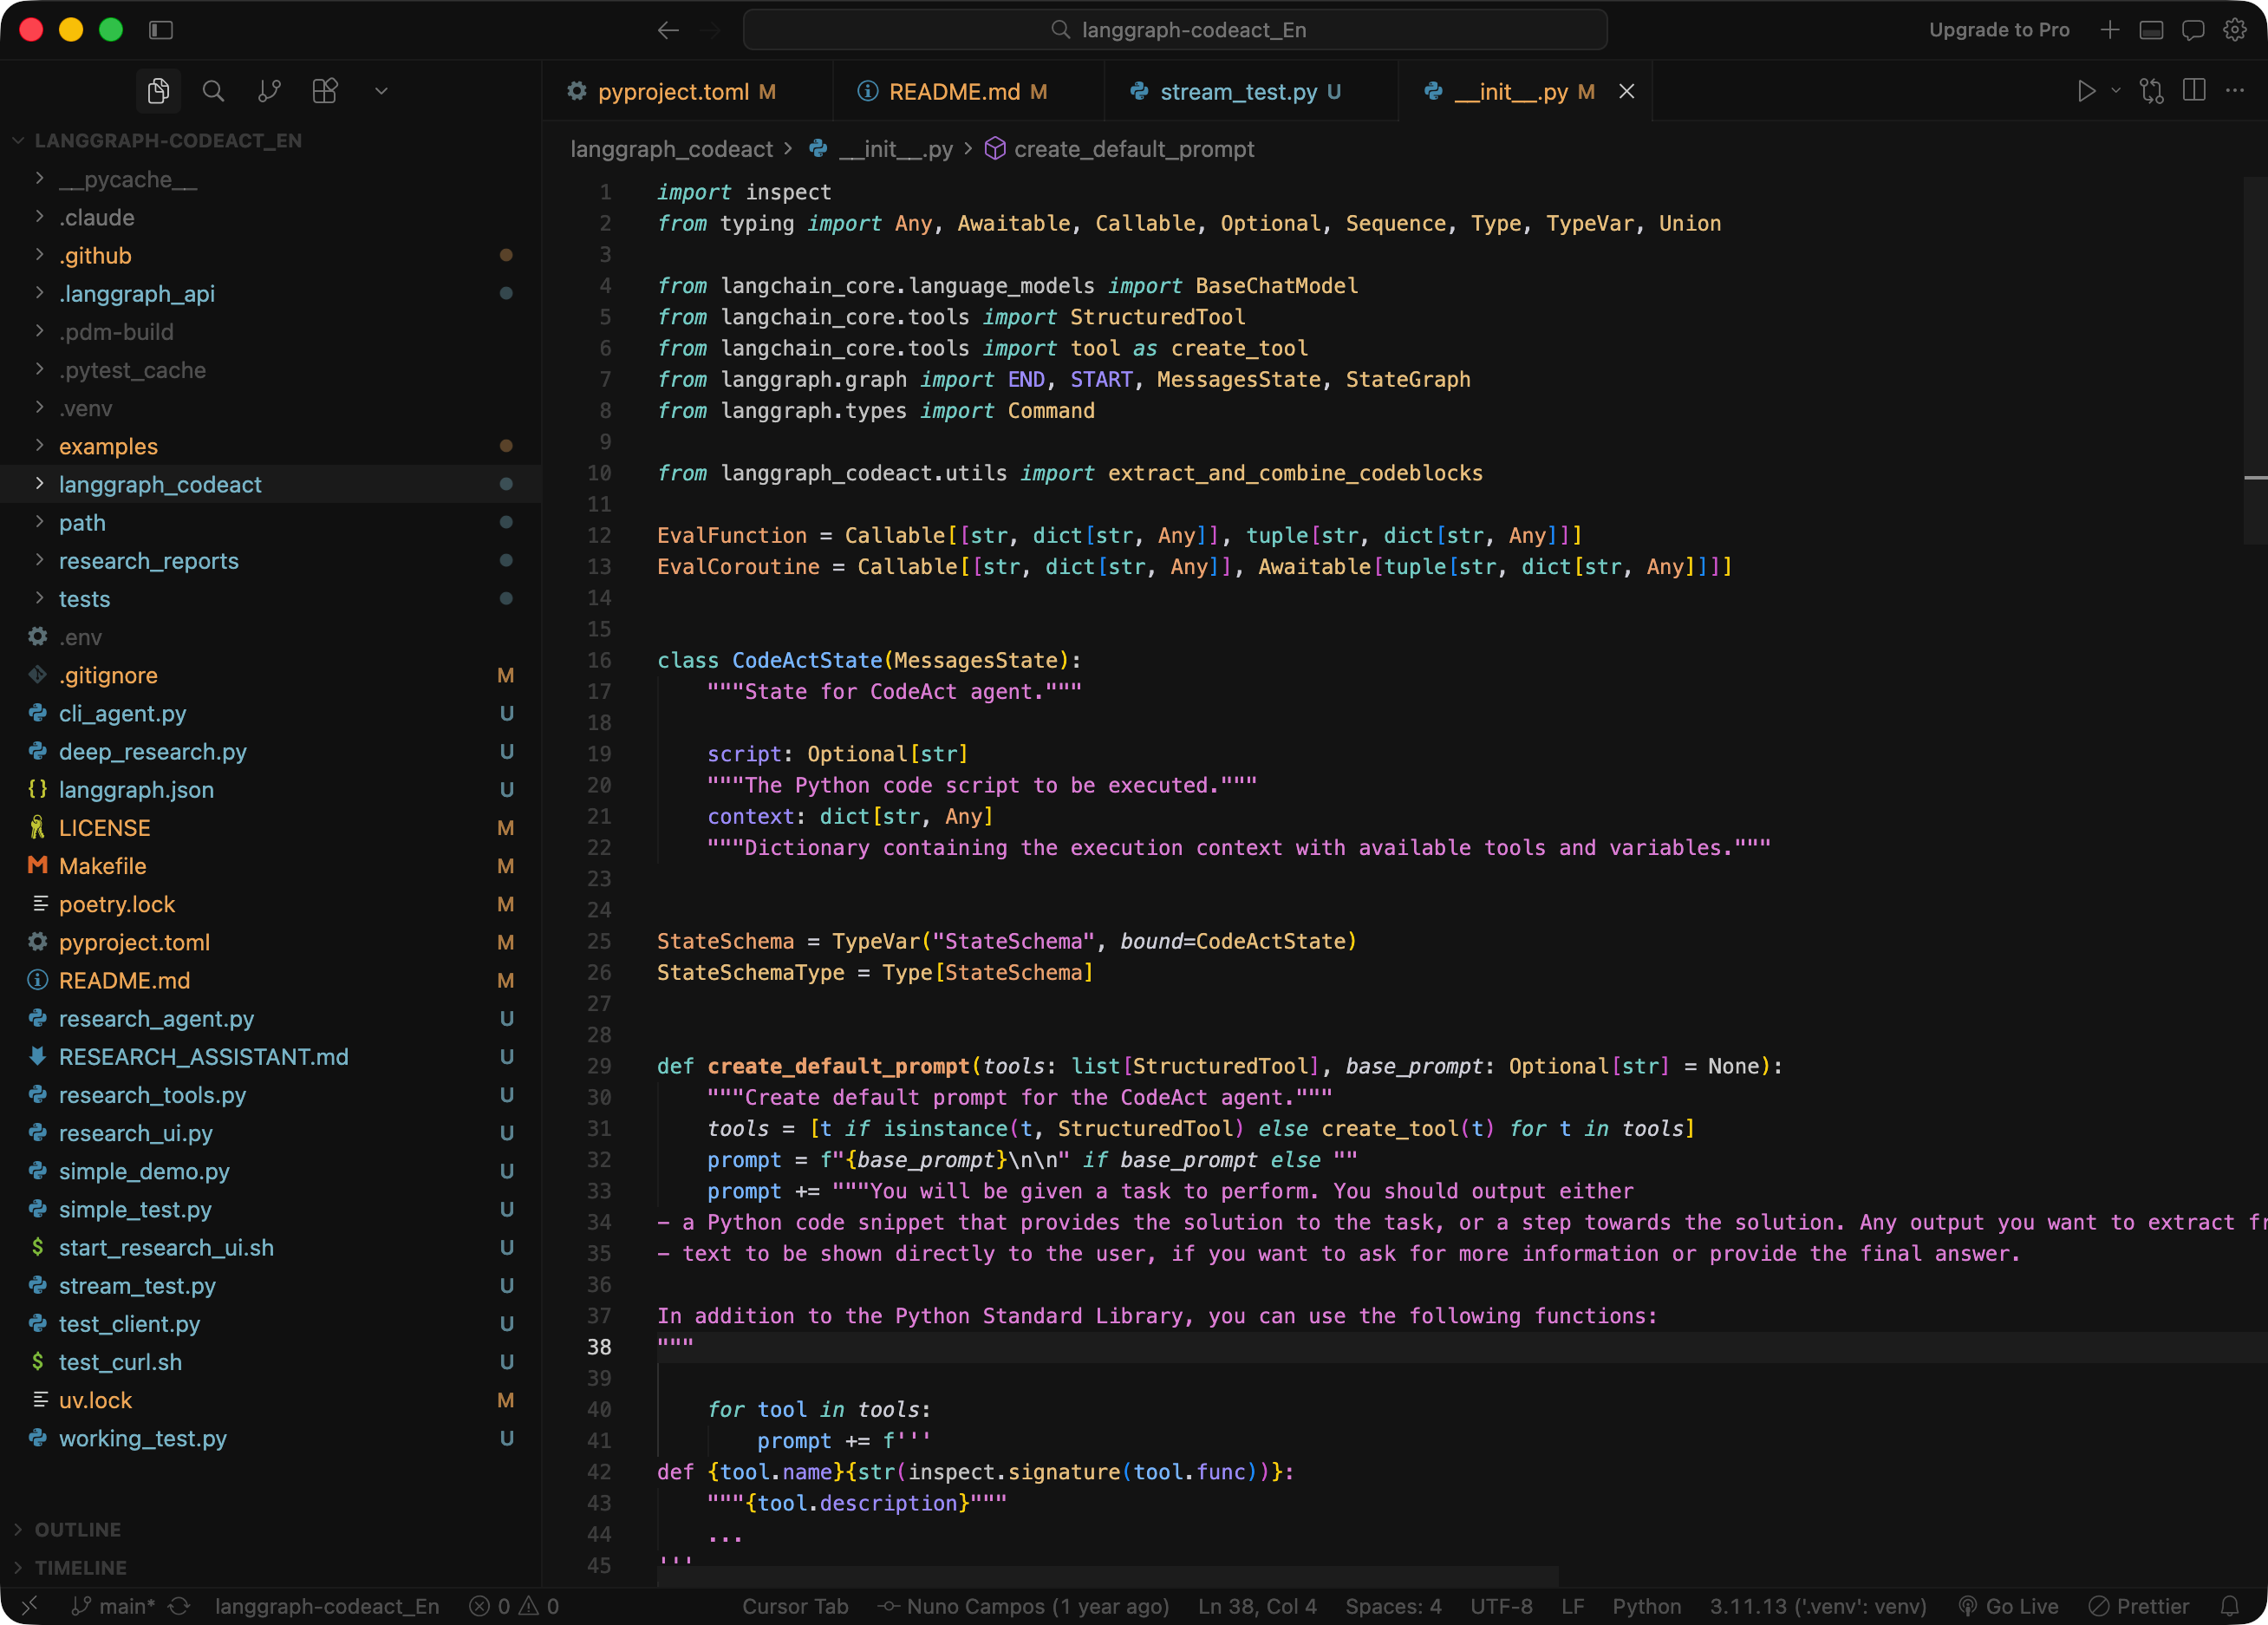
LangGraph CodeAct Implements the CodeAct architecture — also used by Manus. Instead of calling tools one at a time through JSON outputs, the agent writes executable Python code. This shifts tool use from a discrete selection problem to a programming problem, enabling composable tool calls, runtime branching, persistent state across turns, and a tool-agnostic architecture.
| Awesome Deep Research | Open Deep Research | LangGraph CodeAct | |
|---|---|---|---|
| Type | Reference survey | Semi-static pipeline | Dynamic agent |
| Execution | Not runnable | Fixed pipeline stages | Python code generation |
| Tool use | — | One at a time (JSON) | Composable (code blocks) |
| Adaptability | — | Fixed stages | Runtime loops & branching |
| State persistence | — | Context window only | Python execution context |
| Best for | Architecture research | Reproducible reports | Complex, adaptive research |
LangGraph CodeAct fits best because its dynamic execution model — composable tools, runtime adaptability, and persistent state — matches exactly what a Deep Research agent needs.
The build approach is straightforward: start with the LangGraph CodeAct framework as the foundation, then use Claude Code to develop the features on top of it. Two external dependencies are required — an OpenAI API key for the language model, and a Tavily API key for search. The sections below walk through each setup step.
2. Deploy Framework Locally
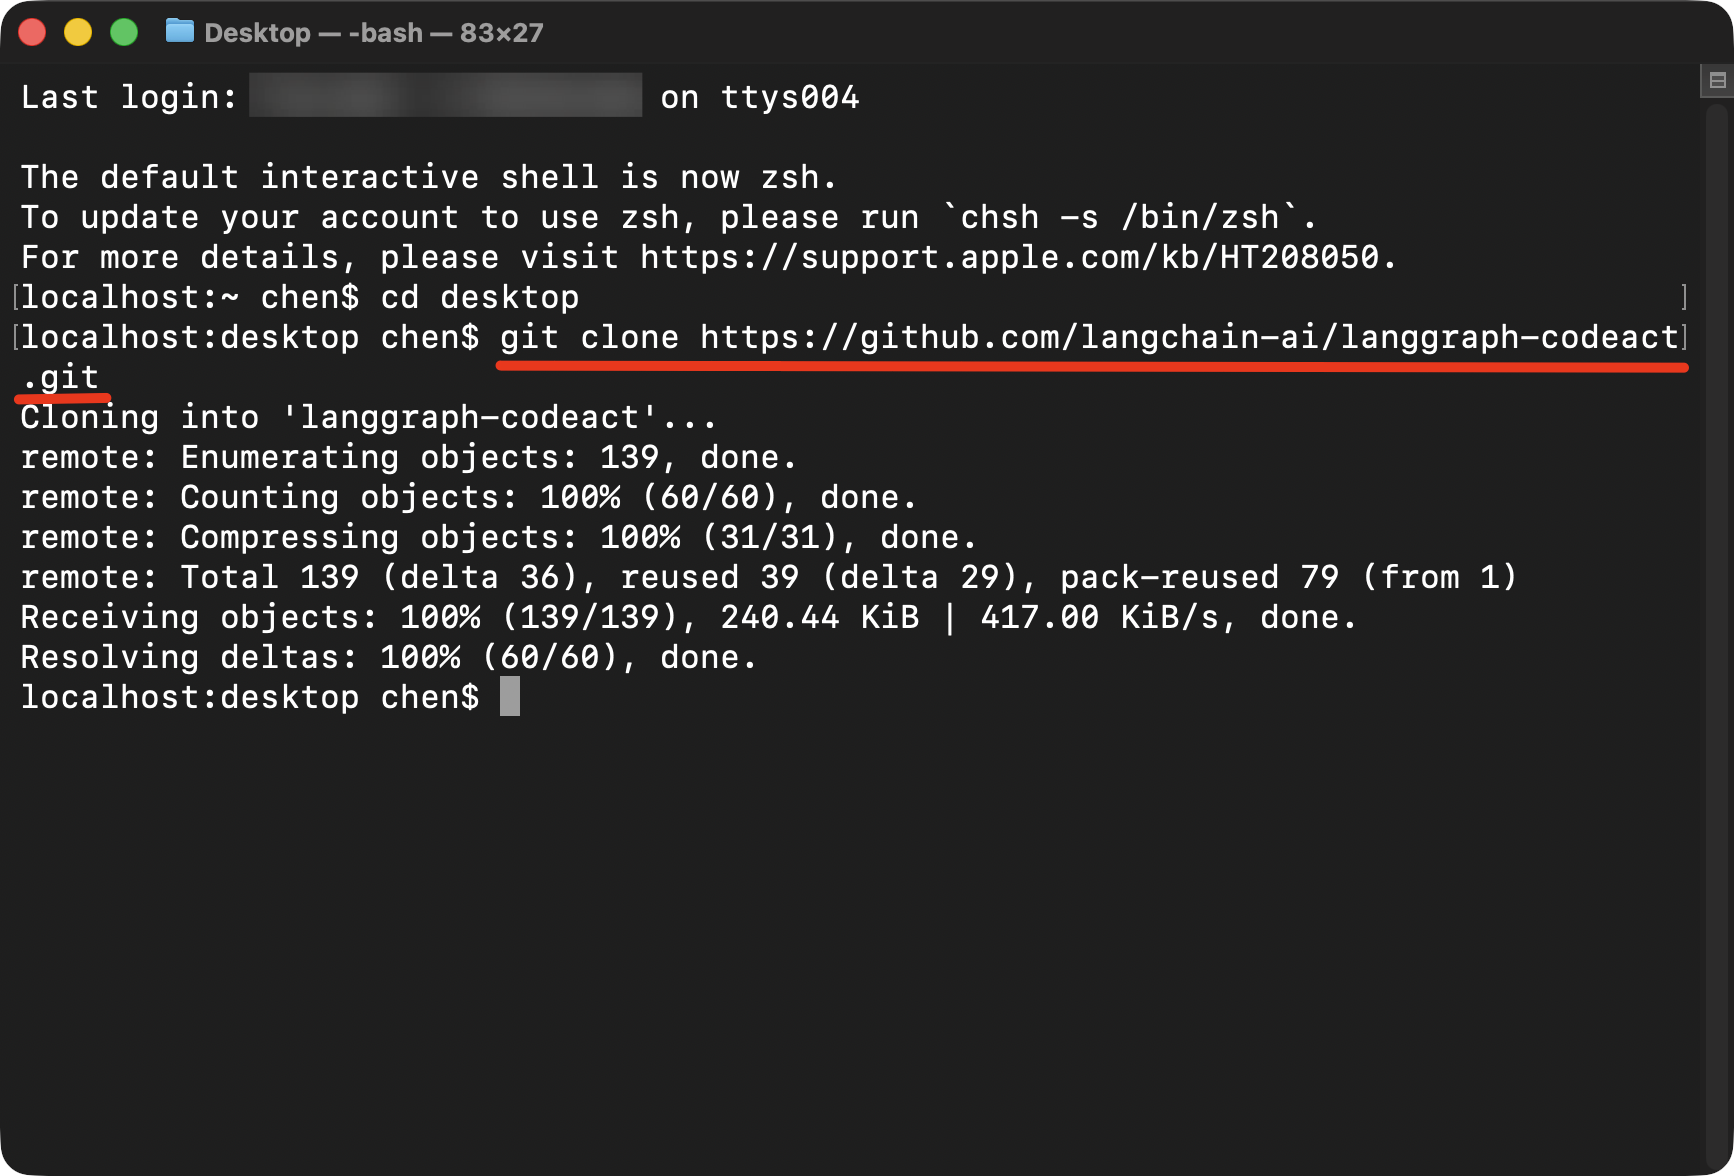
Open Terminal, clone the LangGraph CodeAct repository from GitHub, and install the dependencies.
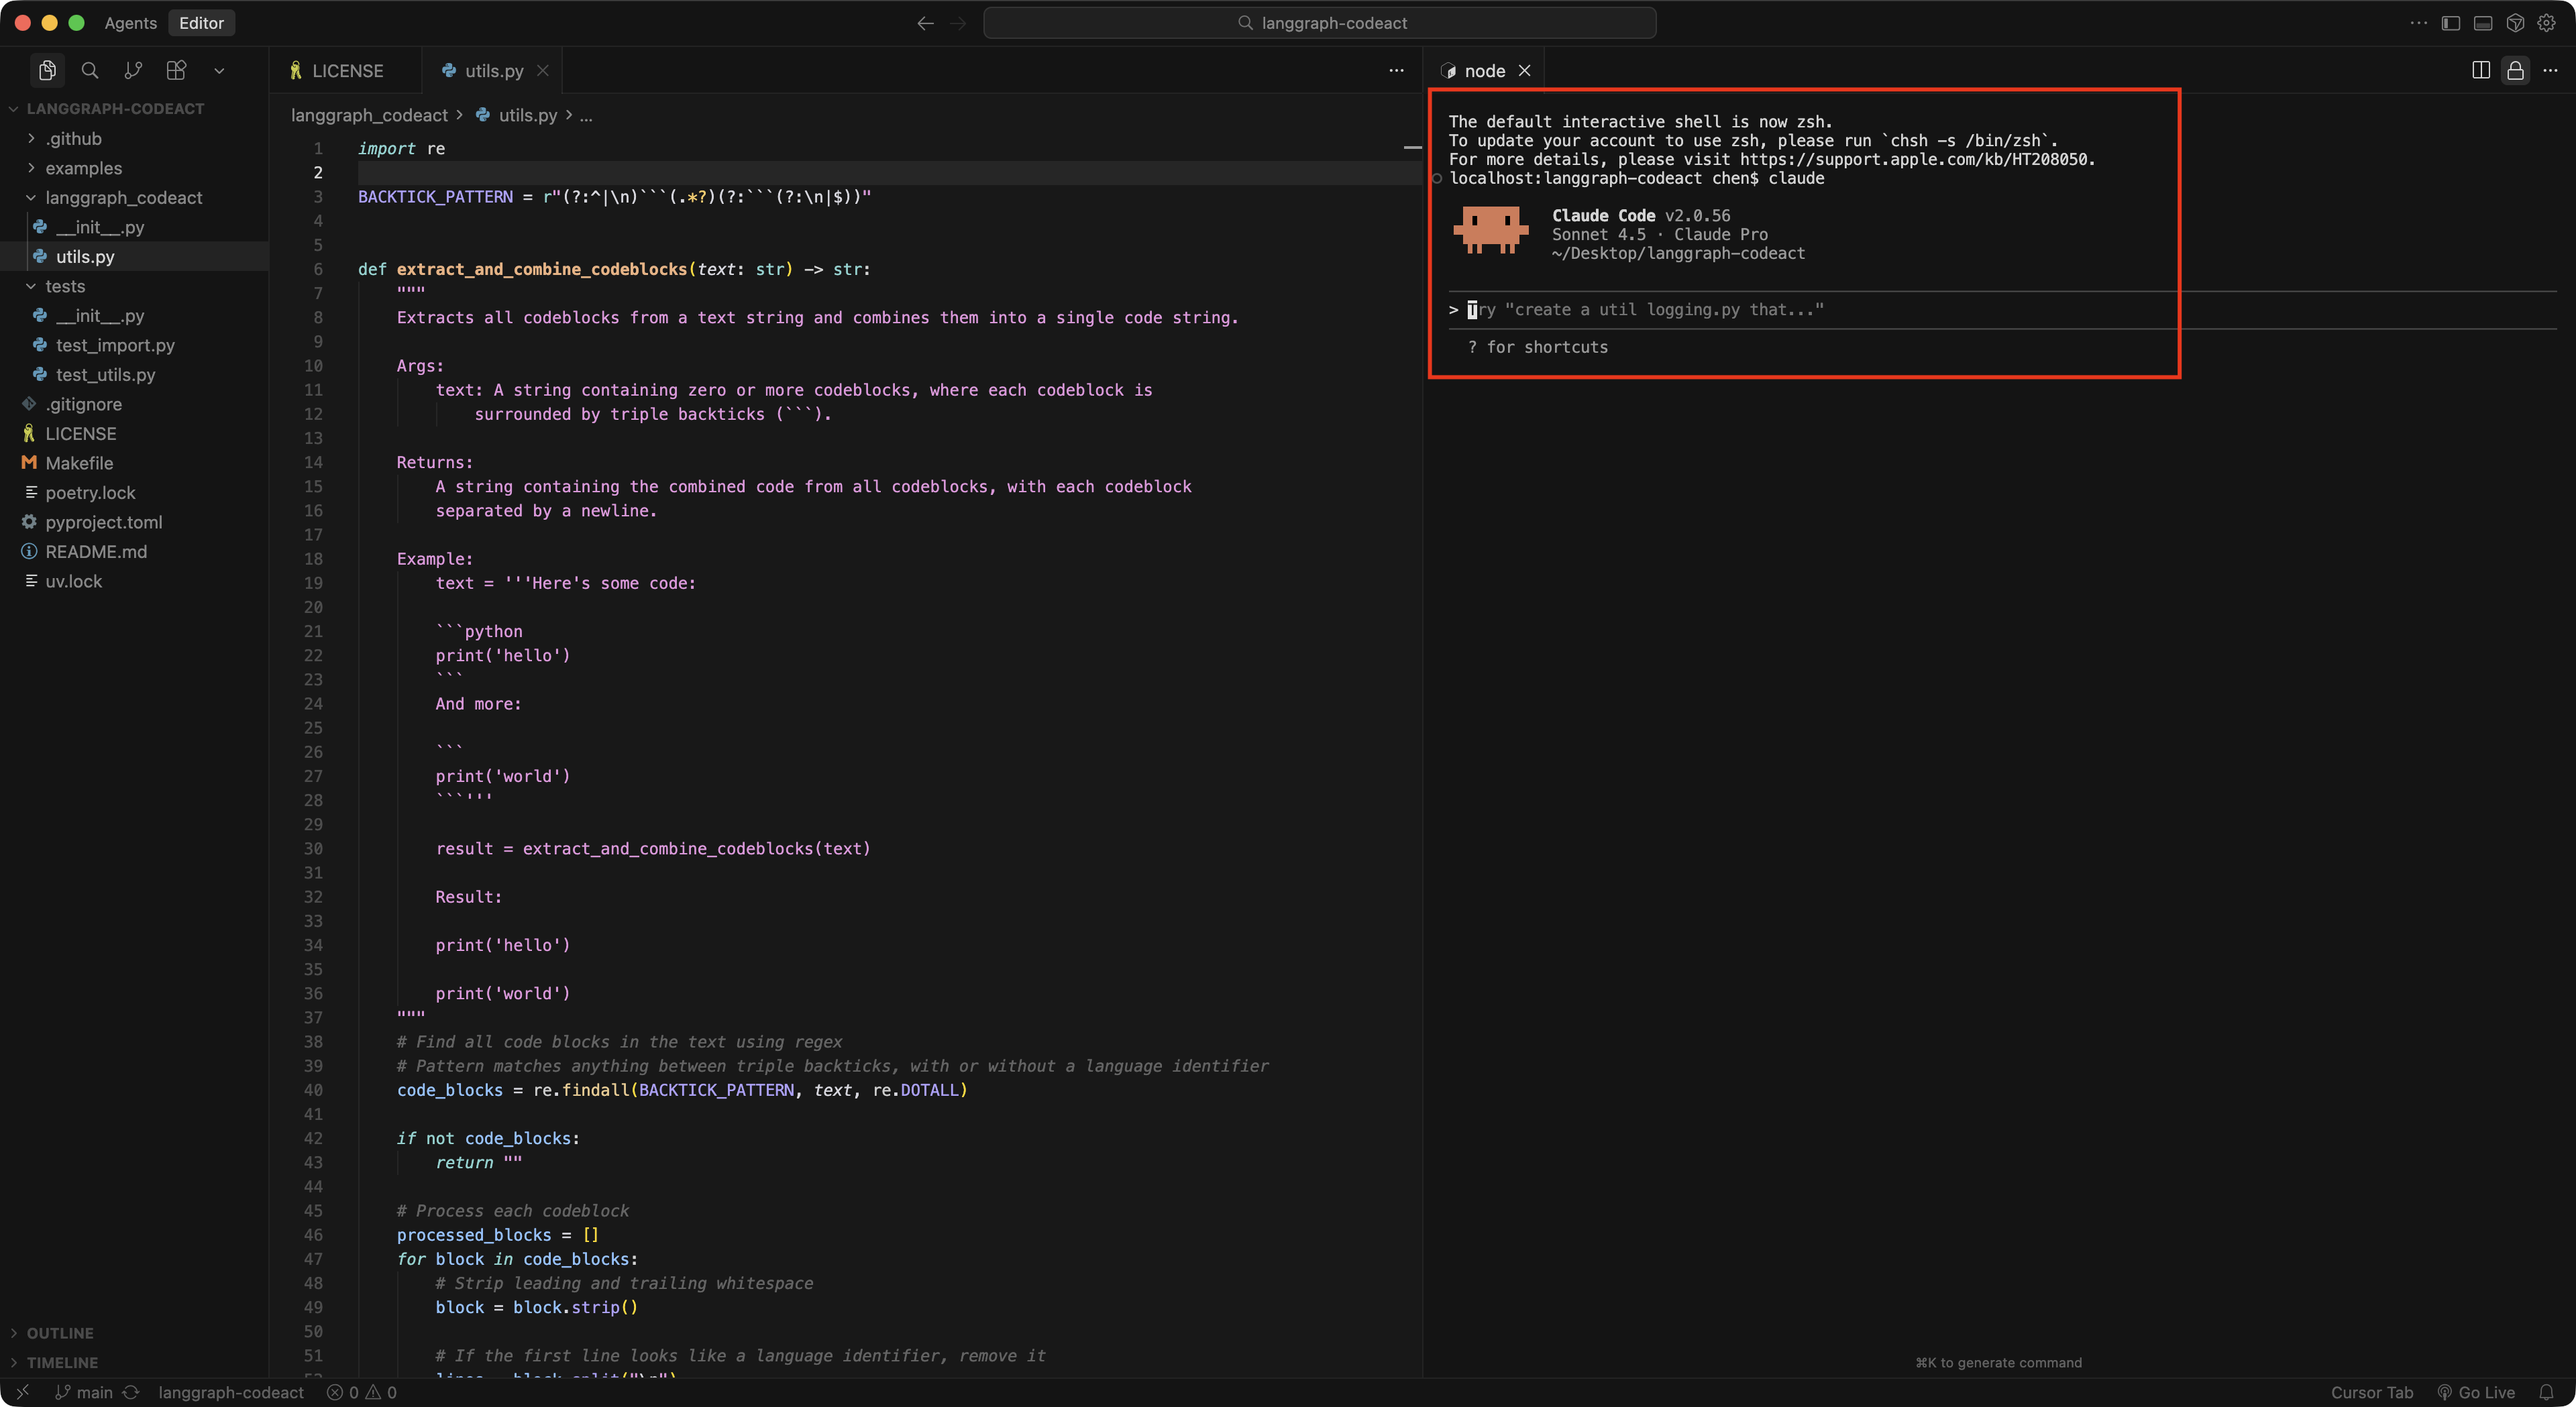
3. Develop with Claude Code in Cursor
Inside Cursor, open Claude Code from the Terminal. Describe what you need in natural language and let Claude Code build the features on top of the framework.
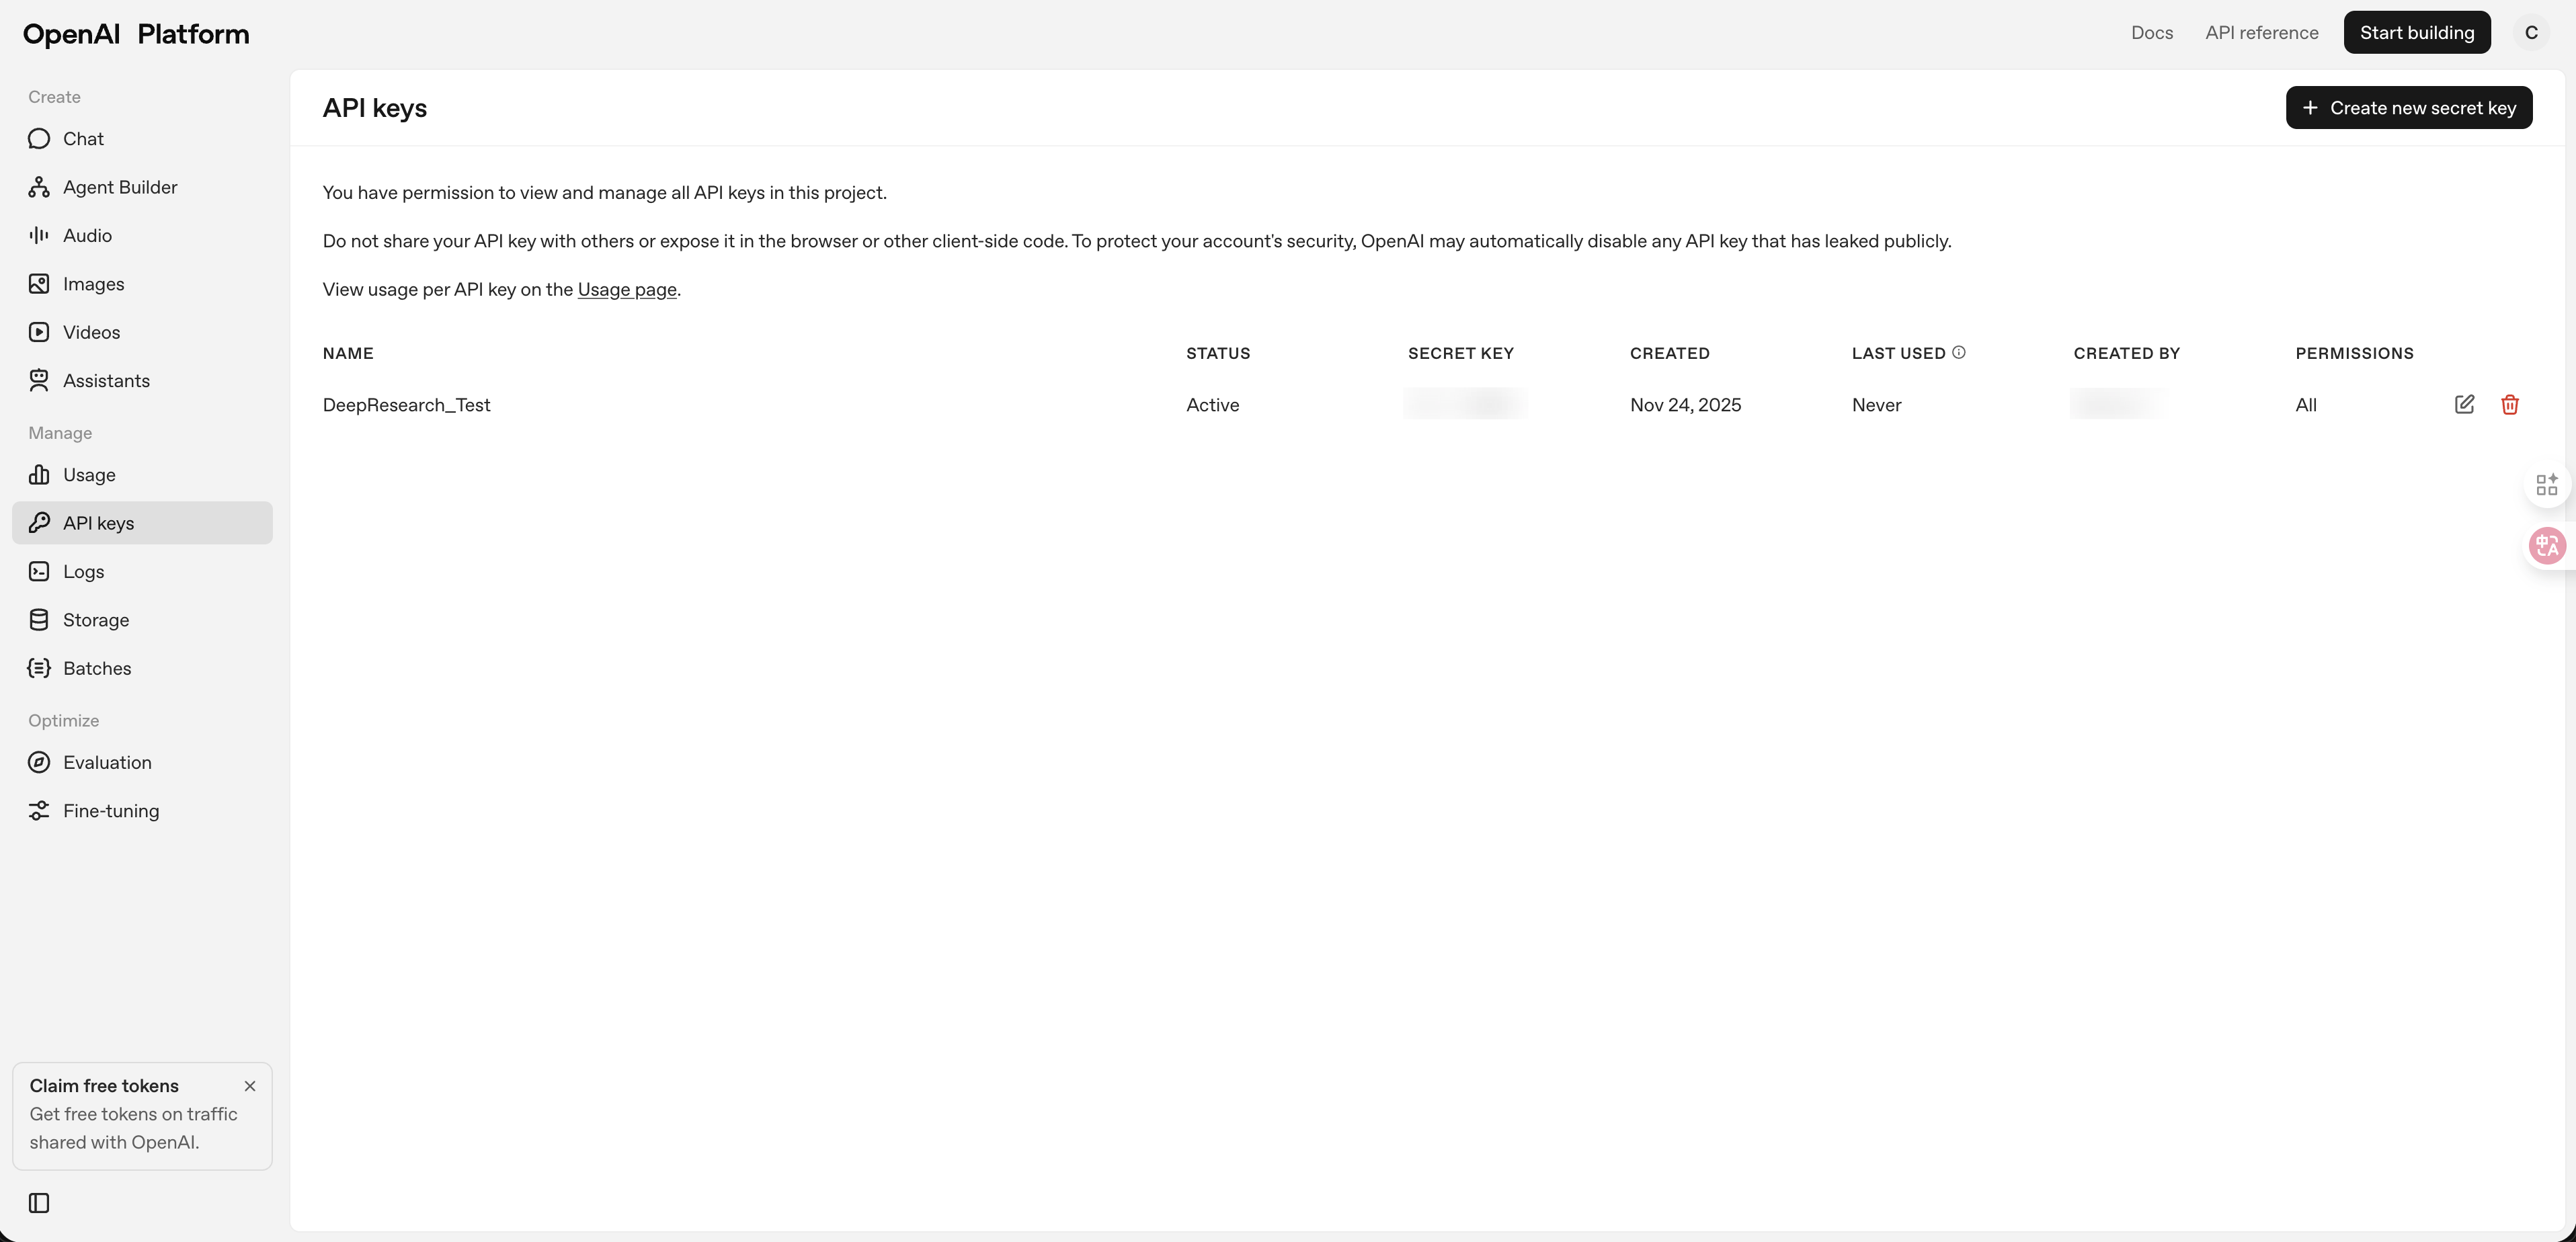
4. Get Your API Keys
The agent needs two external APIs: a language model for reasoning and report generation, and a search tool for gathering sources.
For the language model, generate an API key from the OpenAI platform and select a mainstream model. Any current flagship model has the language processing capability needed for research tasks — text-heavy reasoning, summarization, and structured report generation are well within range.
For search, this build uses Tavily. It performs well for web research and offers free credits to get started.
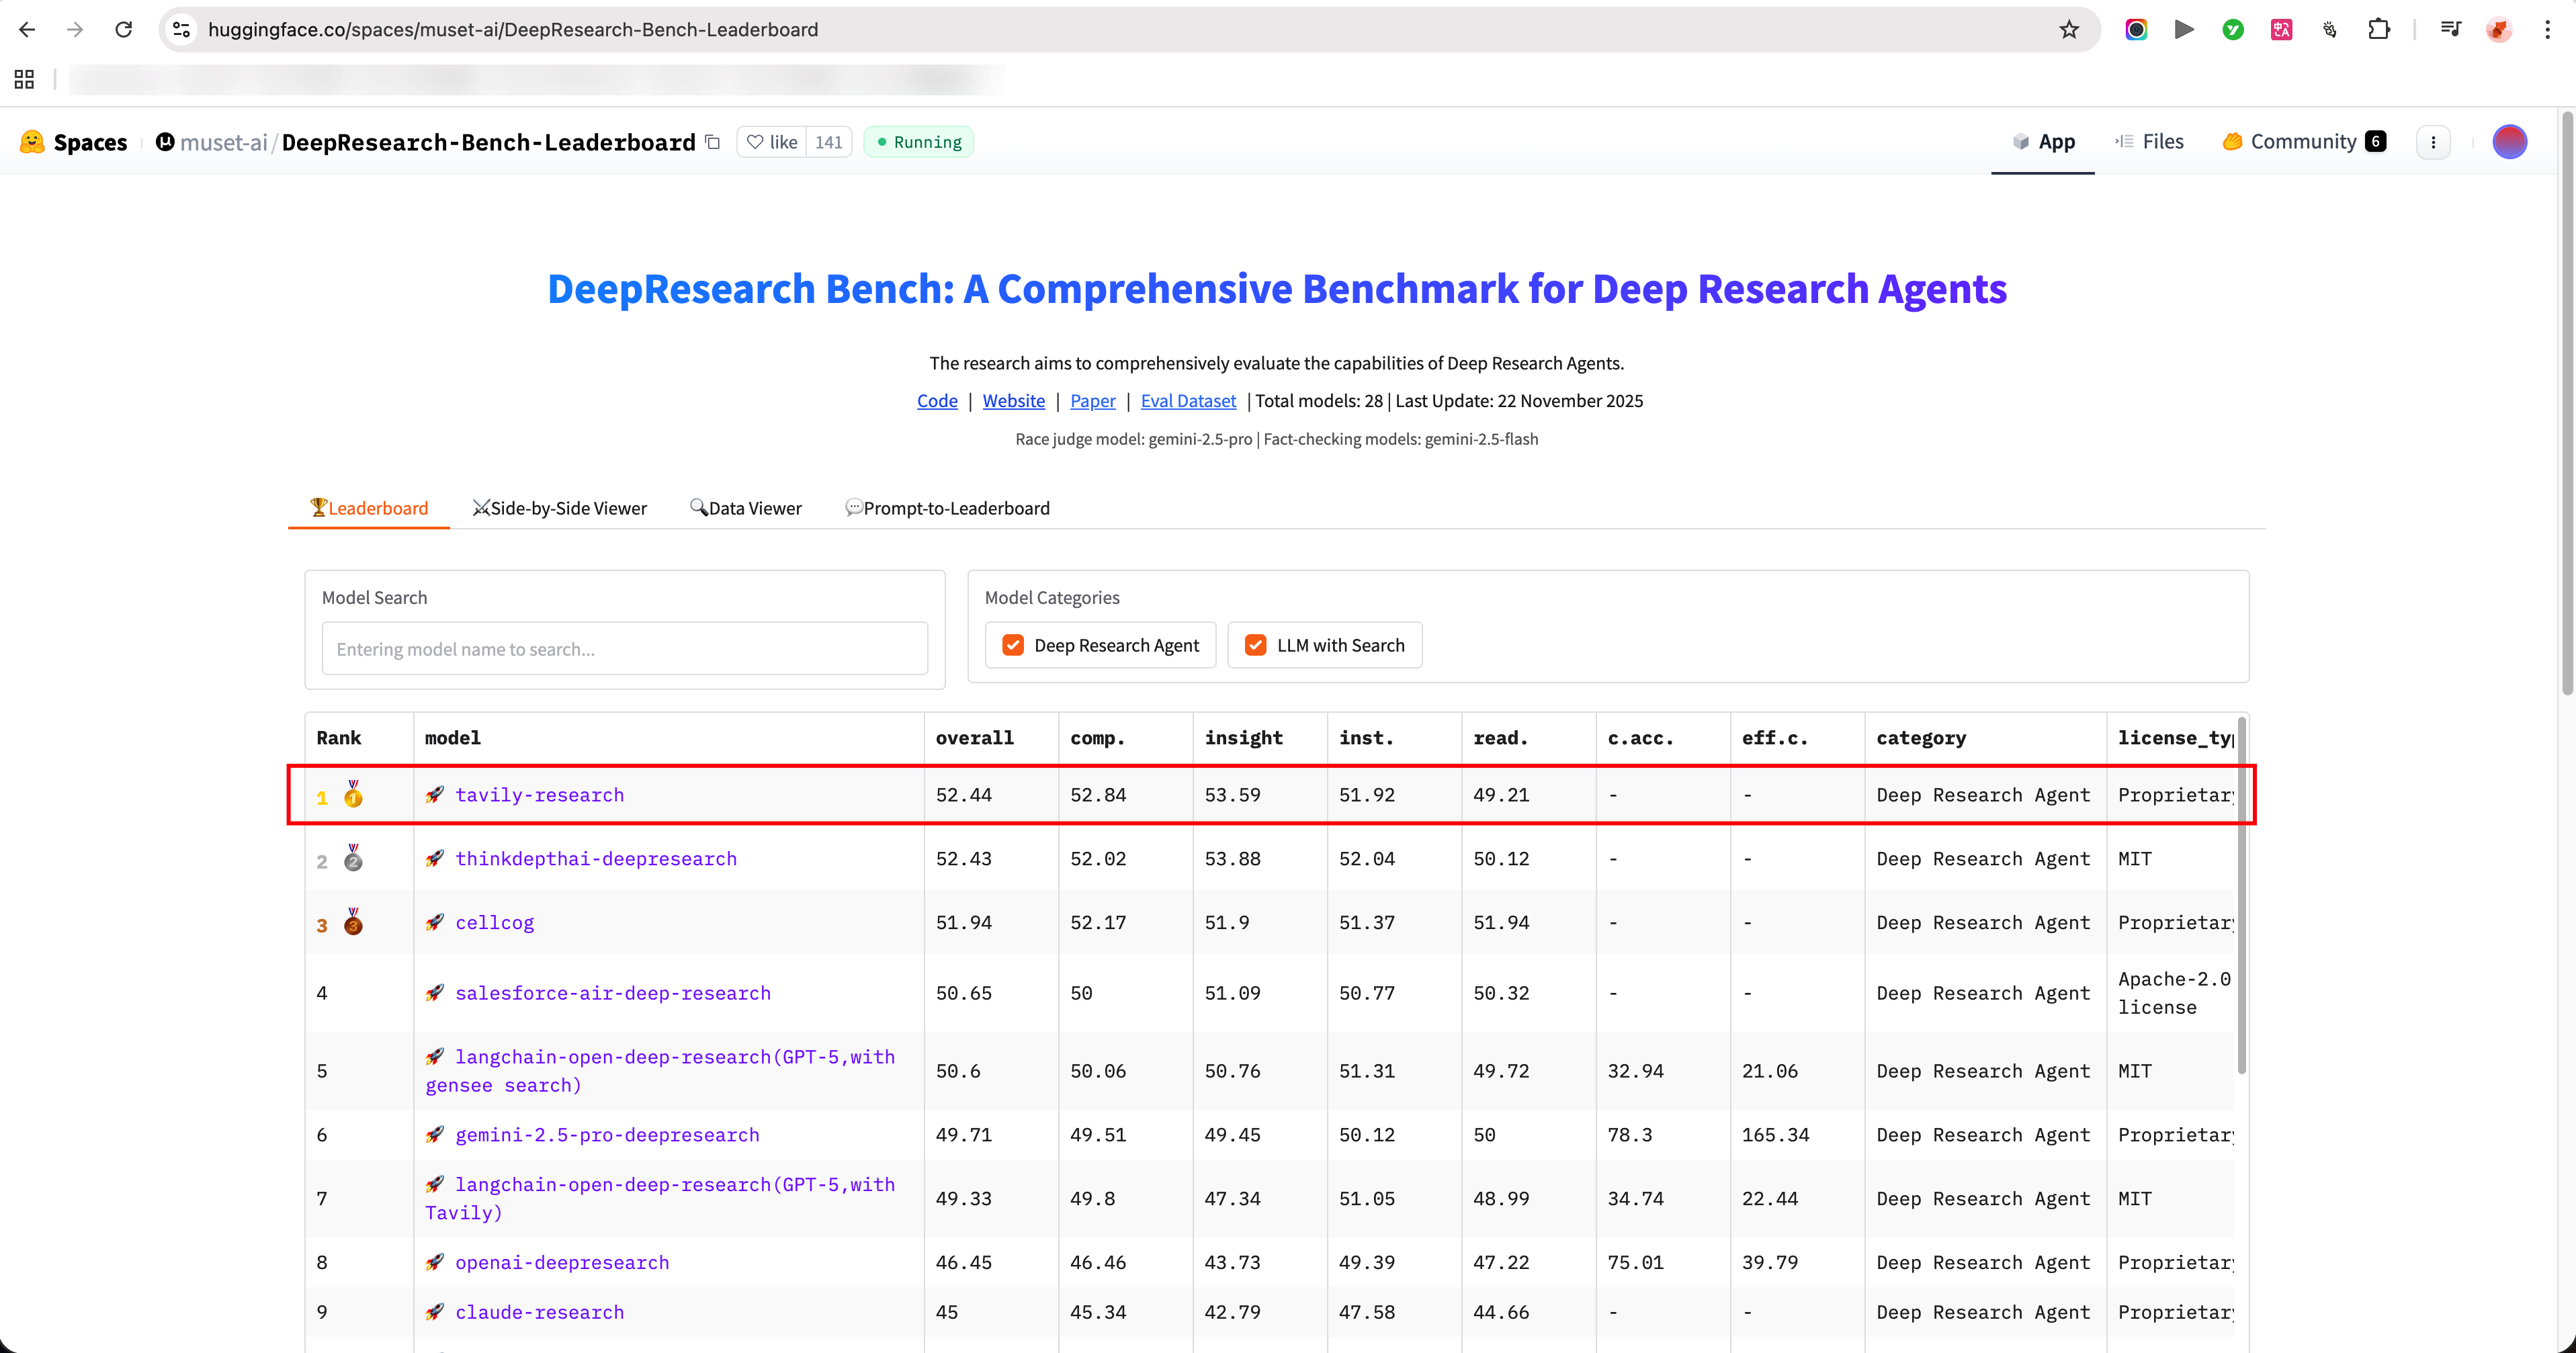
Source: https://huggingface.co/spaces/muset-ai/DeepResearch-Bench-Leaderboard
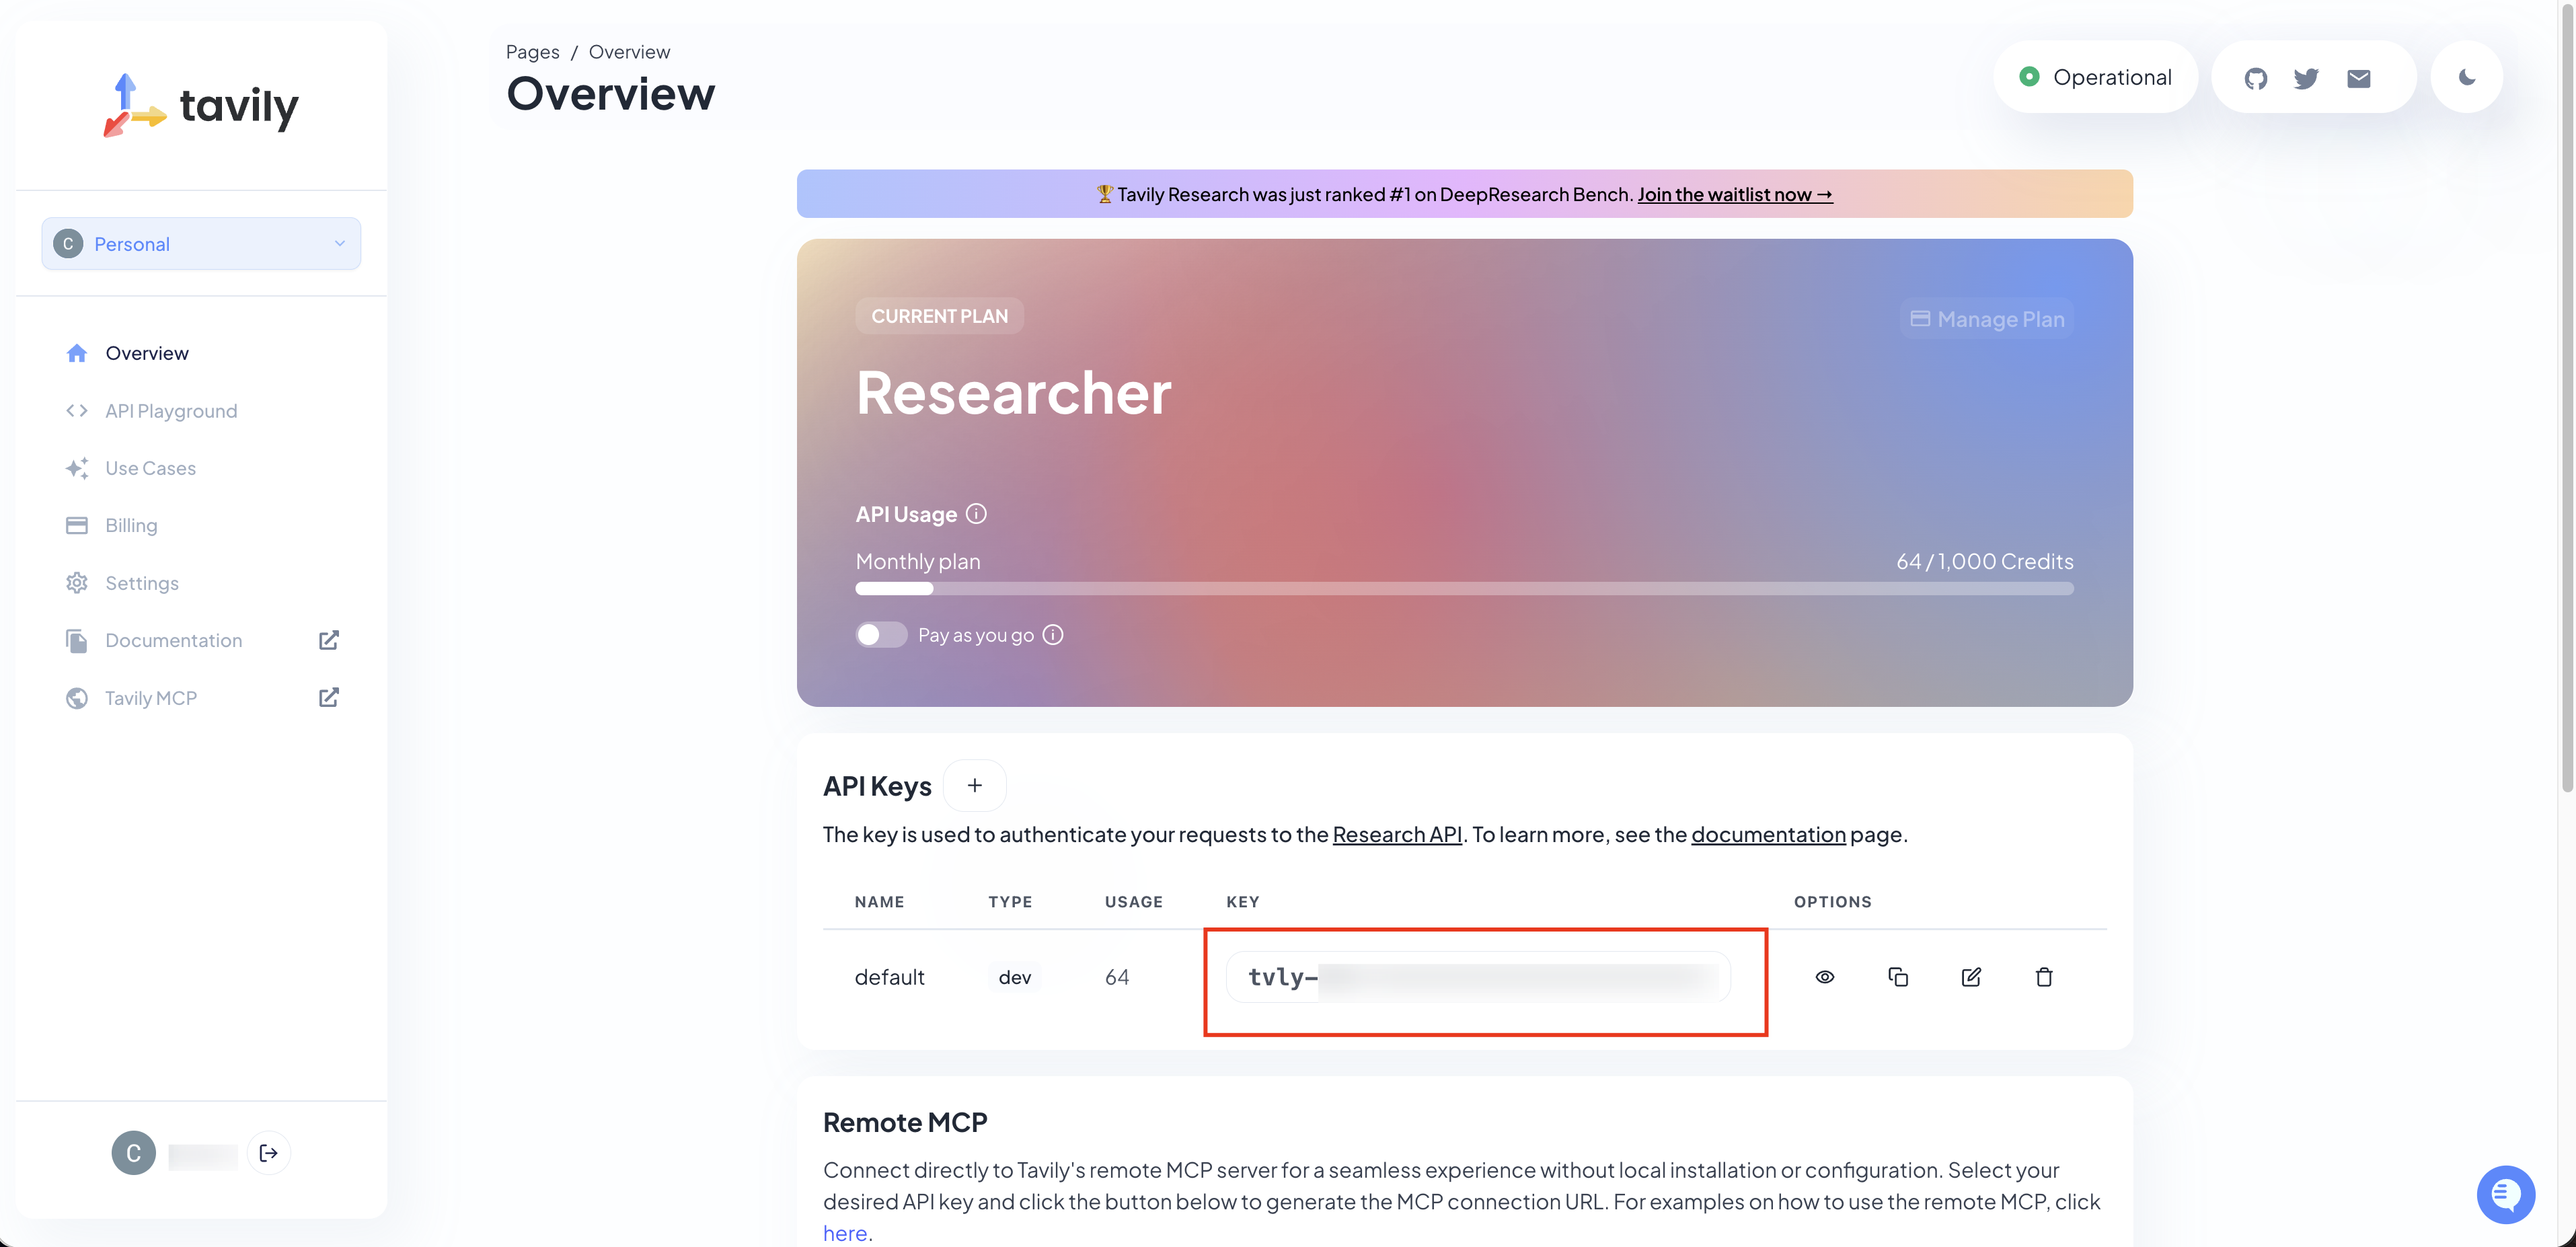
Once both keys are ready, store them in a .env.local file to keep them out of version control.
5. Trace with LangSmith
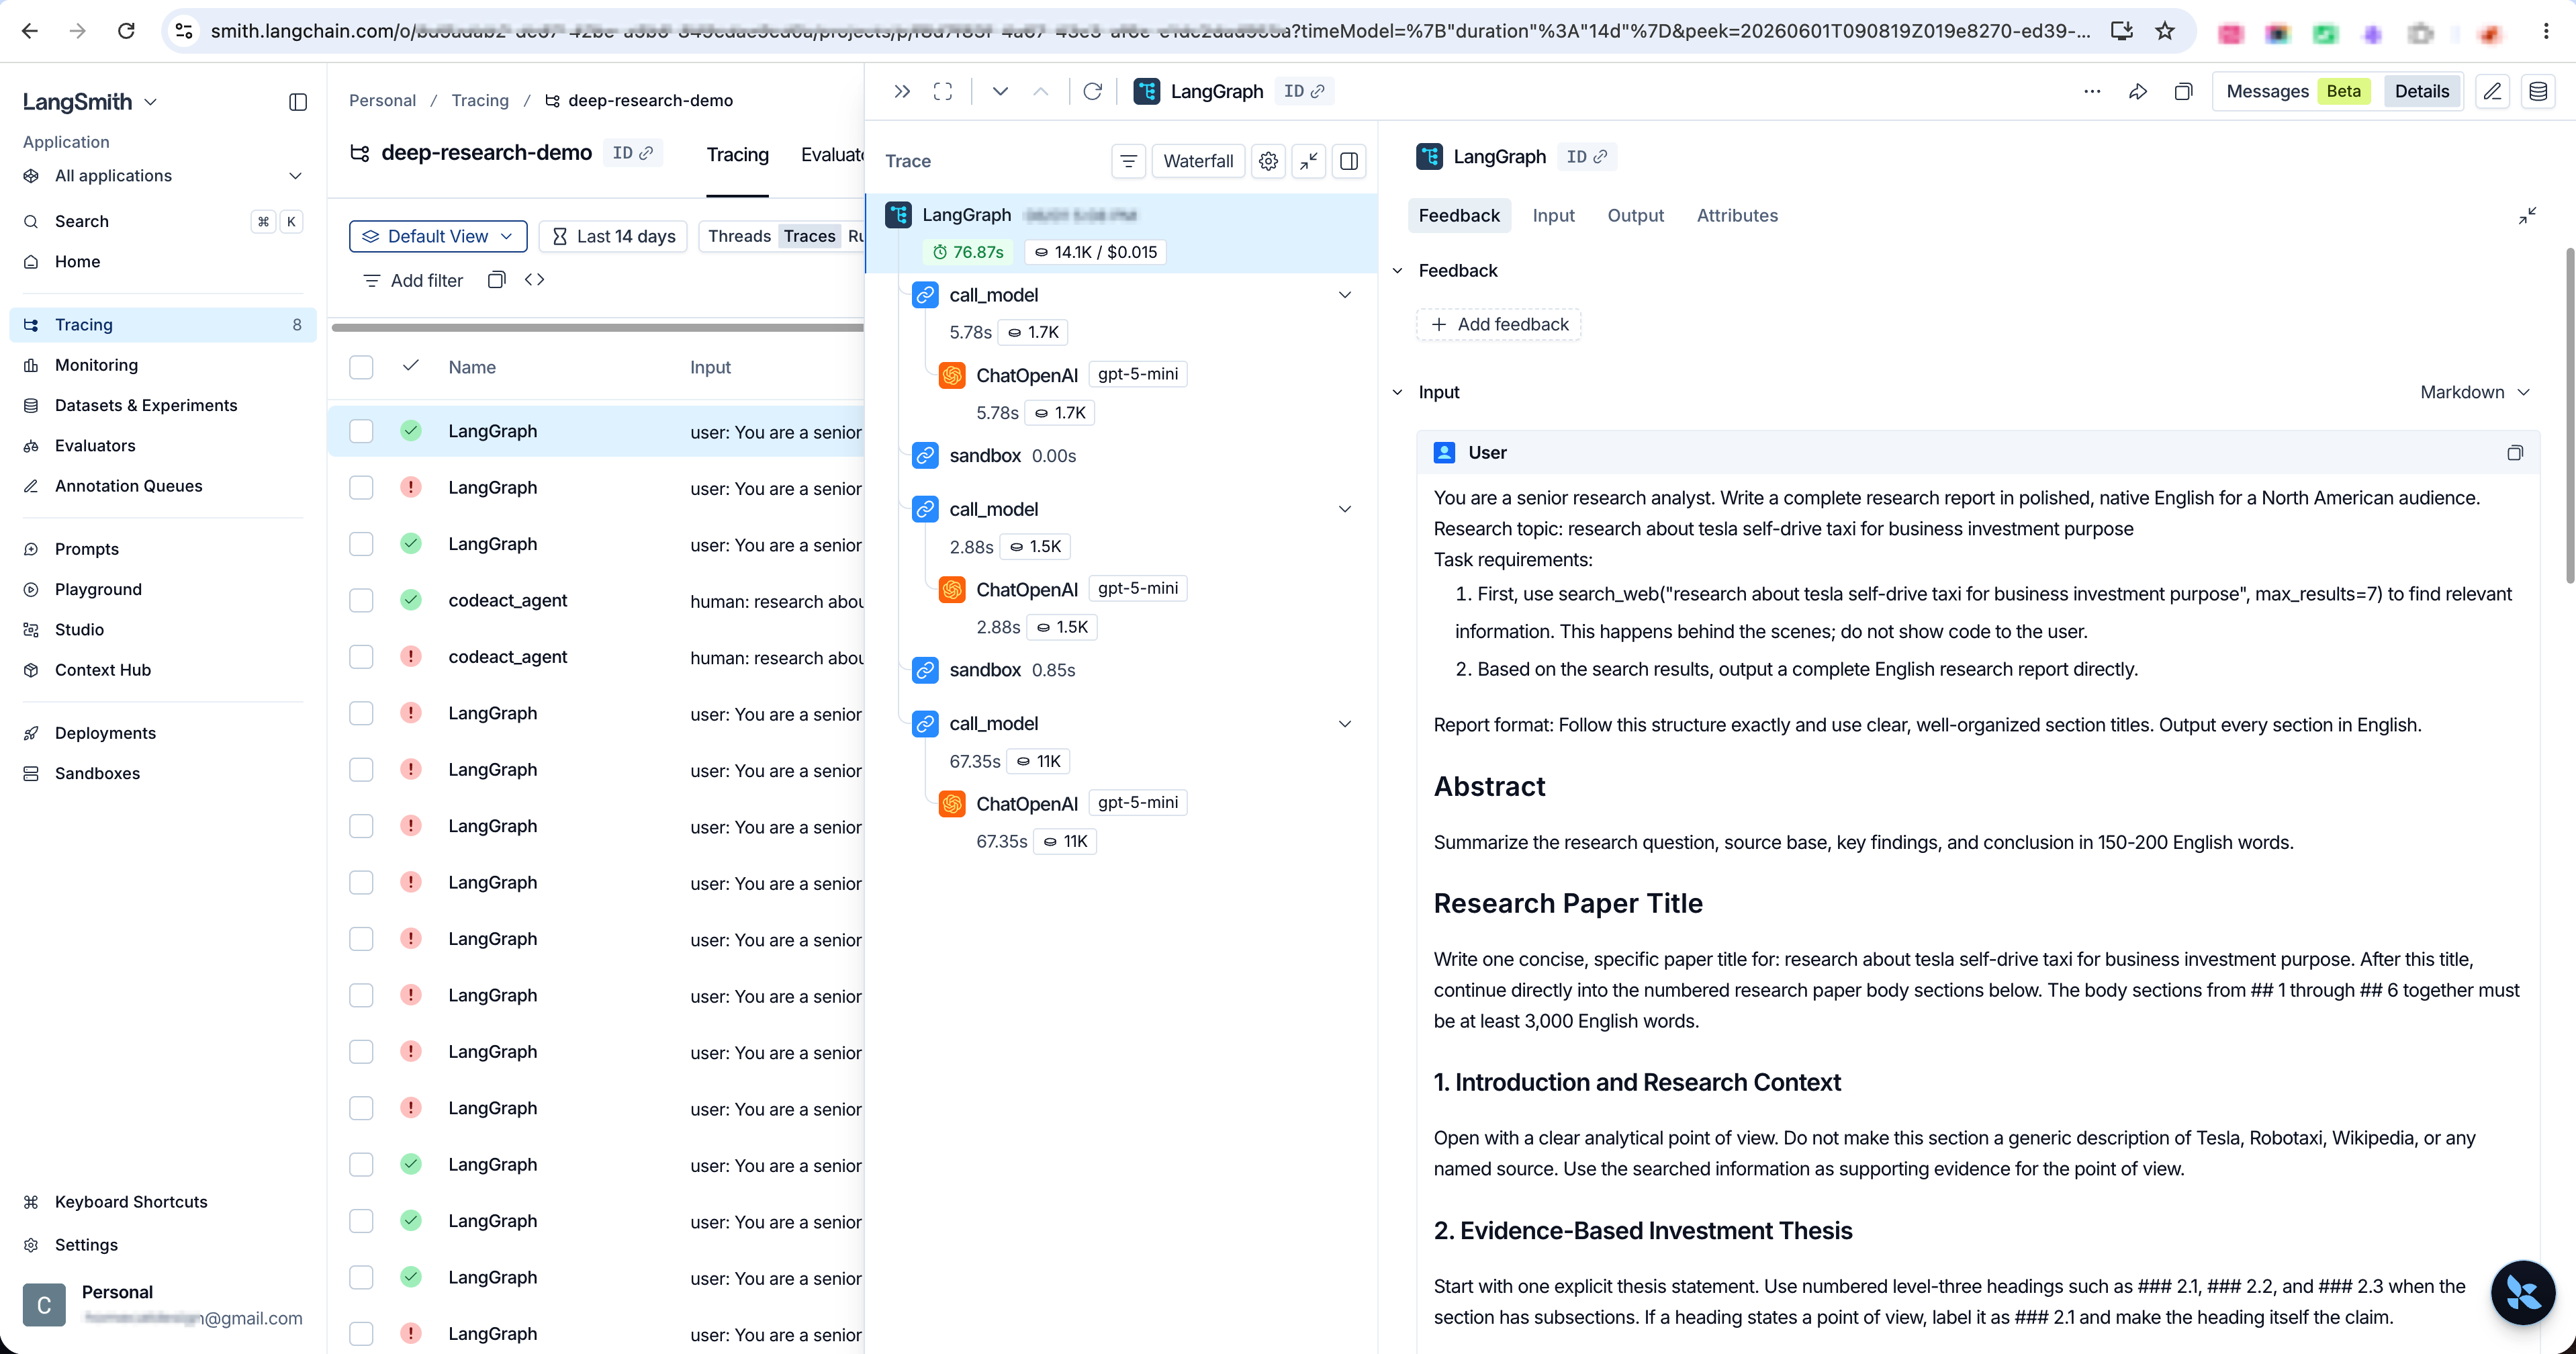
Deep Research agents run multi-step workflows — search, reasoning, synthesis, report generation. Without visibility into each step, a failure during testing becomes a black box: something went wrong, but you can't tell where.
LangSmith solves this by making the full execution path observable. Every tool call, reasoning step, and search query is logged, so when something breaks, you can pinpoint exactly which step caused it — and fix that, not guess at it. That precision is what builds robustness: the agent's behavior becomes something you can actually understand, debug, and improve over time.
6. Optimize the Agent
With the APIs configured and LangSmith connected, start the server and review the frontend — check whether the interface needs any adjustments before optimizing the agent behavior itself.
The main optimization levers are model choice, API configuration, and search behavior. Adjust these based on what the LangSmith traces show, then retest.
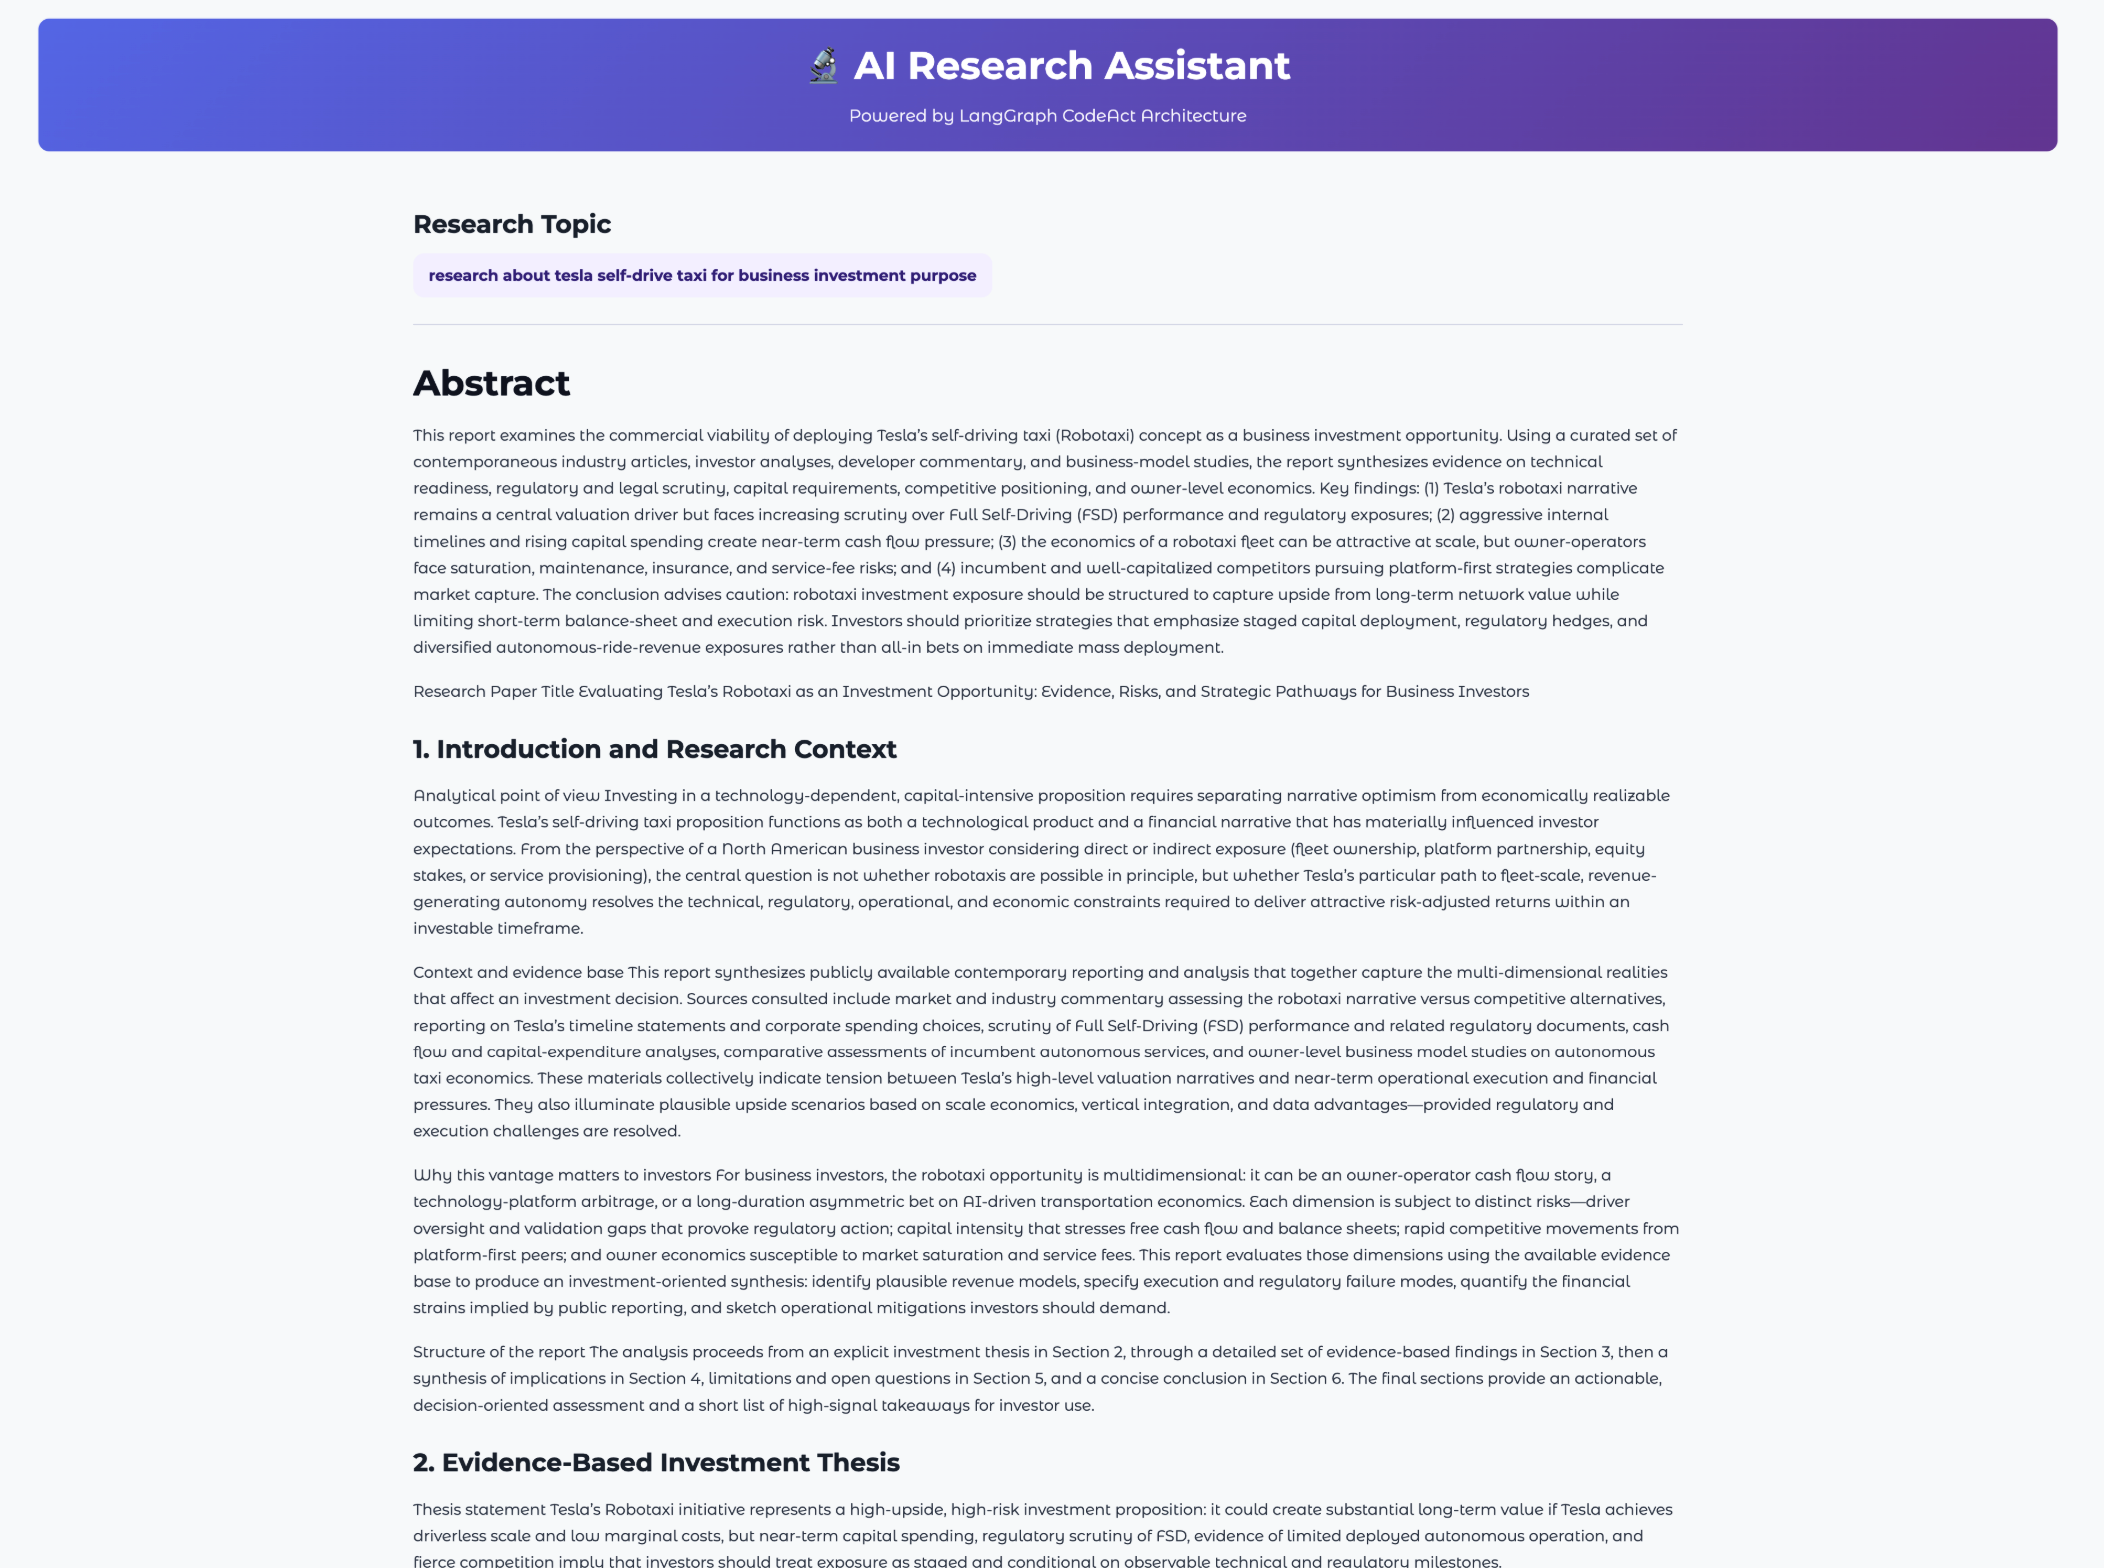
After all features have been debugged, run one final end-to-end test. Even though the key capabilities have already been tested throughout the process, this final run is for reviewing the overall product experience and output quality as a whole.
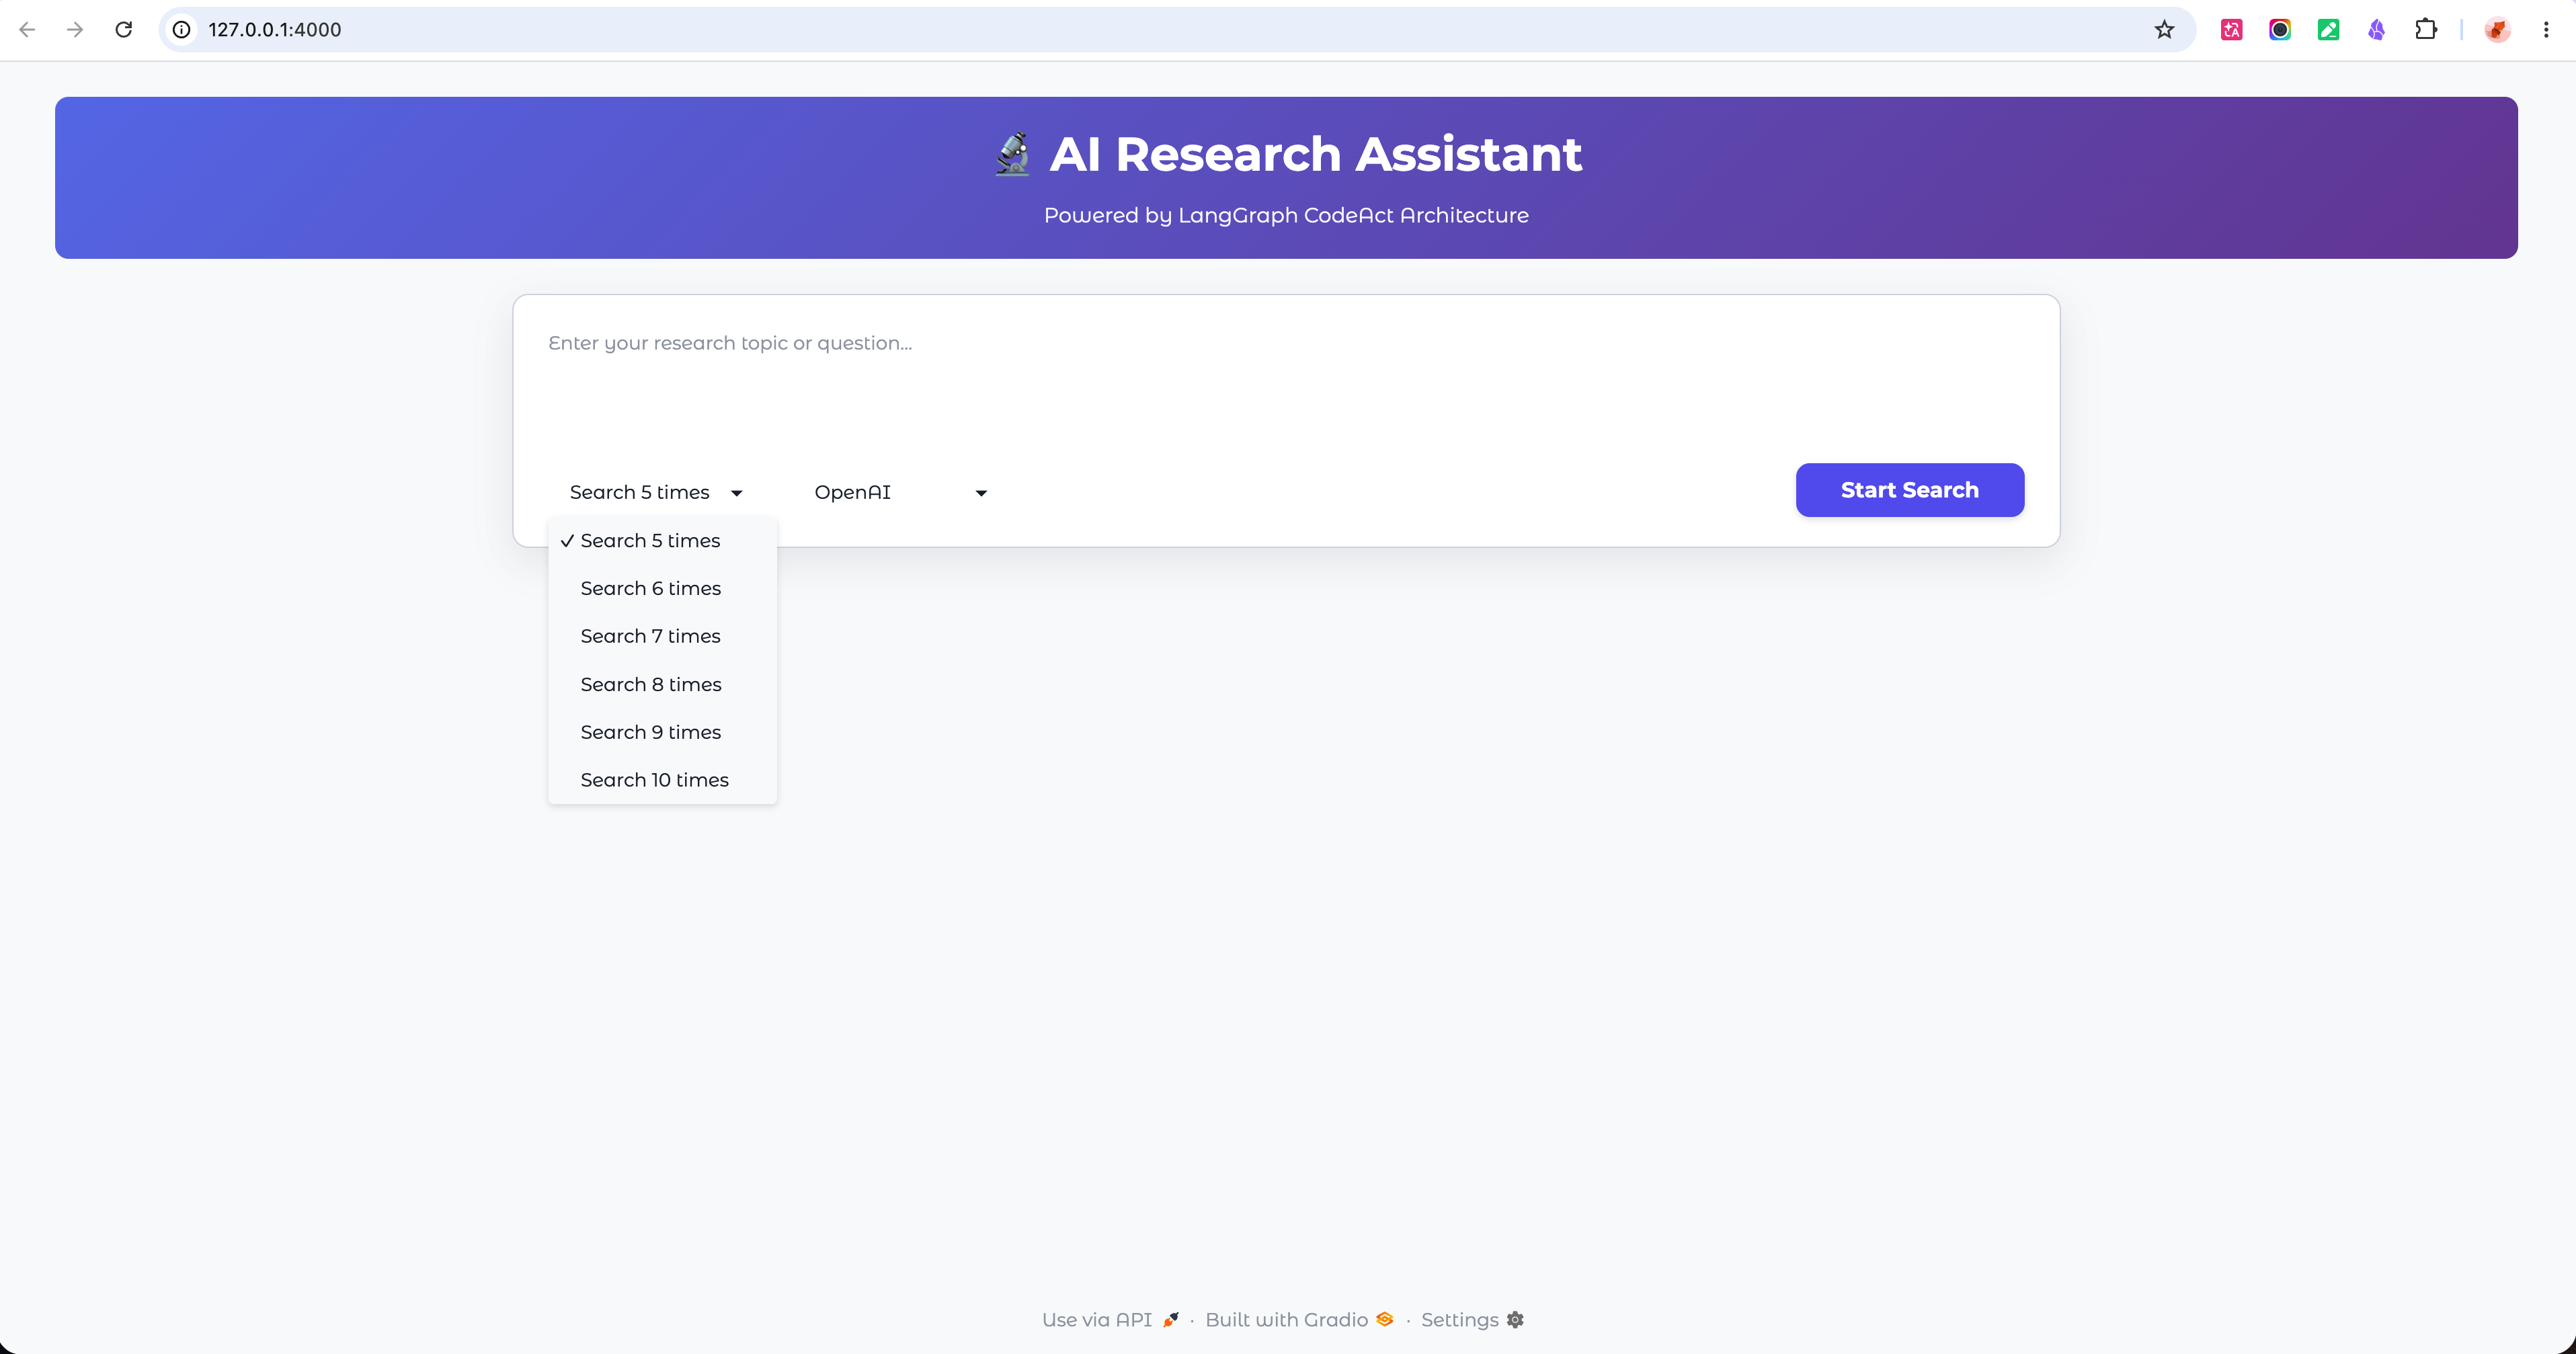
The frontend exposes a search round selector — users can choose between the default 5 rounds or go up to 10 for broader coverage. More rounds means more sources collected, which generally increases the information density and depth of the final report. This flexibility is built on the CodeAct framework's ability to dynamically adjust how the agent searches based on the configured parameters.
The frontend also lets users switch between different mainstream LLM APIs — Claude, Groq, Gemini, and others. Running the same research topic across multiple models and comparing the output quality is a practical way to evaluate which model best fits the Deep Research use case and consistently meets the output standard you're aiming for.
7. Retrospective
-
CodeAct is more extensible than it looks. The framework supports multiple specialized tools — each acting like a domain expert. Configure the right tools and it can handle different research domains, multi-step workflows, or even multi-agent coordination.
-
The default search depth isn't enough — you have to push it. The first outputs weren't deep enough. Each step needed more specific instructions: which search tool to call, how to structure the report, how many rounds to run. For complex topics, prompting the agent to run a second round based on what the first round found produces significantly better output.
-
Start evaluating as soon as the frontend is up. Don't wait until everything is "done" to test. After each round, identify what broke, find the root cause, and fix it before moving on. When something fails, the browser's Console and Network panels are the fastest way to see what actually happened — copy the error into an AI coding tool and let it help diagnose.
-
API failures aren't always your bug. Rate limits and unstable endpoints happen. If the API stops responding after a burst of calls, wait about an hour before retrying. If results come back incomplete on one run but fine on the next, the endpoint may just be flaky — run it again before assuming the product is broken.
-
Evaluation costs tokens, but it can't be skipped. Testing consumes tokens and adds cost. The minimum viable bar: every key product feature gets tested at least once.
-
System prompt quality directly affects report quality. Define the report format clearly in the system prompt — structure, sections, depth expectations. Vague prompts produce vague reports. This is the highest-leverage place to improve output quality without changing the agent architecture.