Going full-stack means making a promise to users: their data will be there when they come back. The to-do manager is intentionally simple — keeping the focus on the infrastructure: auth setup, database tables, environment variables, and end-to-end verification.
Before Claude Code touches any code, it is asked to restate the requirements. That confirmation step is not optional. It is where vague intentions become specific decisions.
The build starts from a Next.js template, connects Supabase authentication and persistent storage through Claude Code, and ends with a complete verification pass across every user state.
1. Choose a Project Template
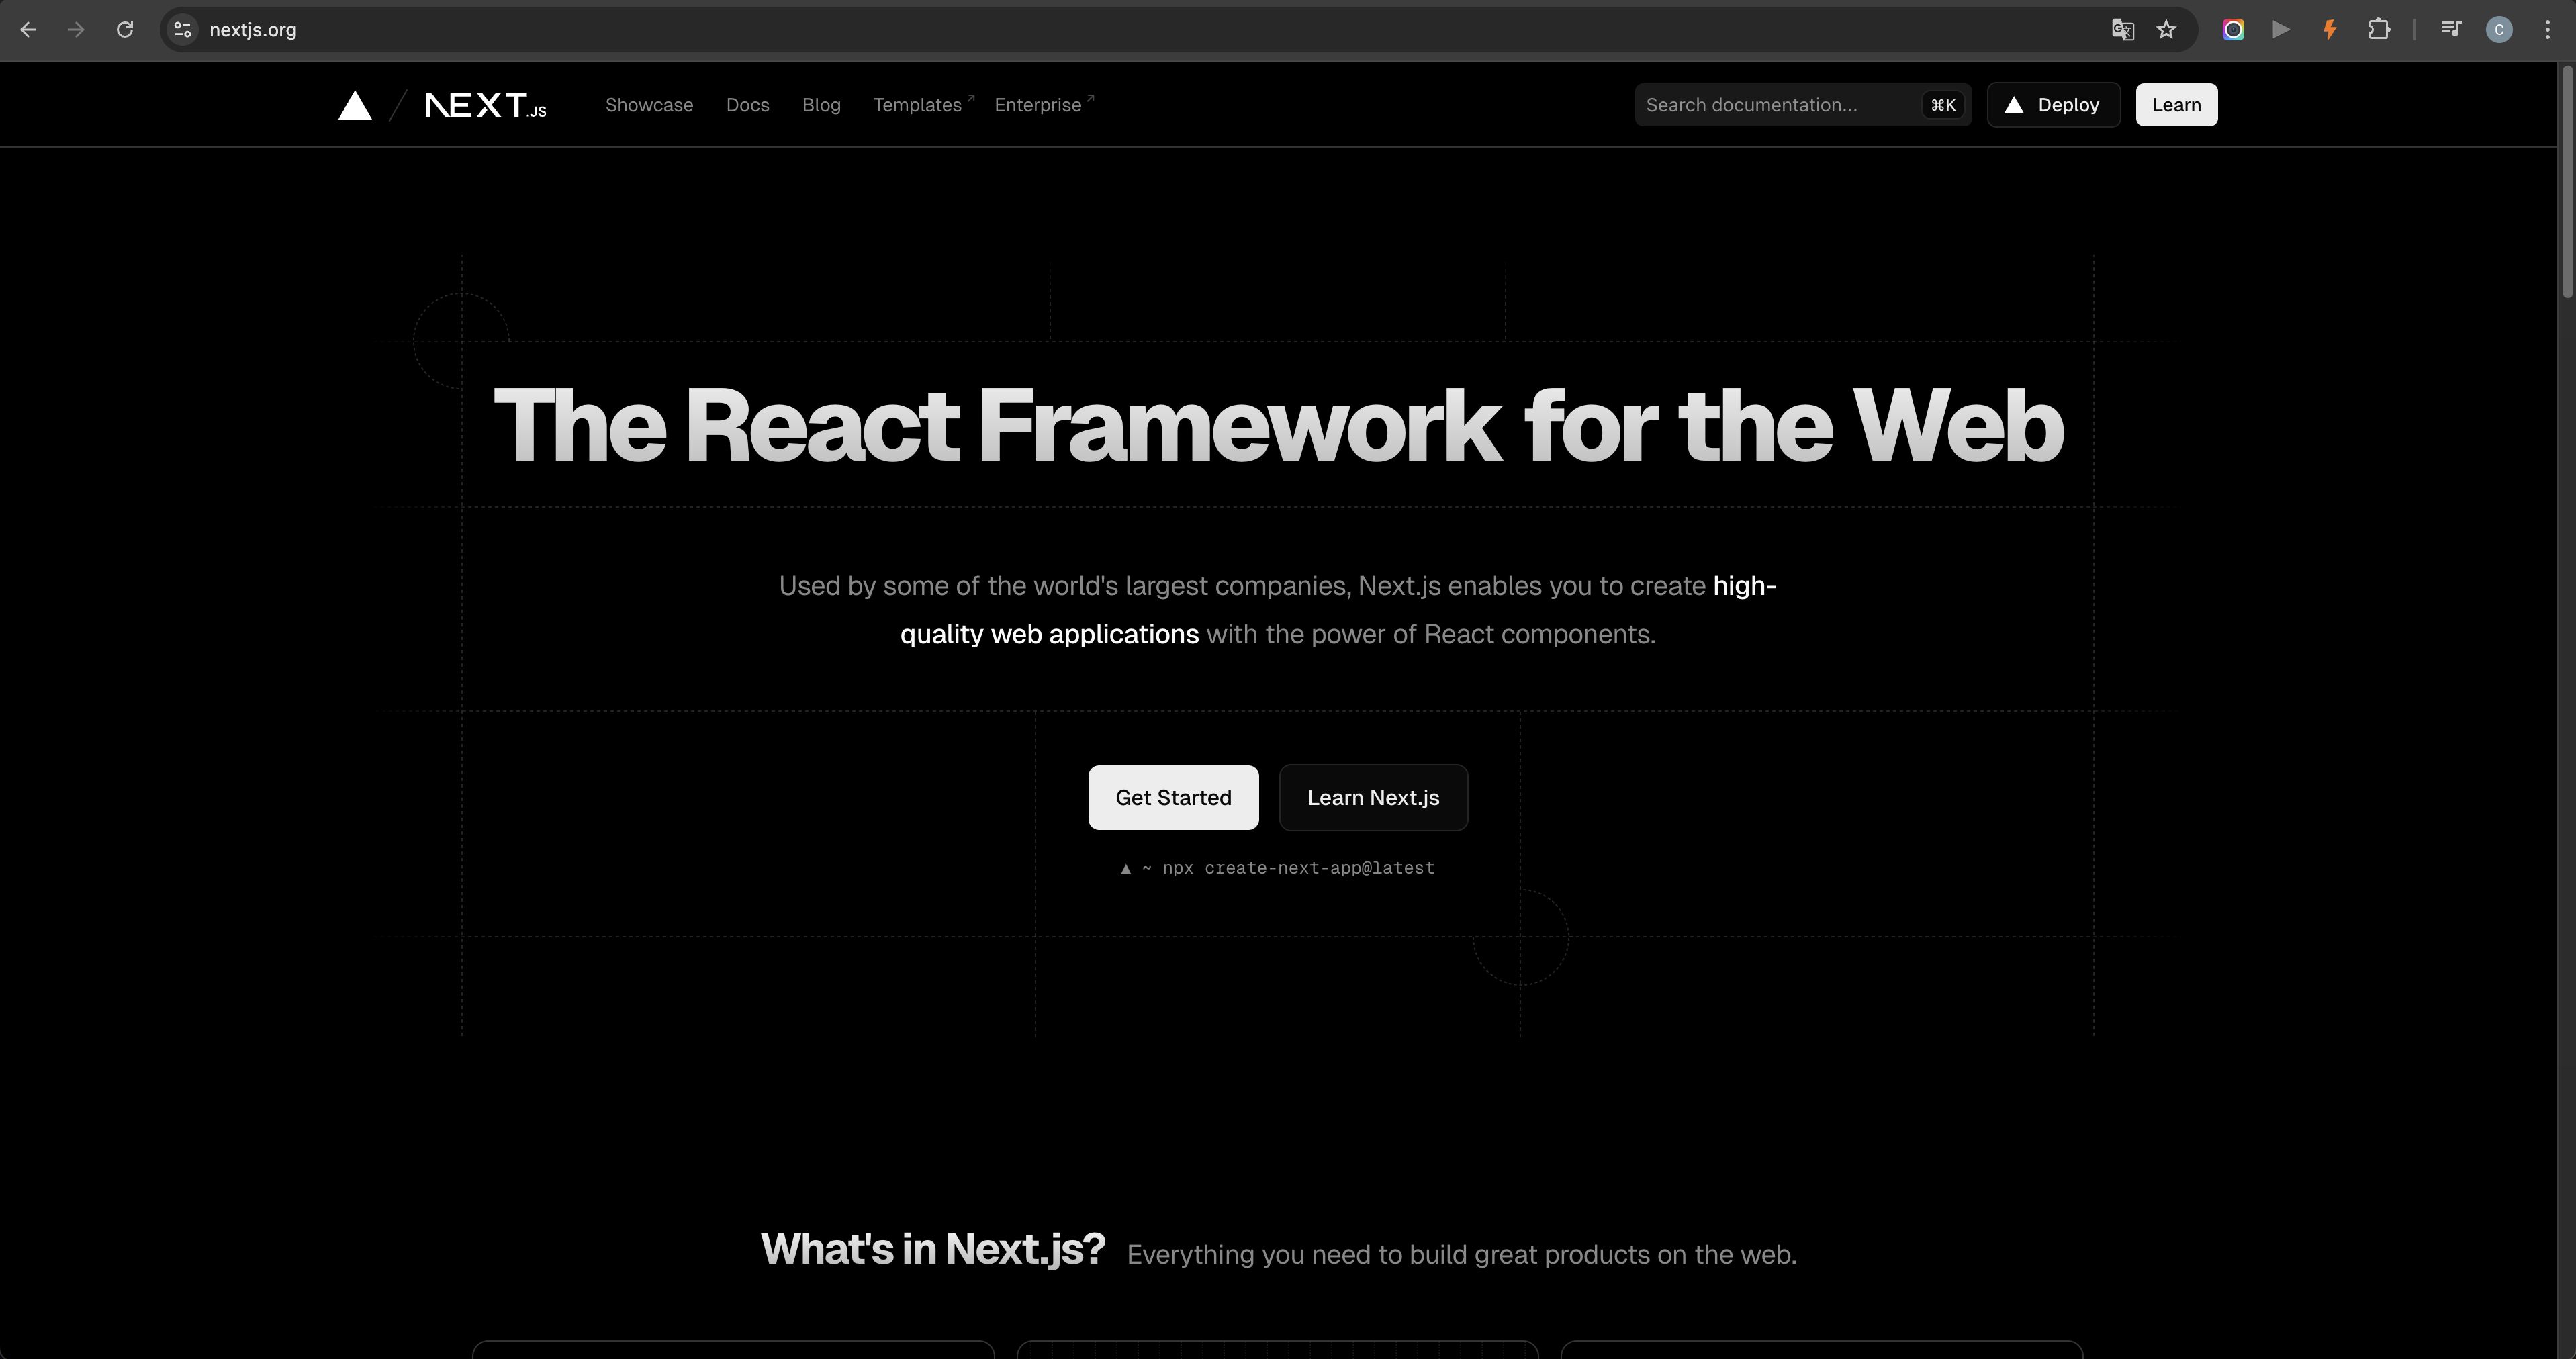
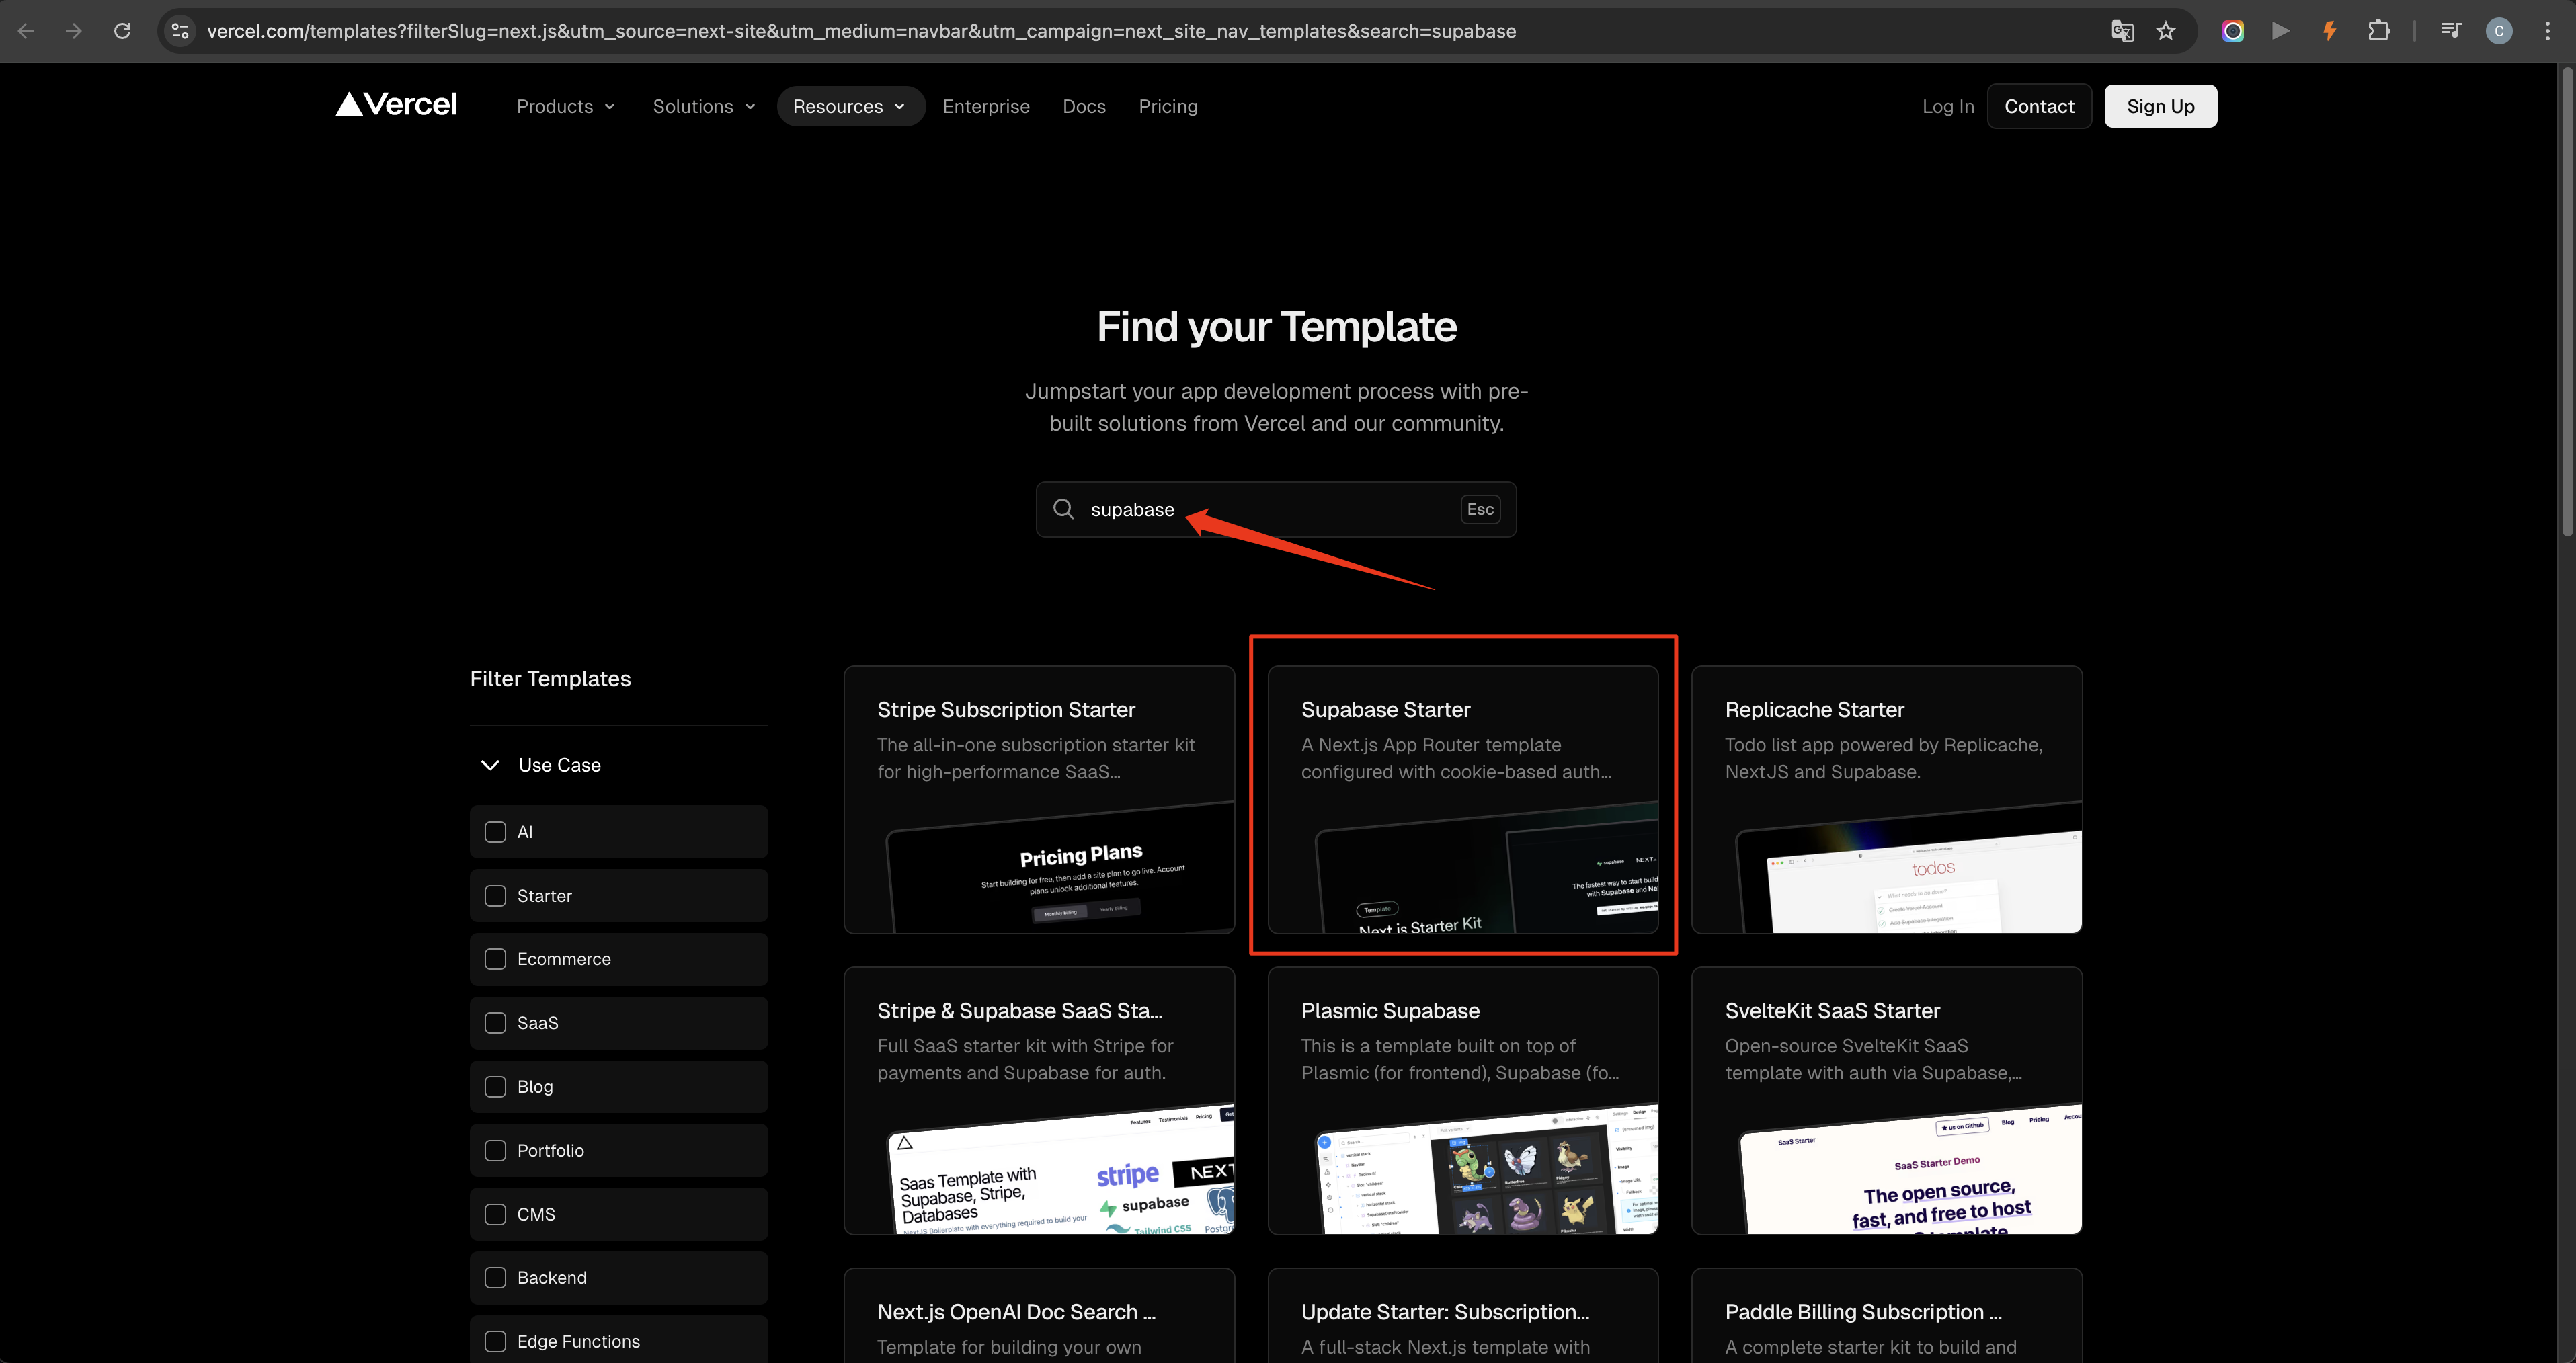
Start from the official Next.js website instead of building the entire project from scratch. Open the templates area from the top navigation, then search for a template that already supports a Supabase-based website structure.
Using a template gives Claude Code a clear project foundation to extend. The goal is to spend less time recreating setup work and more time turning the template into a real product.
2. Setup Claude Code
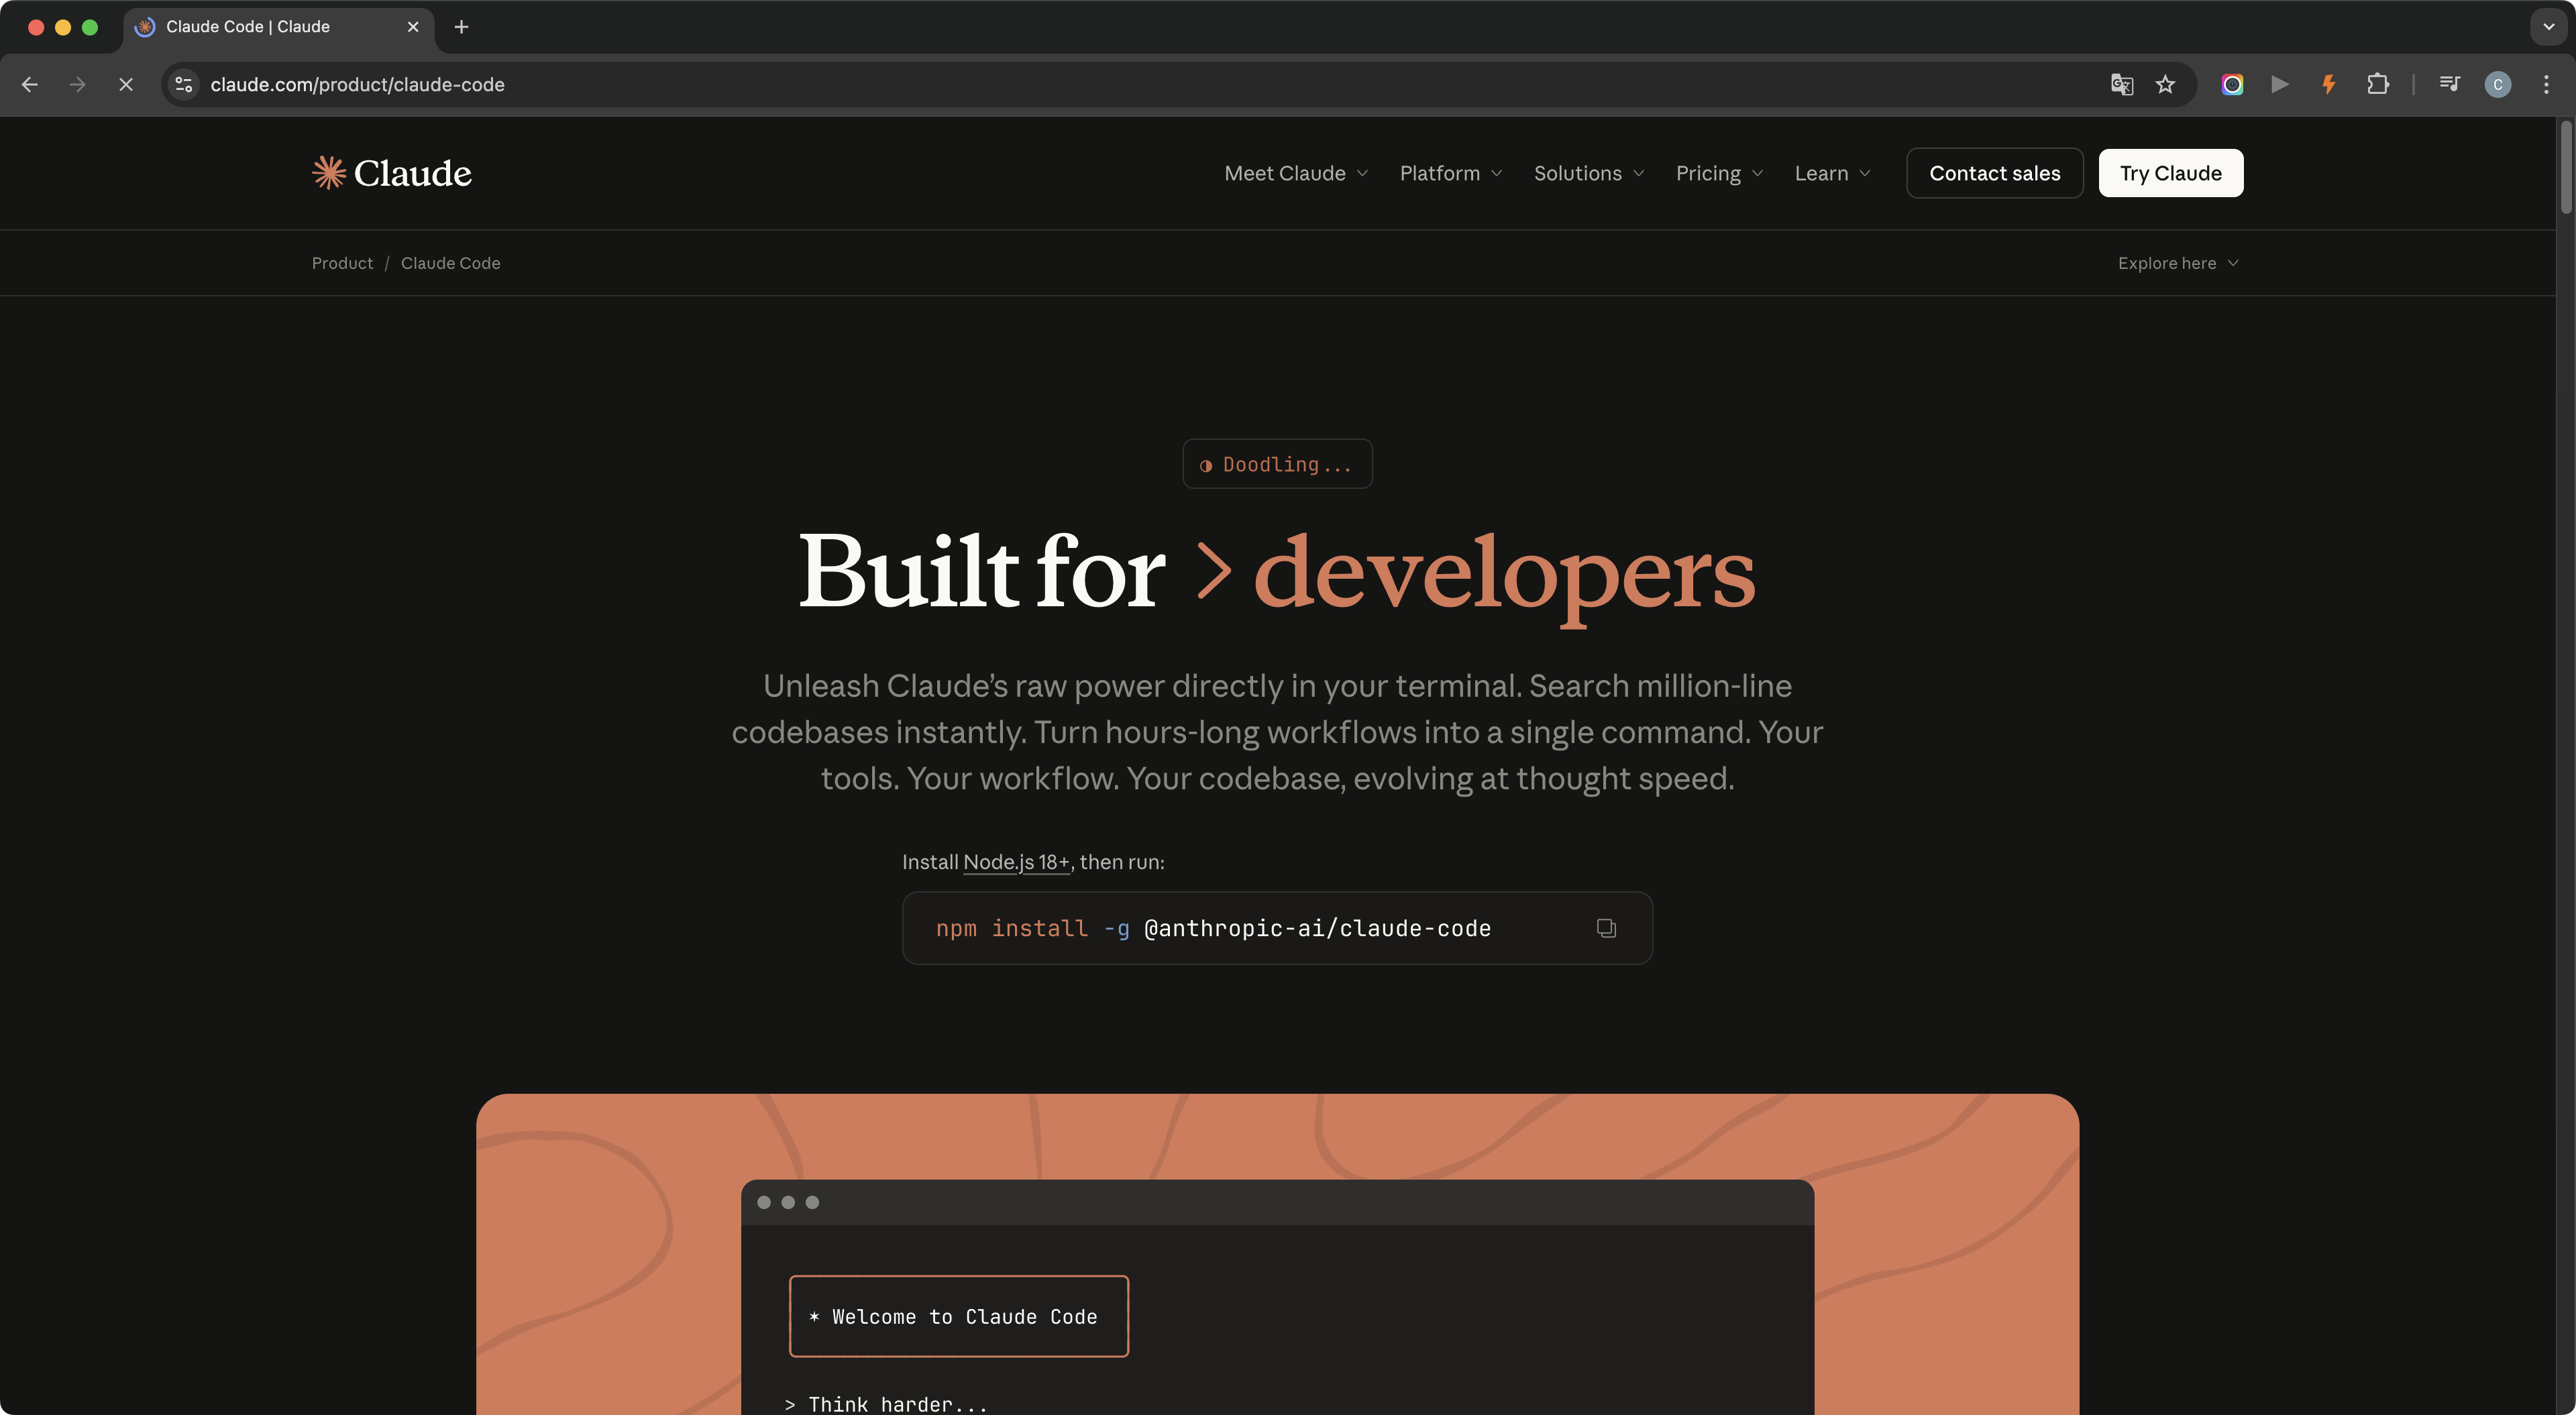
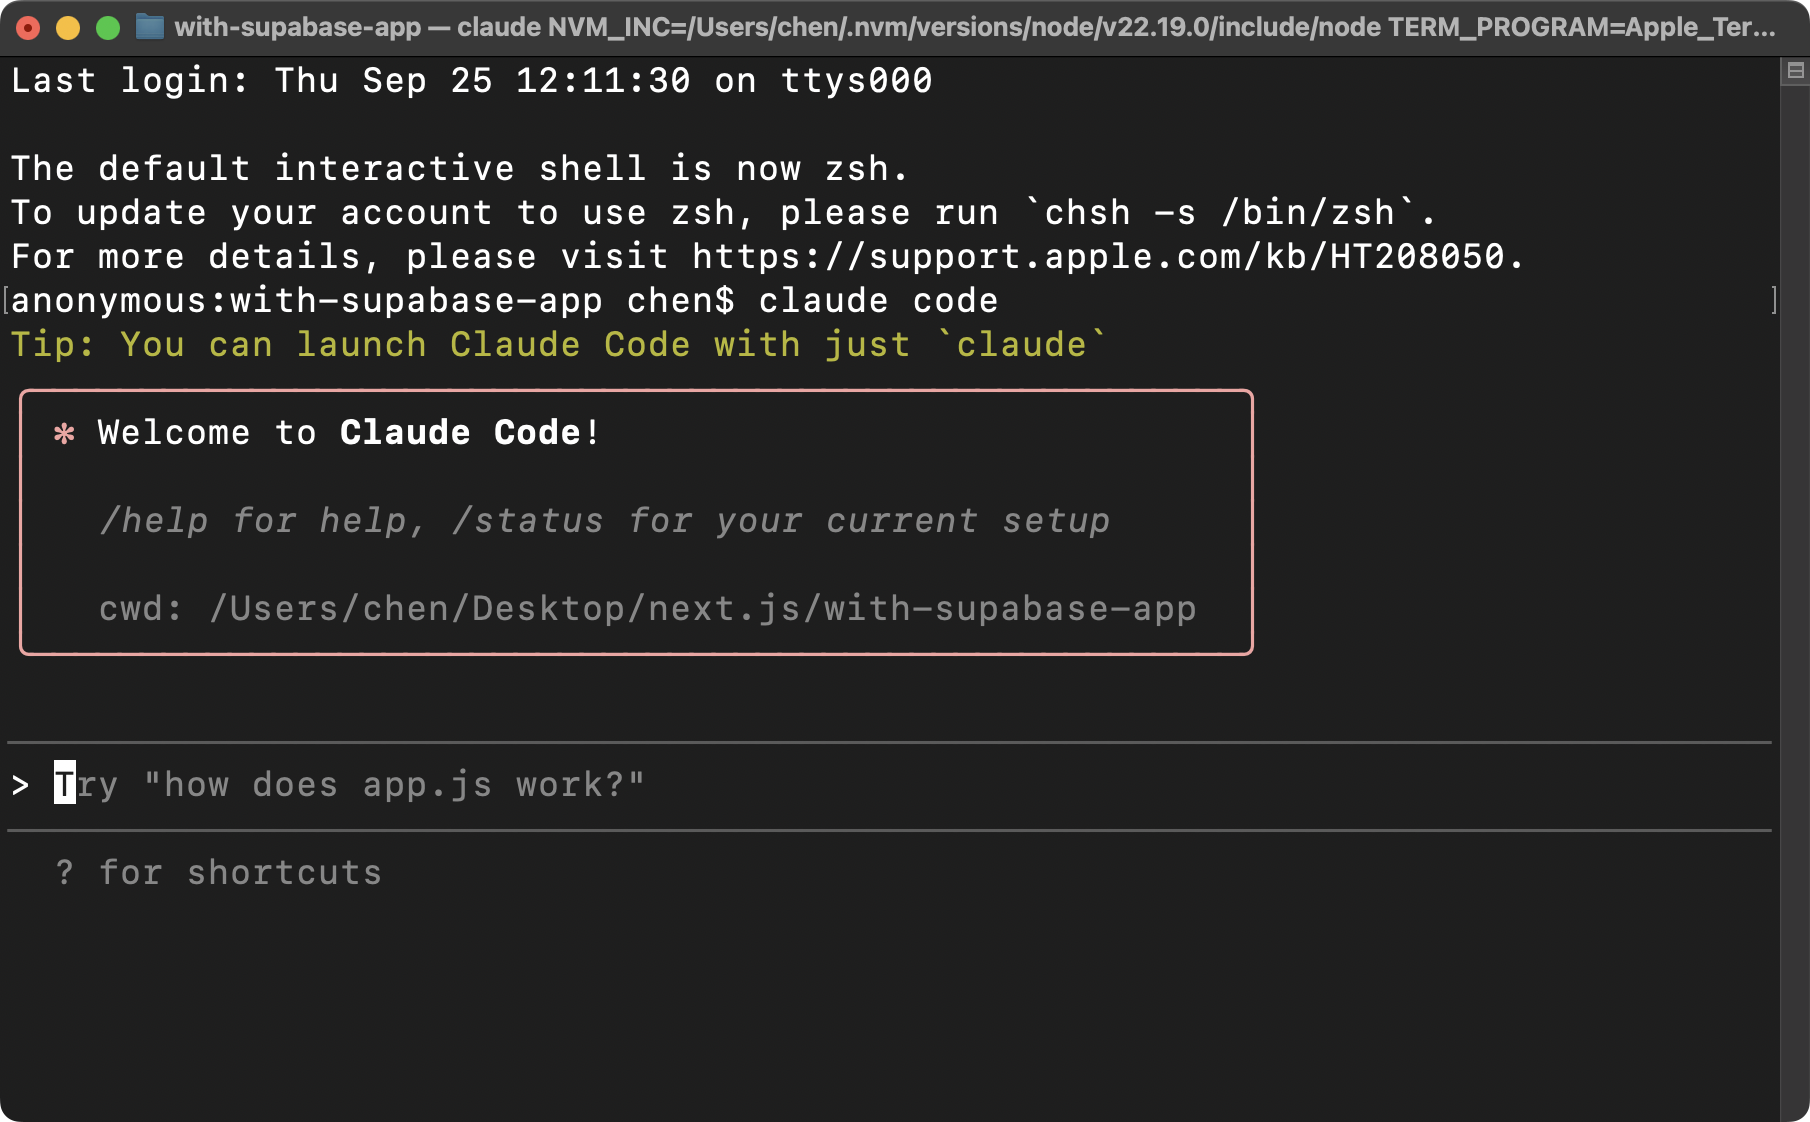
Claude Code requires Node.js 18 or newer. Before installing, open the terminal and check the current version. If it is below 18, update Node.js first before continuing.
Once the version is confirmed, install Claude Code globally from the terminal. The installation takes only a moment, and once it is done, Claude Code is available from any directory on the machine.
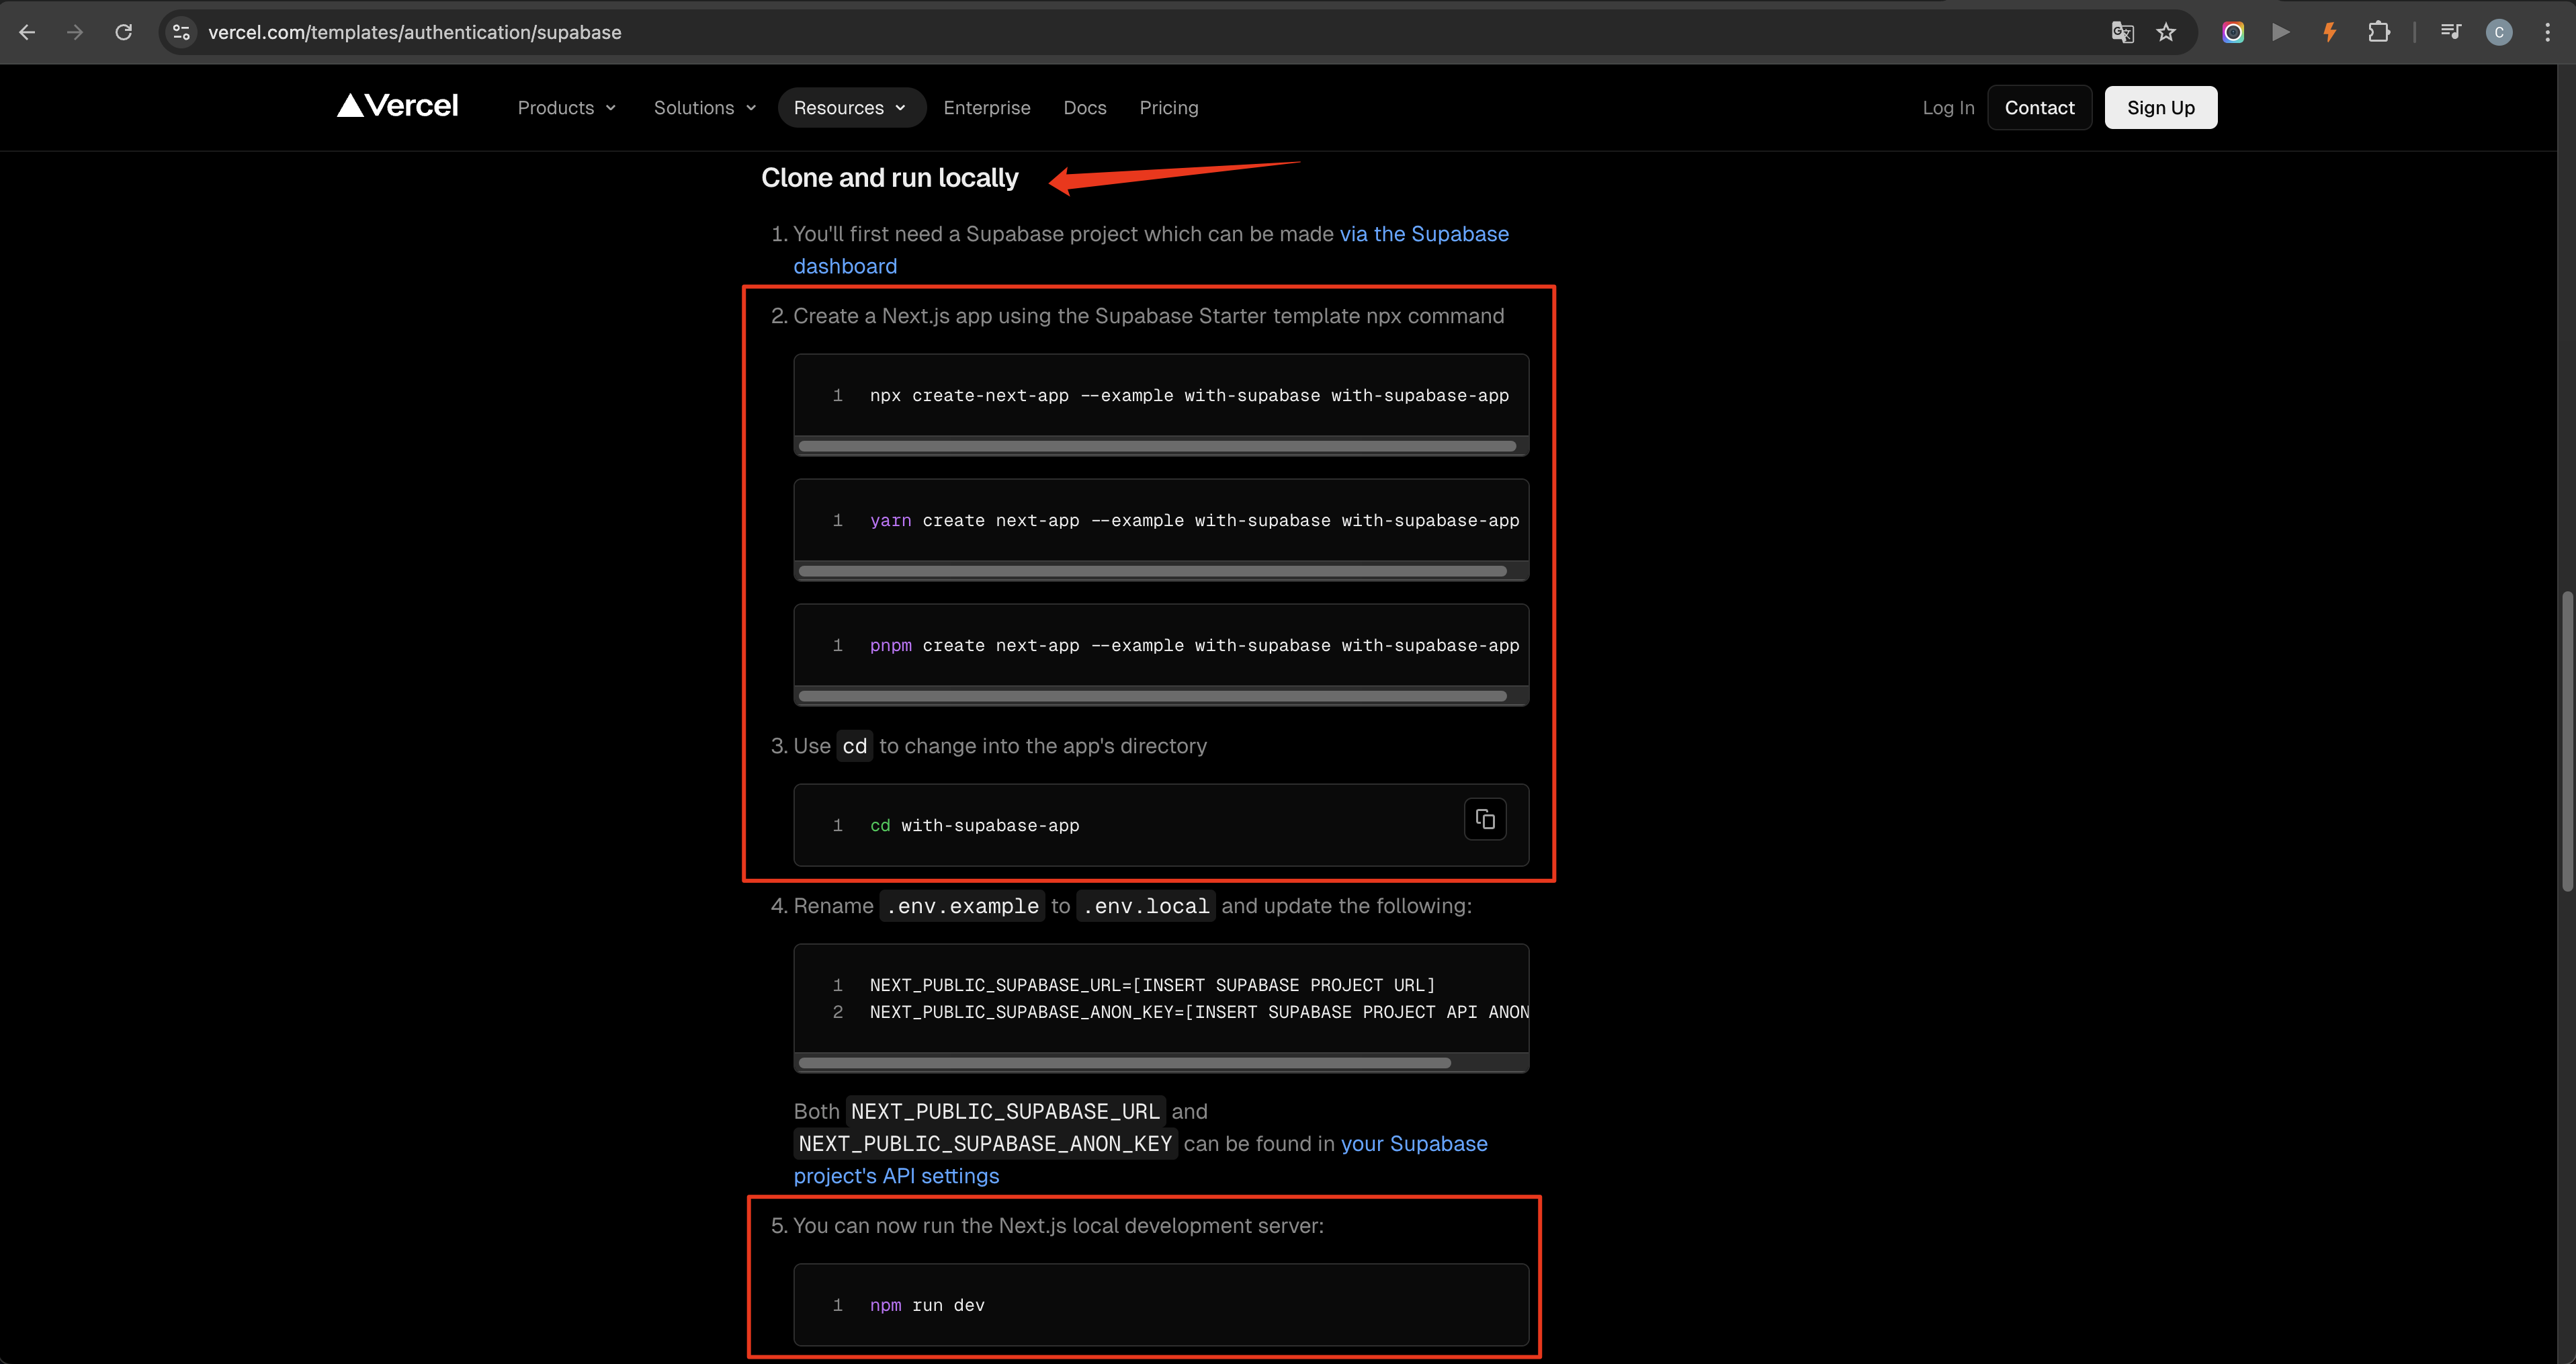
After choosing the template, open its repository page, copy the project URL, and clone it to the local machine. This brings the full project structure down and gives Claude Code a clear foundation to start from.
Development from here works through terminal conversations with Claude Code — describe what you want, let the AI inspect and edit the code, then review and redirect. The workflow is the same conversational loop as Cursor, but entirely text-based and terminal-driven.
3. Initialize the Project
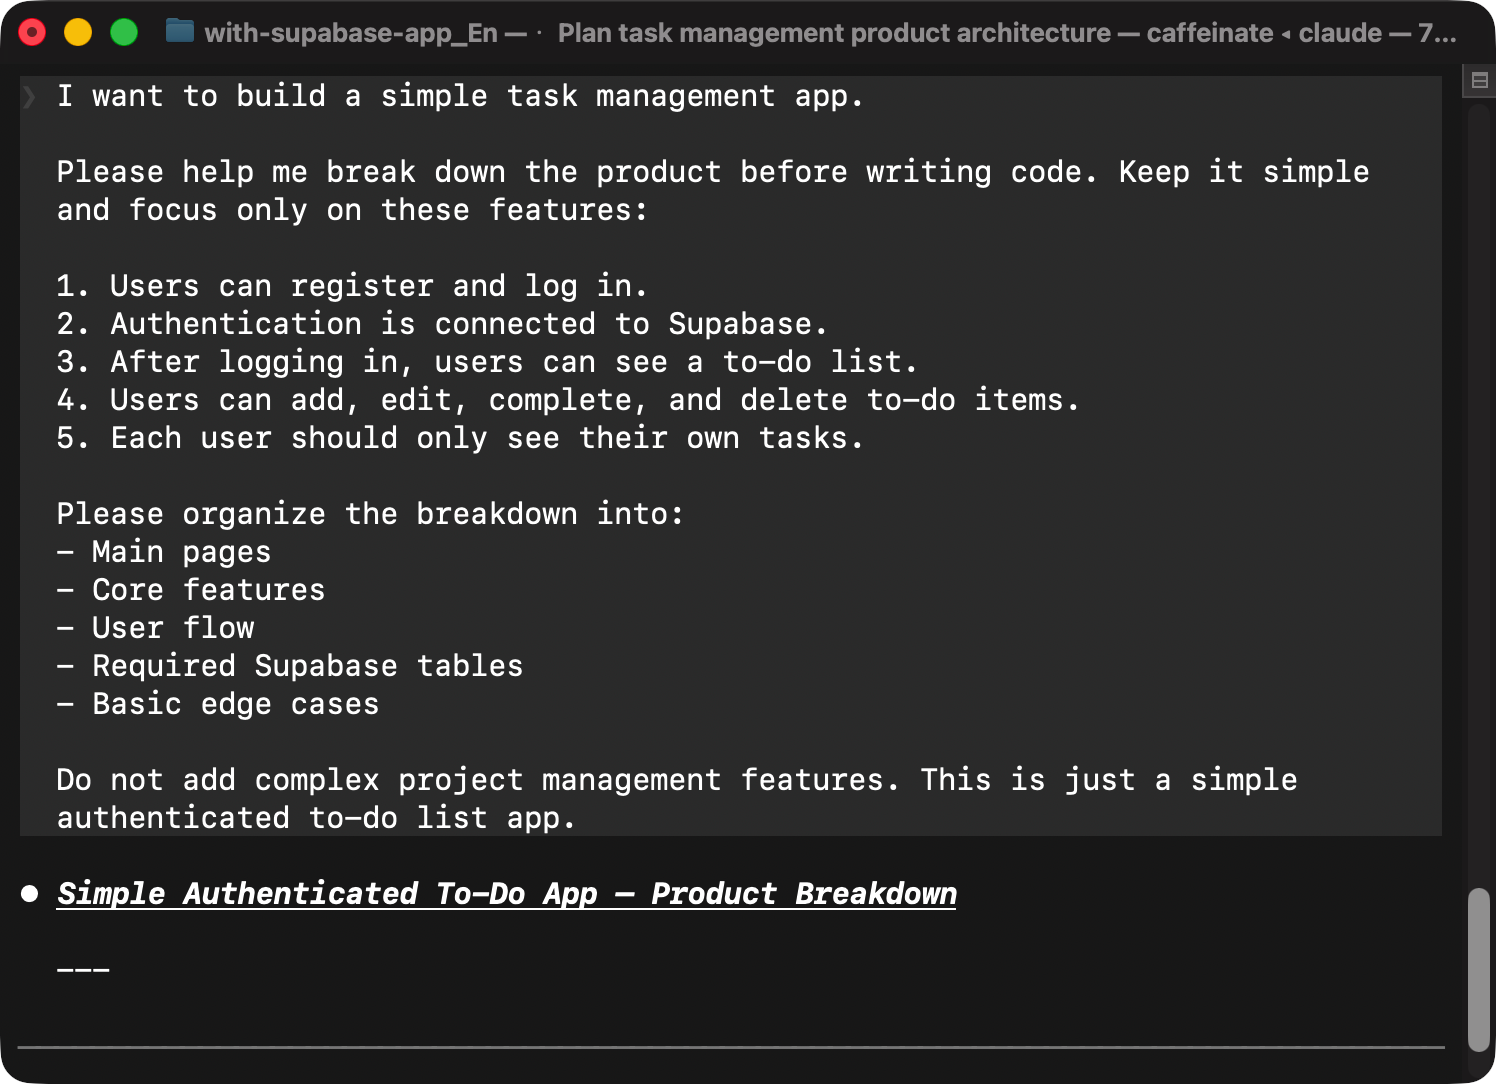
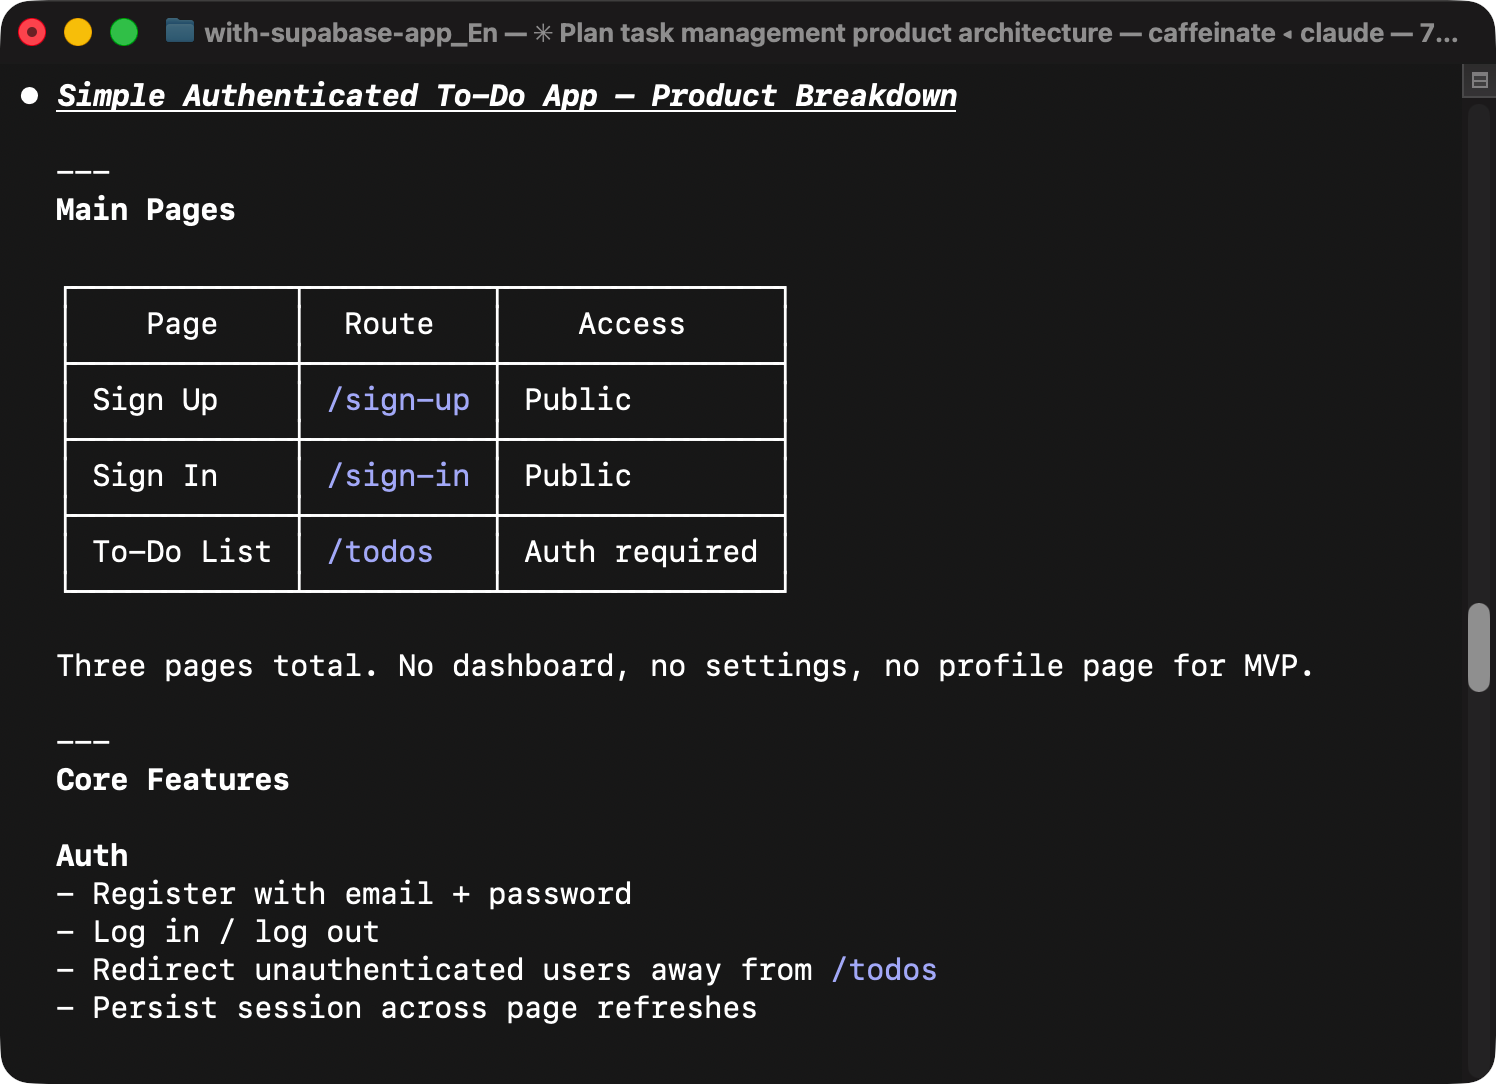
After the template is available locally, give Claude Code the first implementation request, scoped to three tasks:
- Remove the existing page content and keep only the header registration and login features.
- Prepare for Supabase integration, but do not add the Supabase API keys yet.
- Add the to-do list feature after the template content has been cleared.
The key practice here is to ask Claude Code to restate the requirements before it starts editing. Send the instructions, let Claude Code summarize its understanding, review the plan, and only then allow it to execute.
This confirmation step prevents unfocused changes. When the AI repeats the requirements back, missing details surface before any code is modified — not after.
4. Set Up Supabase
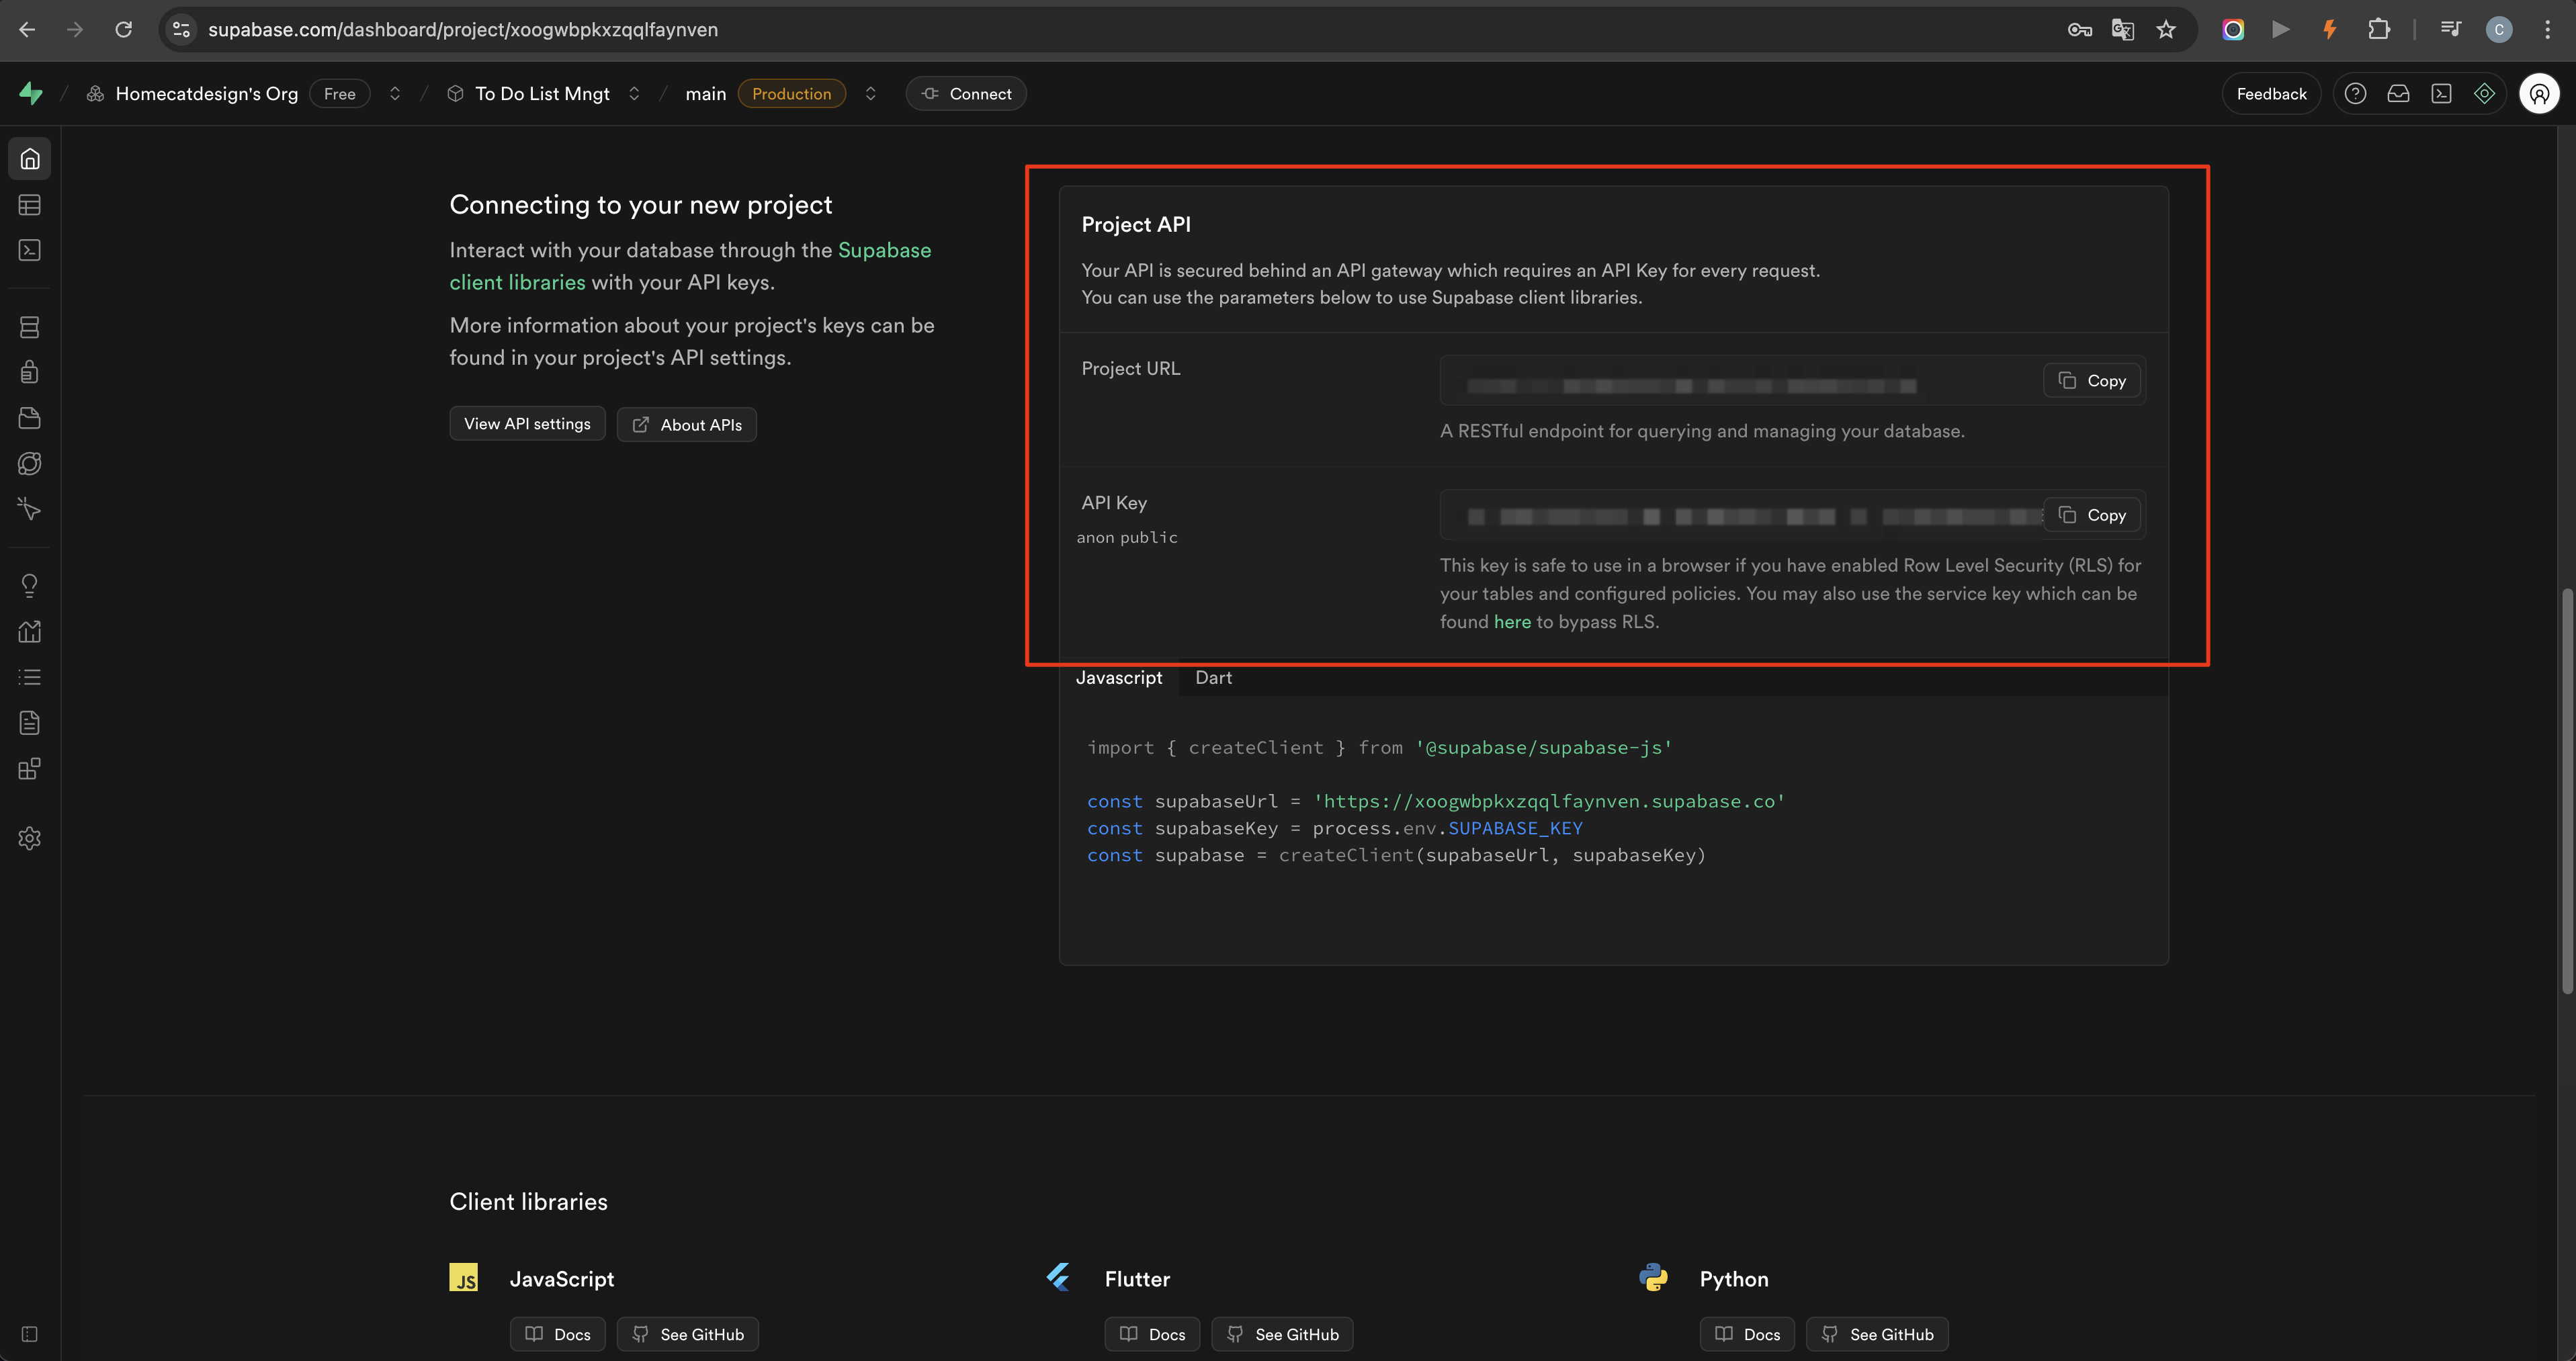
After creating a Supabase project, copy the project URL and API key into the local website configuration. Store these values in environment configuration — not hard-coded into the application — so Claude Code can connect the frontend to the backend securely.
Supabase Authentication
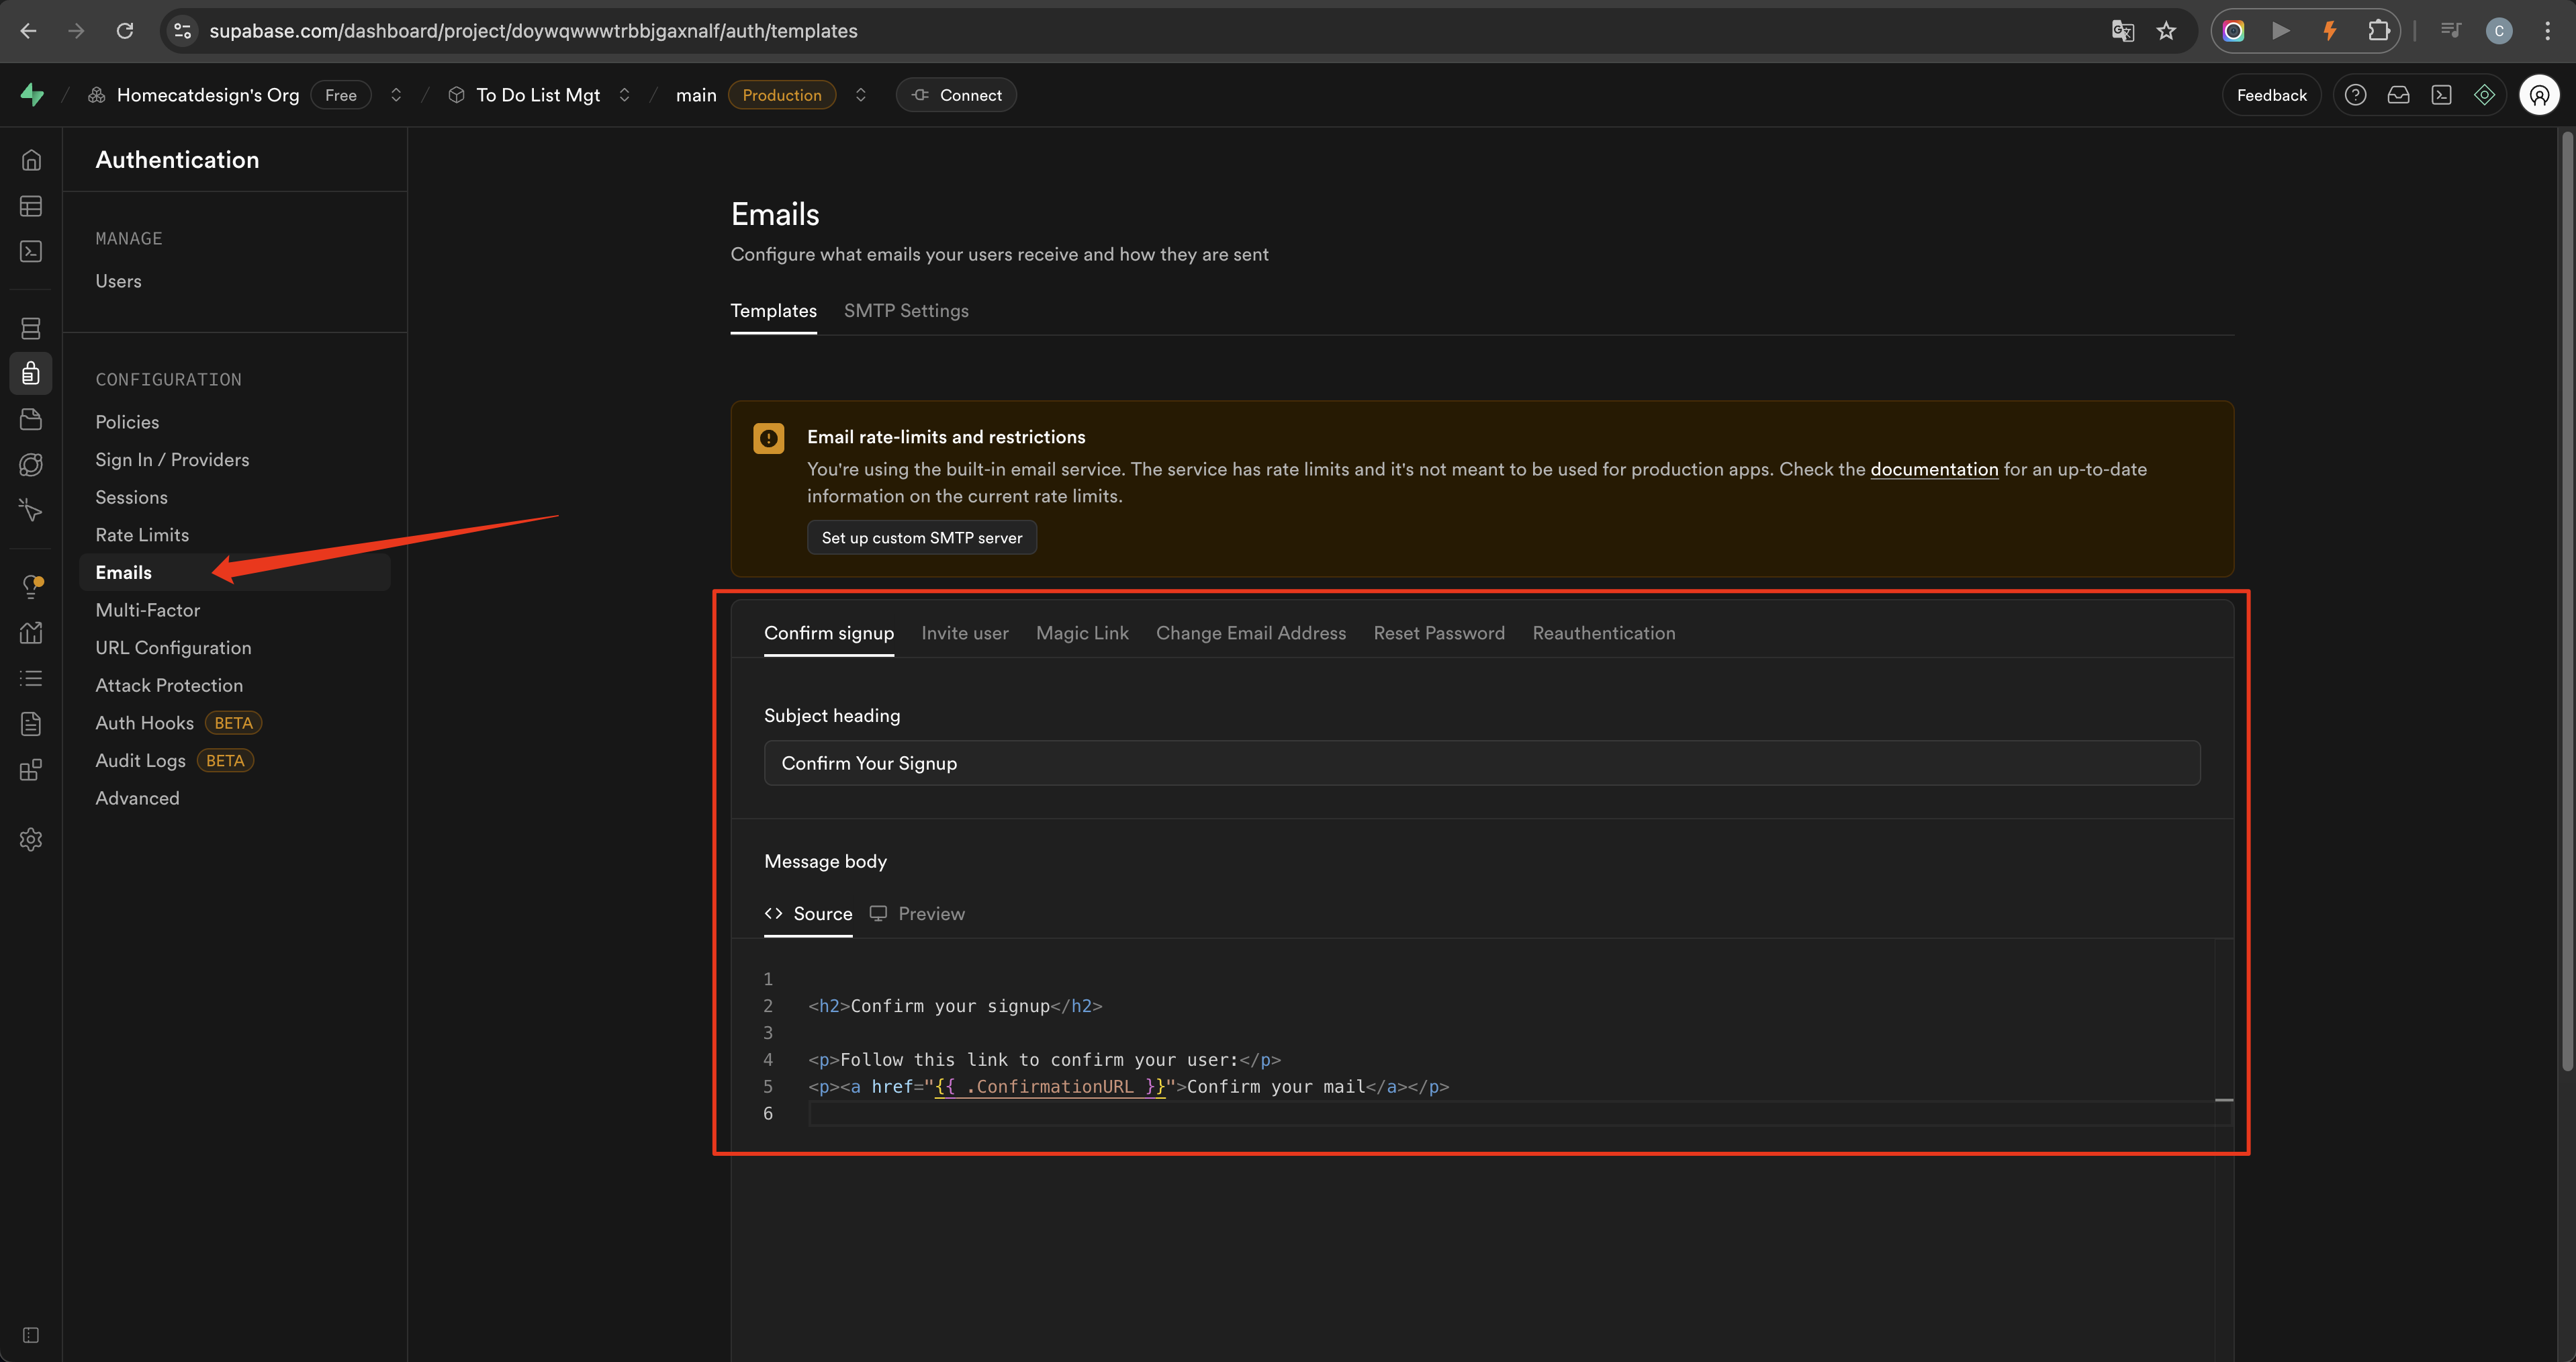
In the Supabase project dashboard, open the Authentication section and enable email-based login. The default confirmation email template is enough for a demo or tutorial project. For a production product, configure SMTP so more users can register reliably — the default sending option has limits.
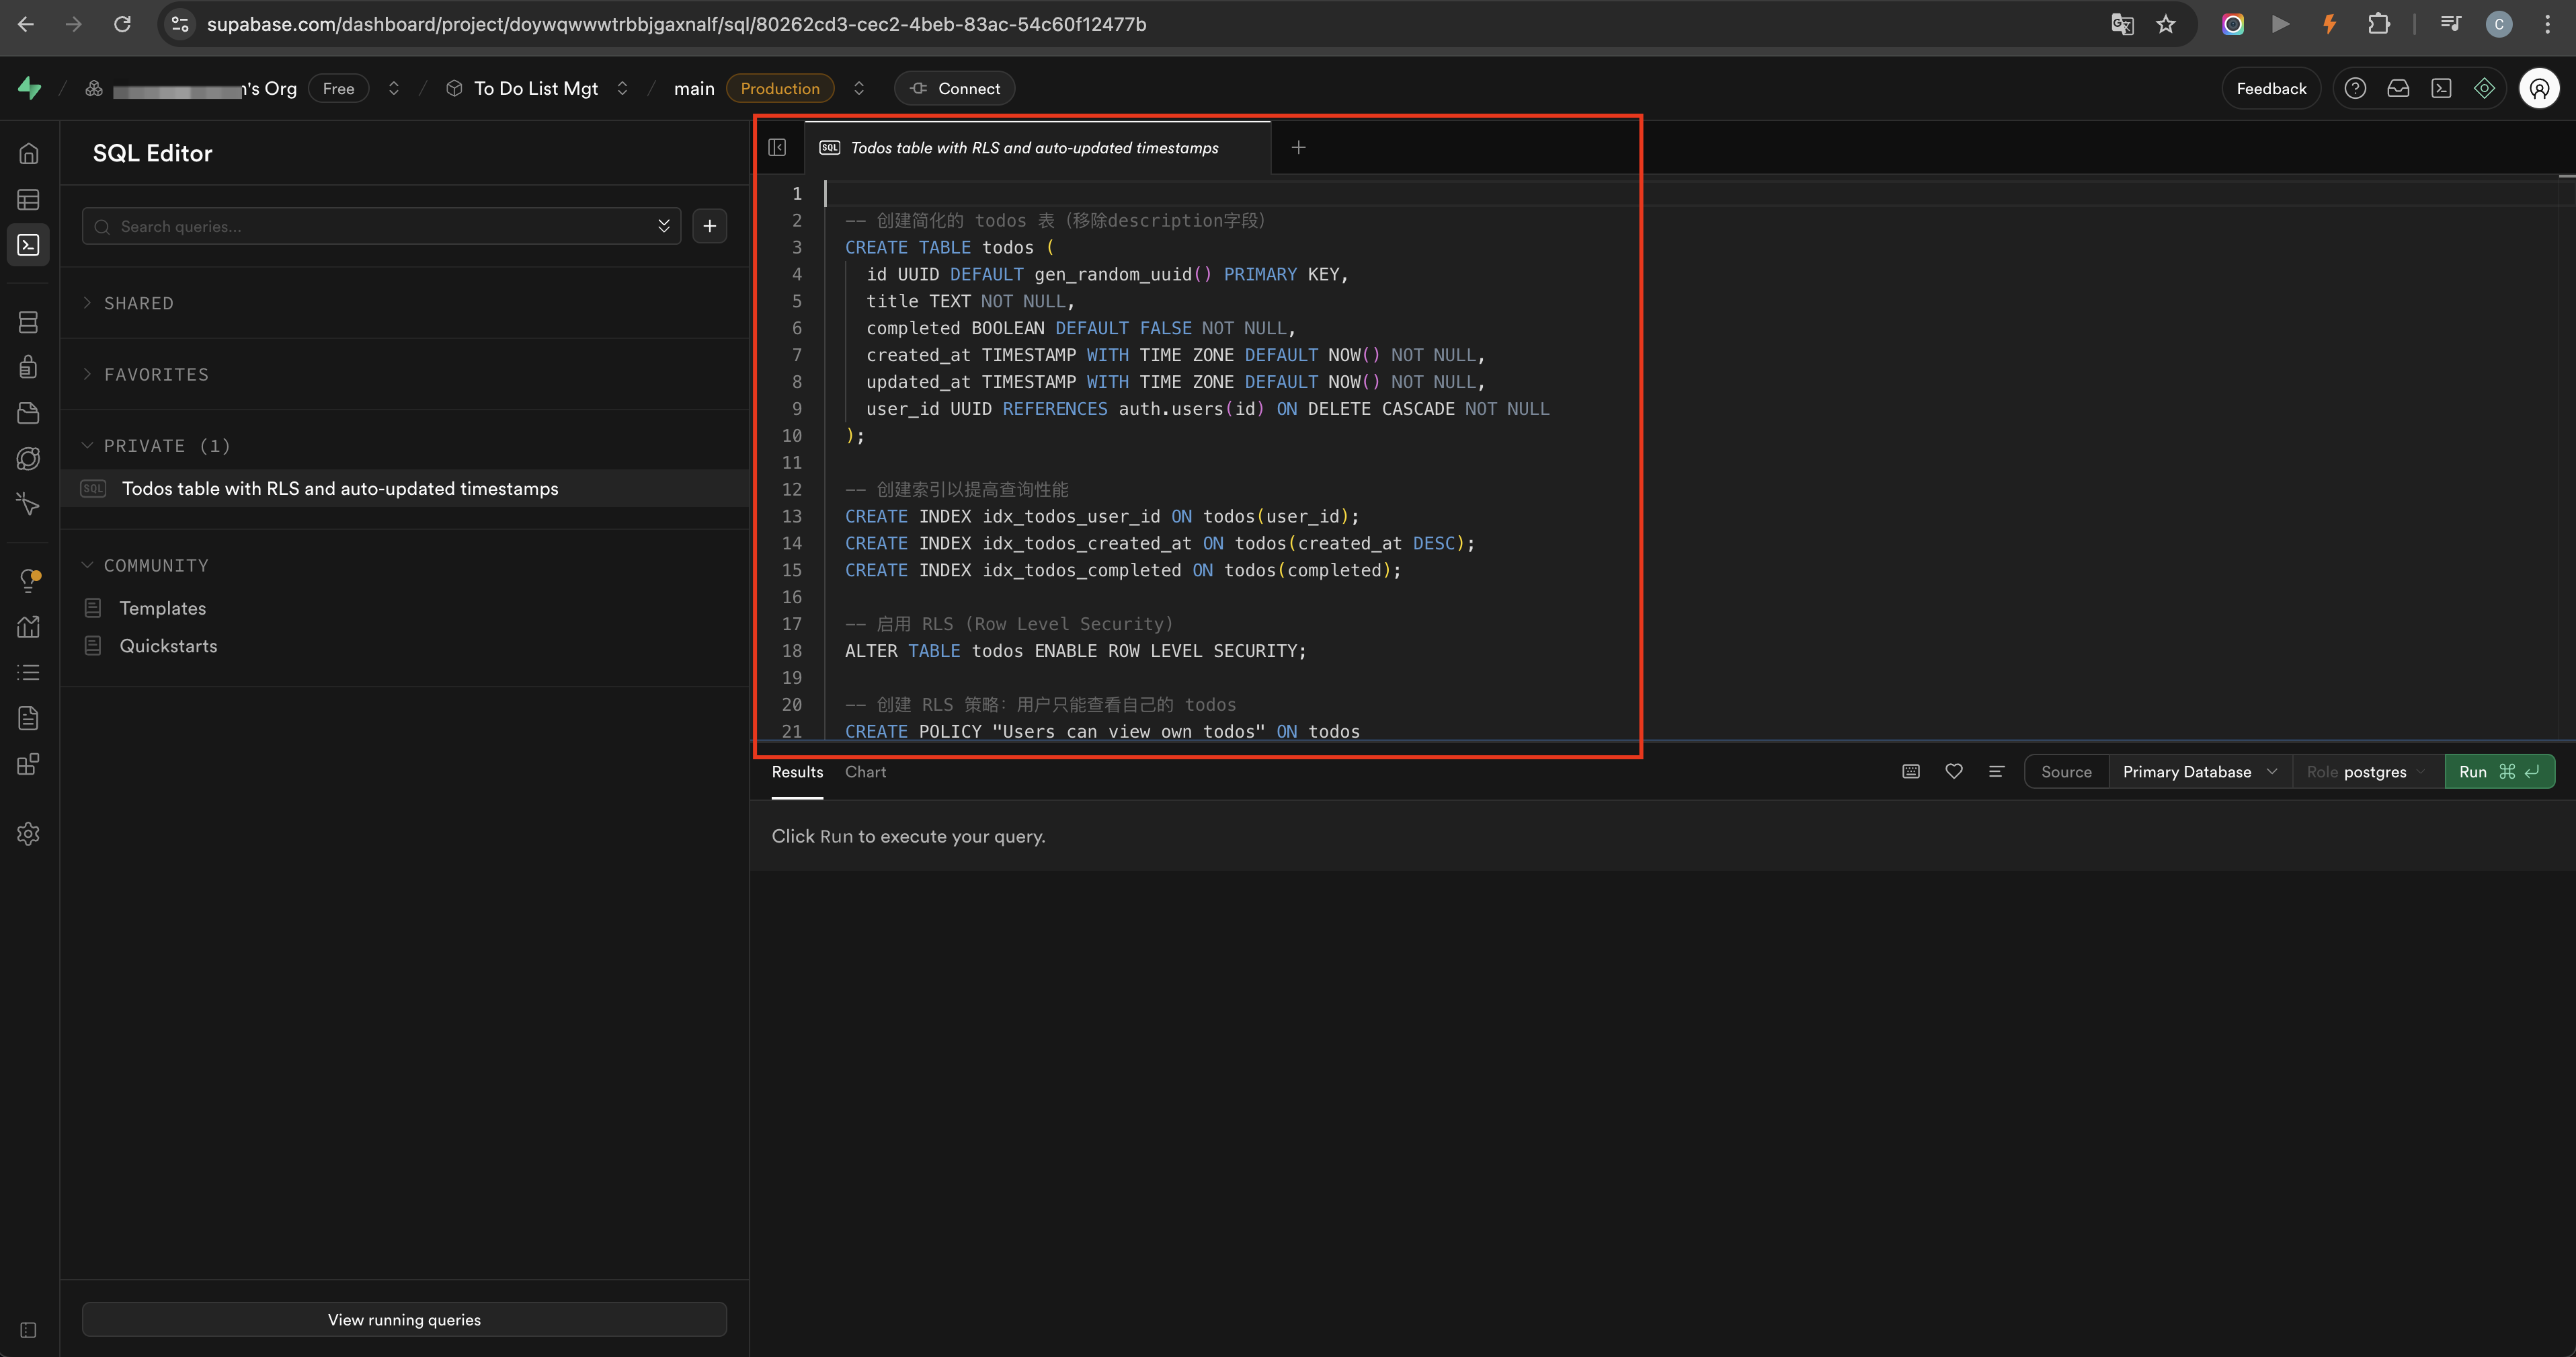
Database Table Creation
Describe the task storage requirements to Claude Code and ask it to plan the implementation before making changes. Claude Code generates the SQL needed to create the table, which is then copied into Supabase and executed. This creates the backend table that stores each user's to-do items: task content, completion state, IDs, and ownership.
5. Define Login Feature
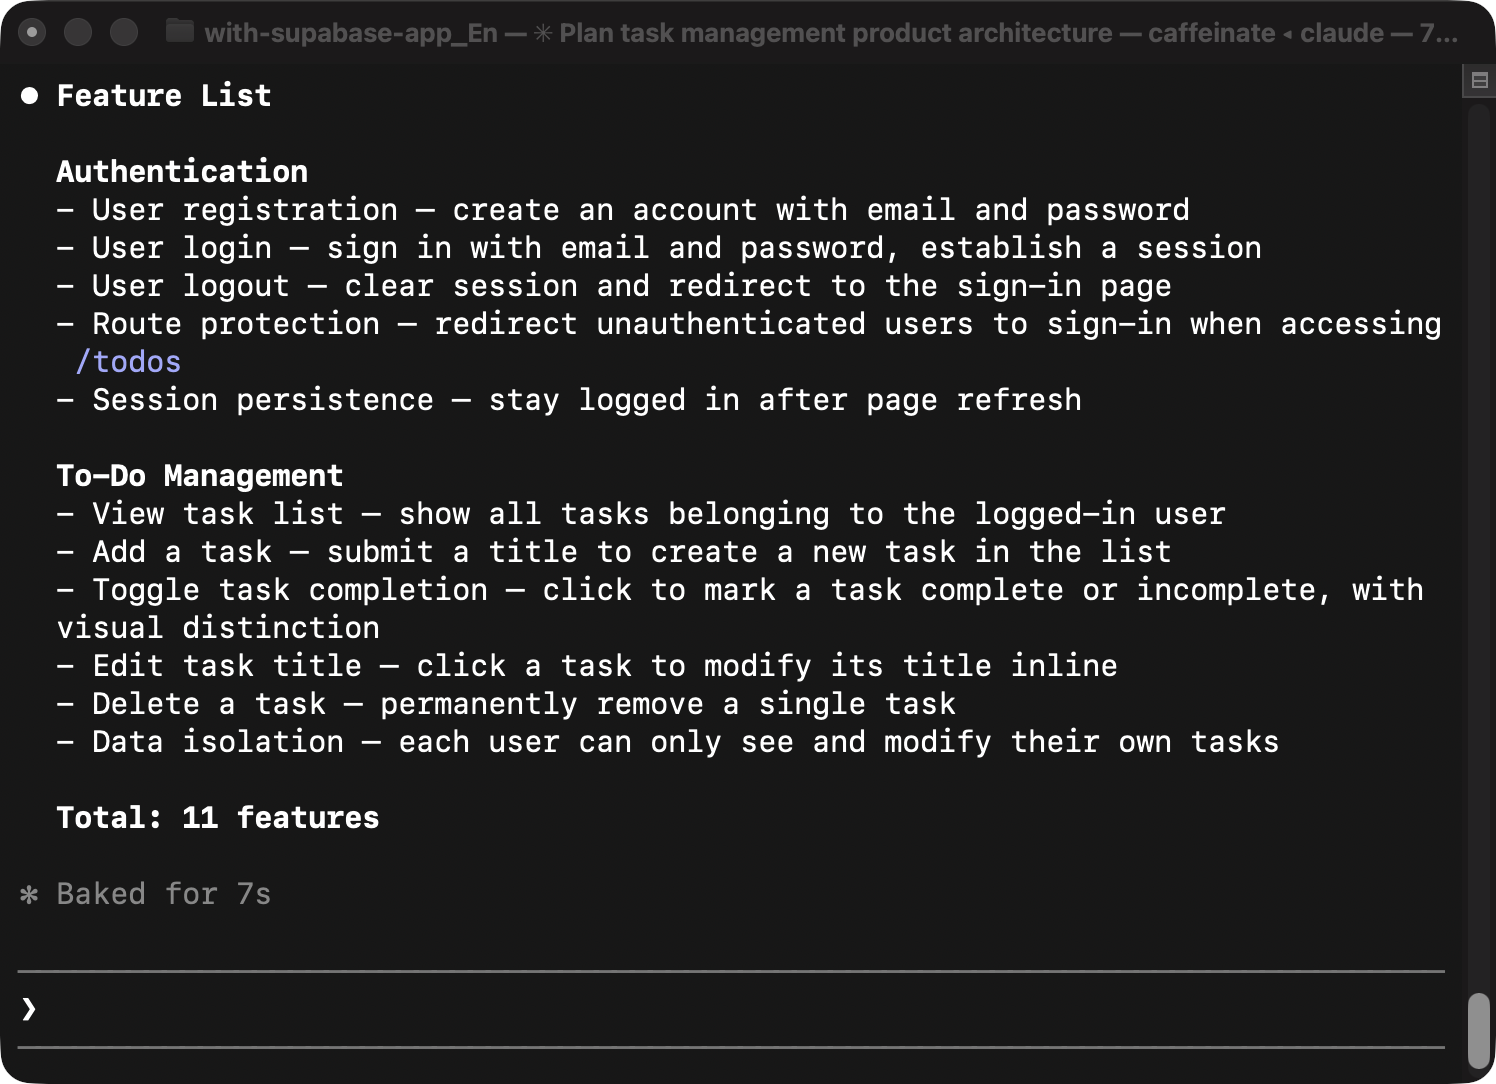
The core product decision here is a two-status experience: the same interface works whether the user is logged in or not, but the storage behavior is different. Both statuses support the same task operations — add, edit, complete, and delete. What changes is where the data goes.
Guest Status
When the user is not logged in:
- Tasks are not written to the Supabase database.
- Tasks are not preserved after the page is reopened.
Login Status
When the user is logged in:
- Tasks are saved to the Supabase backend database.
- When the user logs in again later, the previously saved tasks are still available and can be managed.
6. Test the Product
The product is not done when the code runs. This section verifies that every state in the full loop actually works: registration, guest behavior, logged-in behavior, database writes, updates, completion, and deletion.
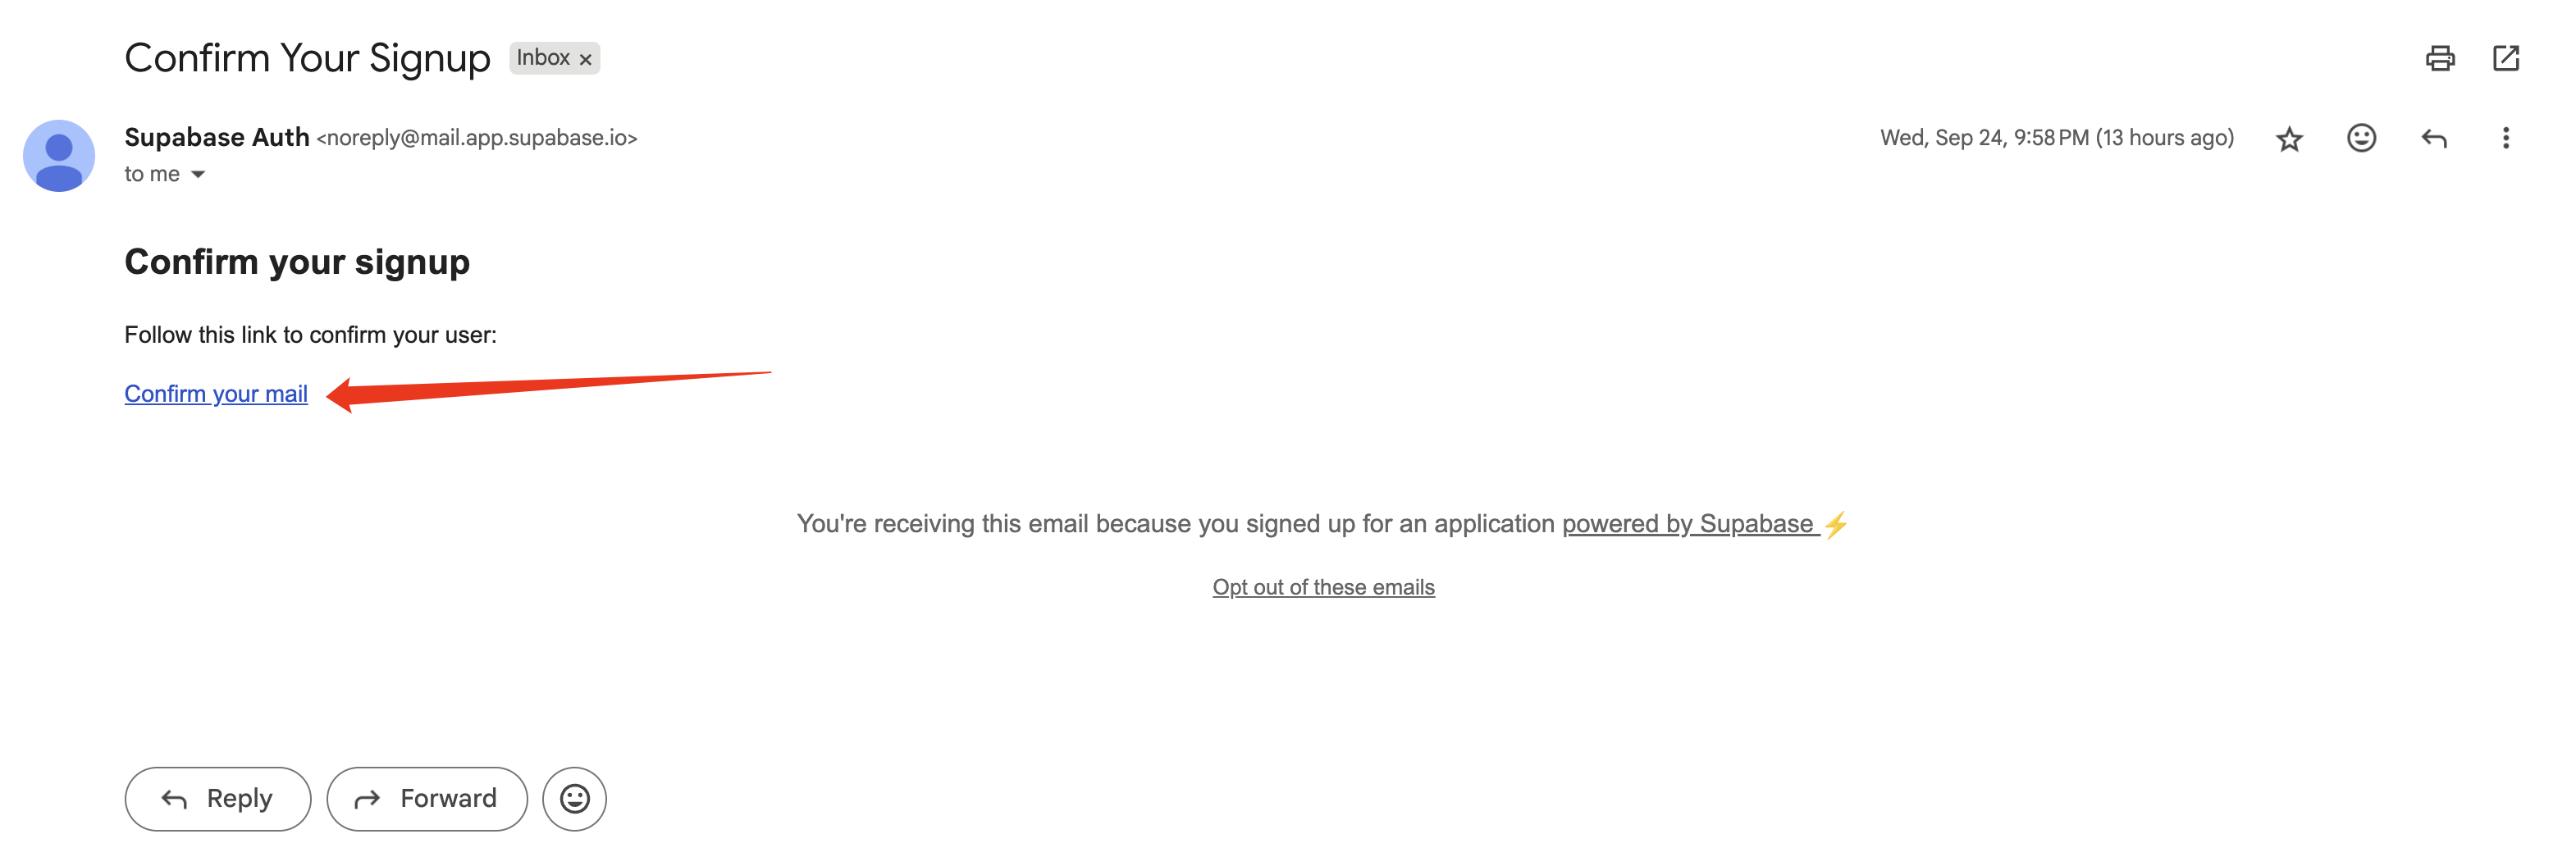
Register and Verify Email
Click register on the homepage, then open the confirmation email sent by Supabase. After clicking the confirmation link, the user account should be activated.
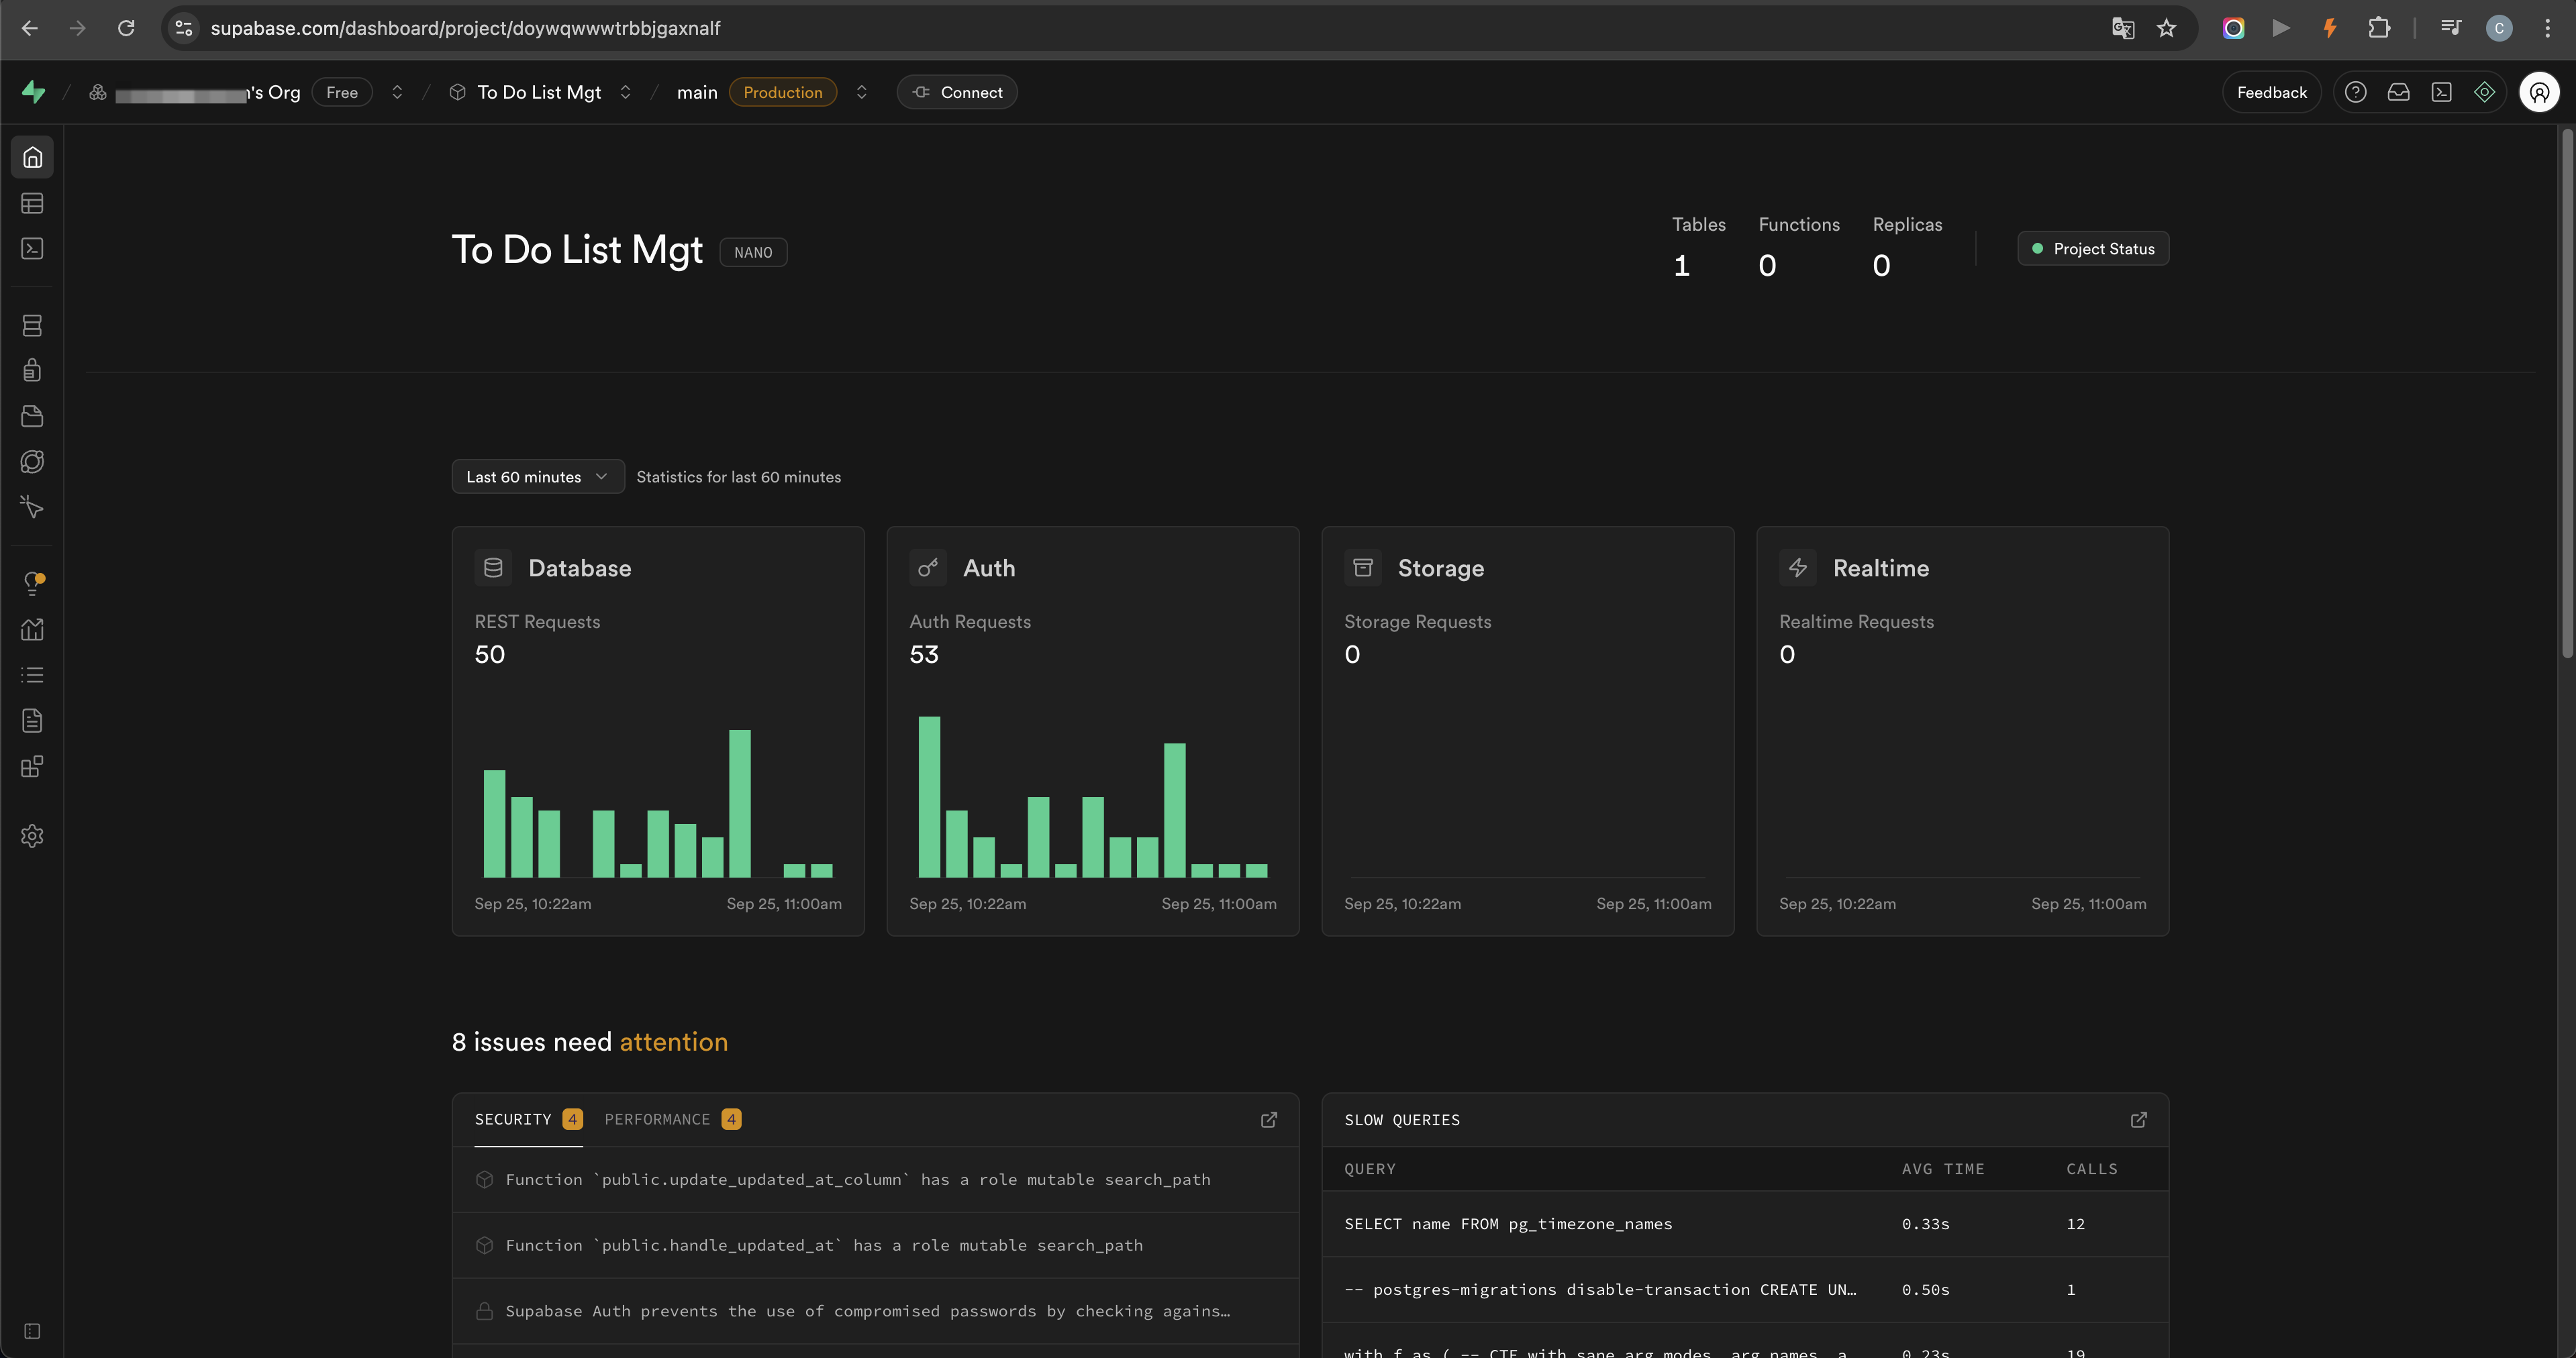
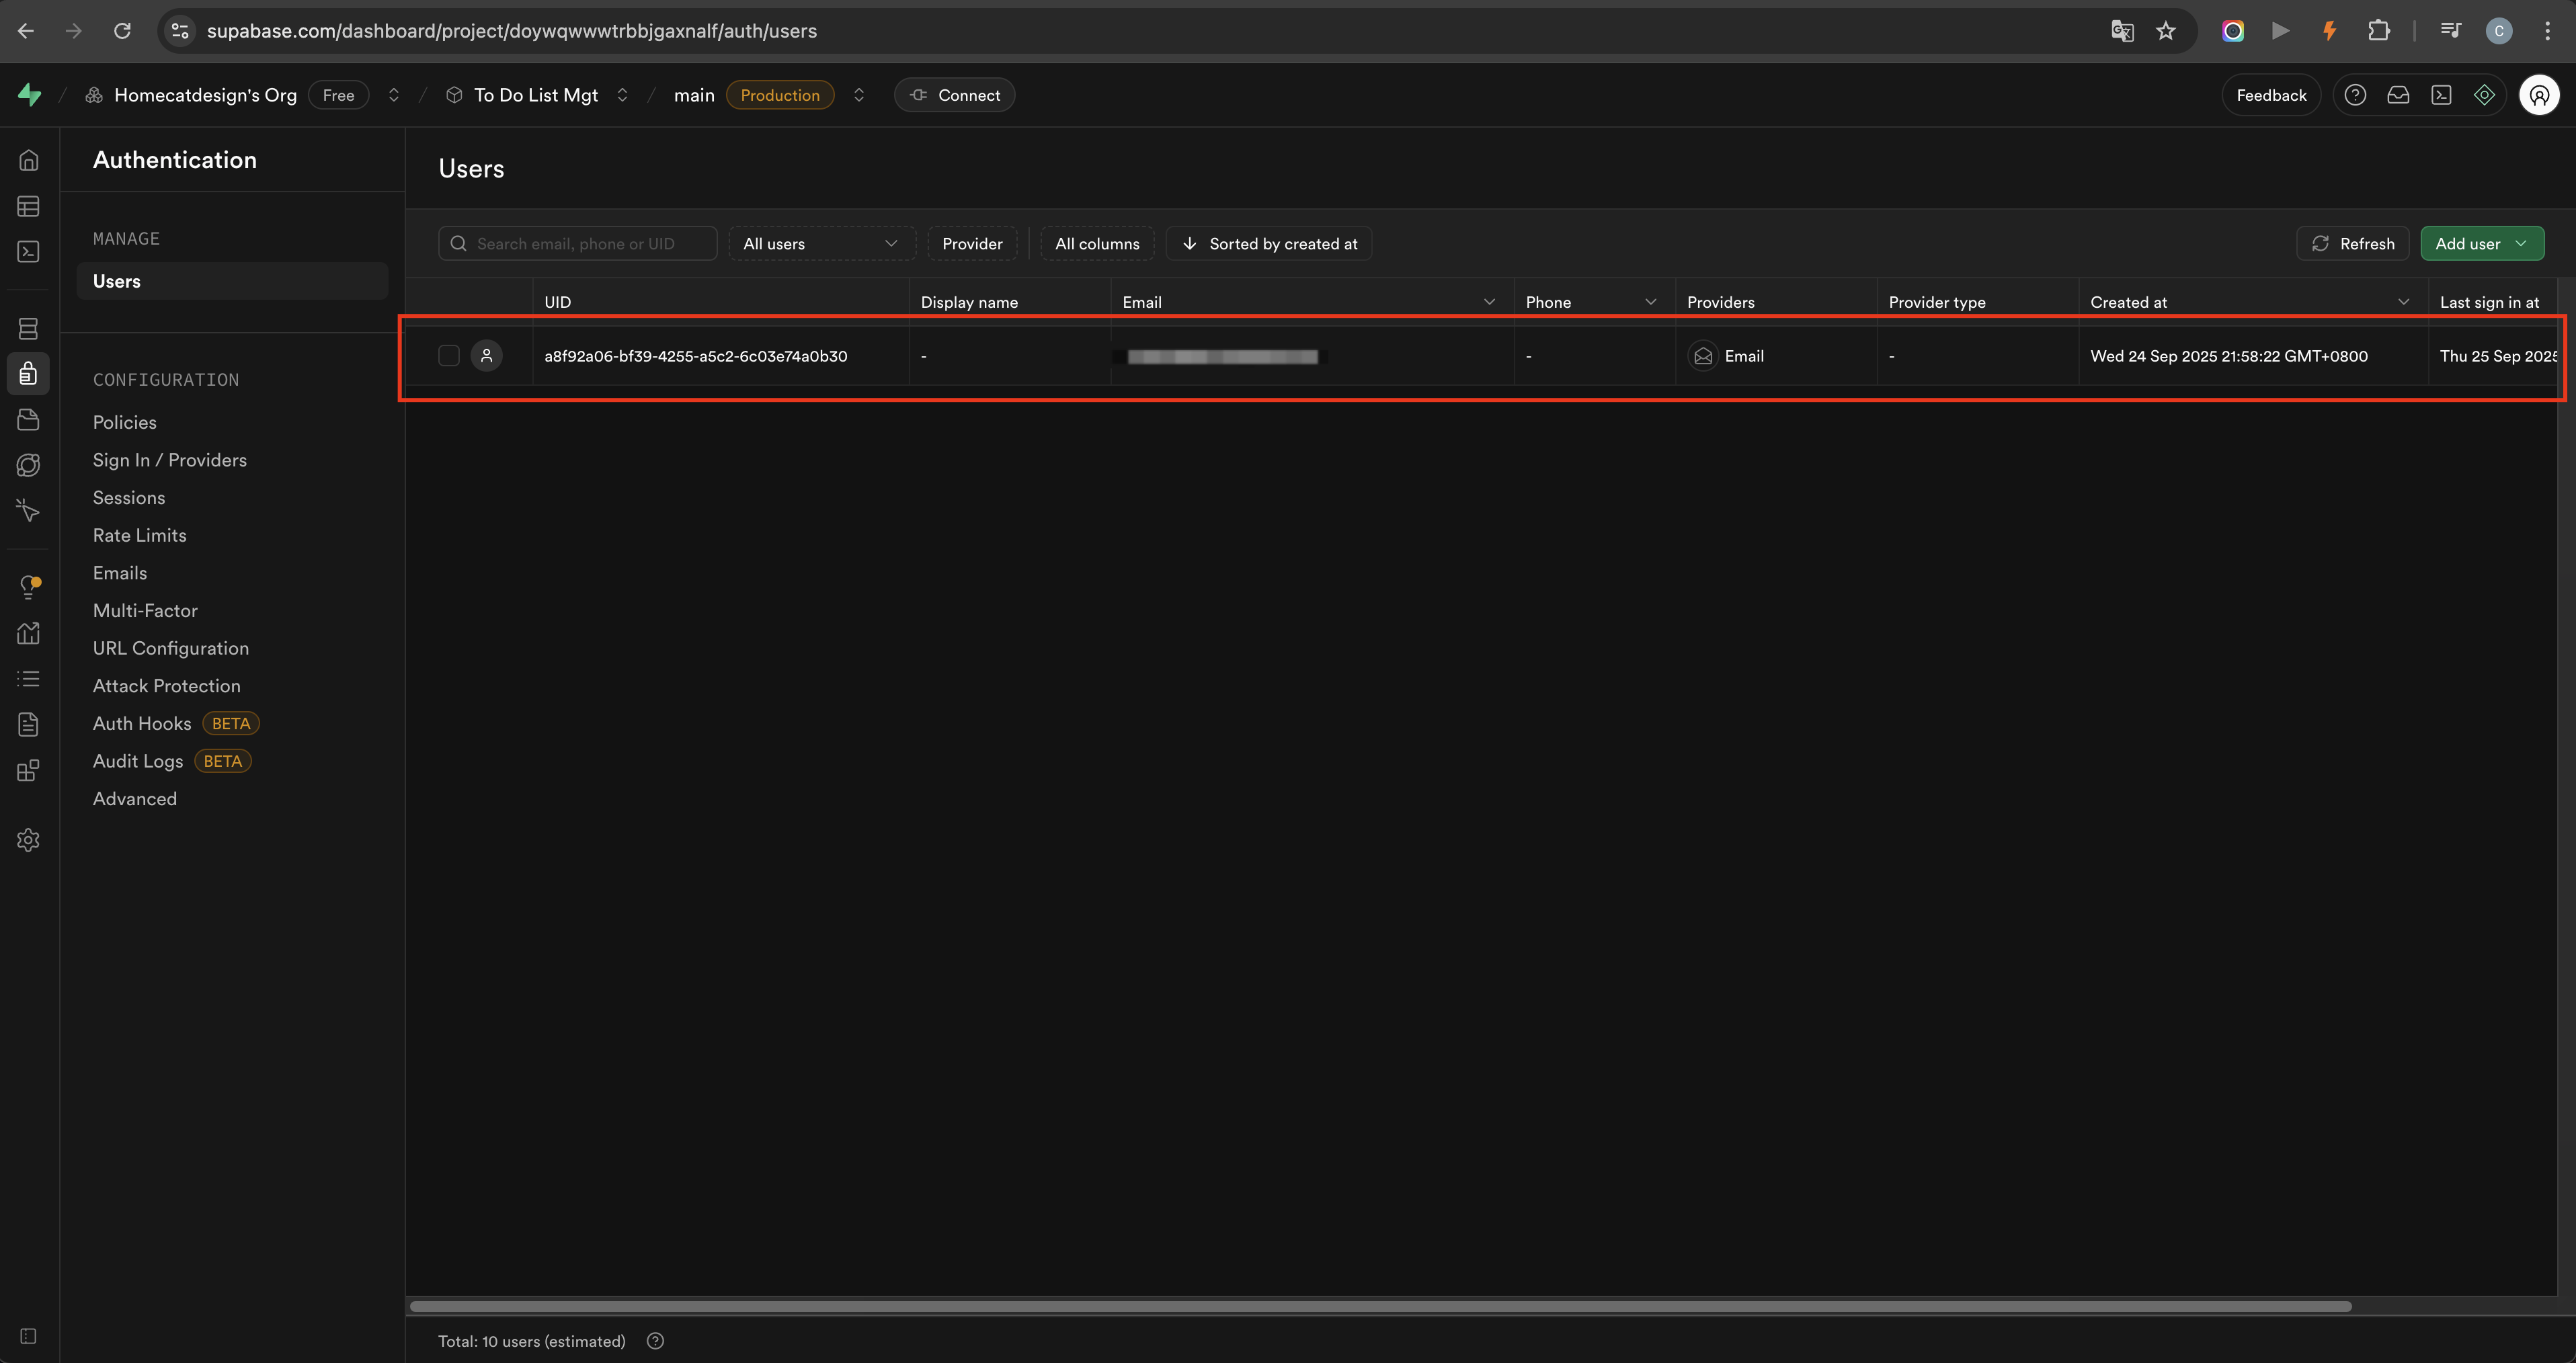
Return to Supabase and open the Authentication users list. If a new user appears there, the frontend registration flow is connected to the backend.
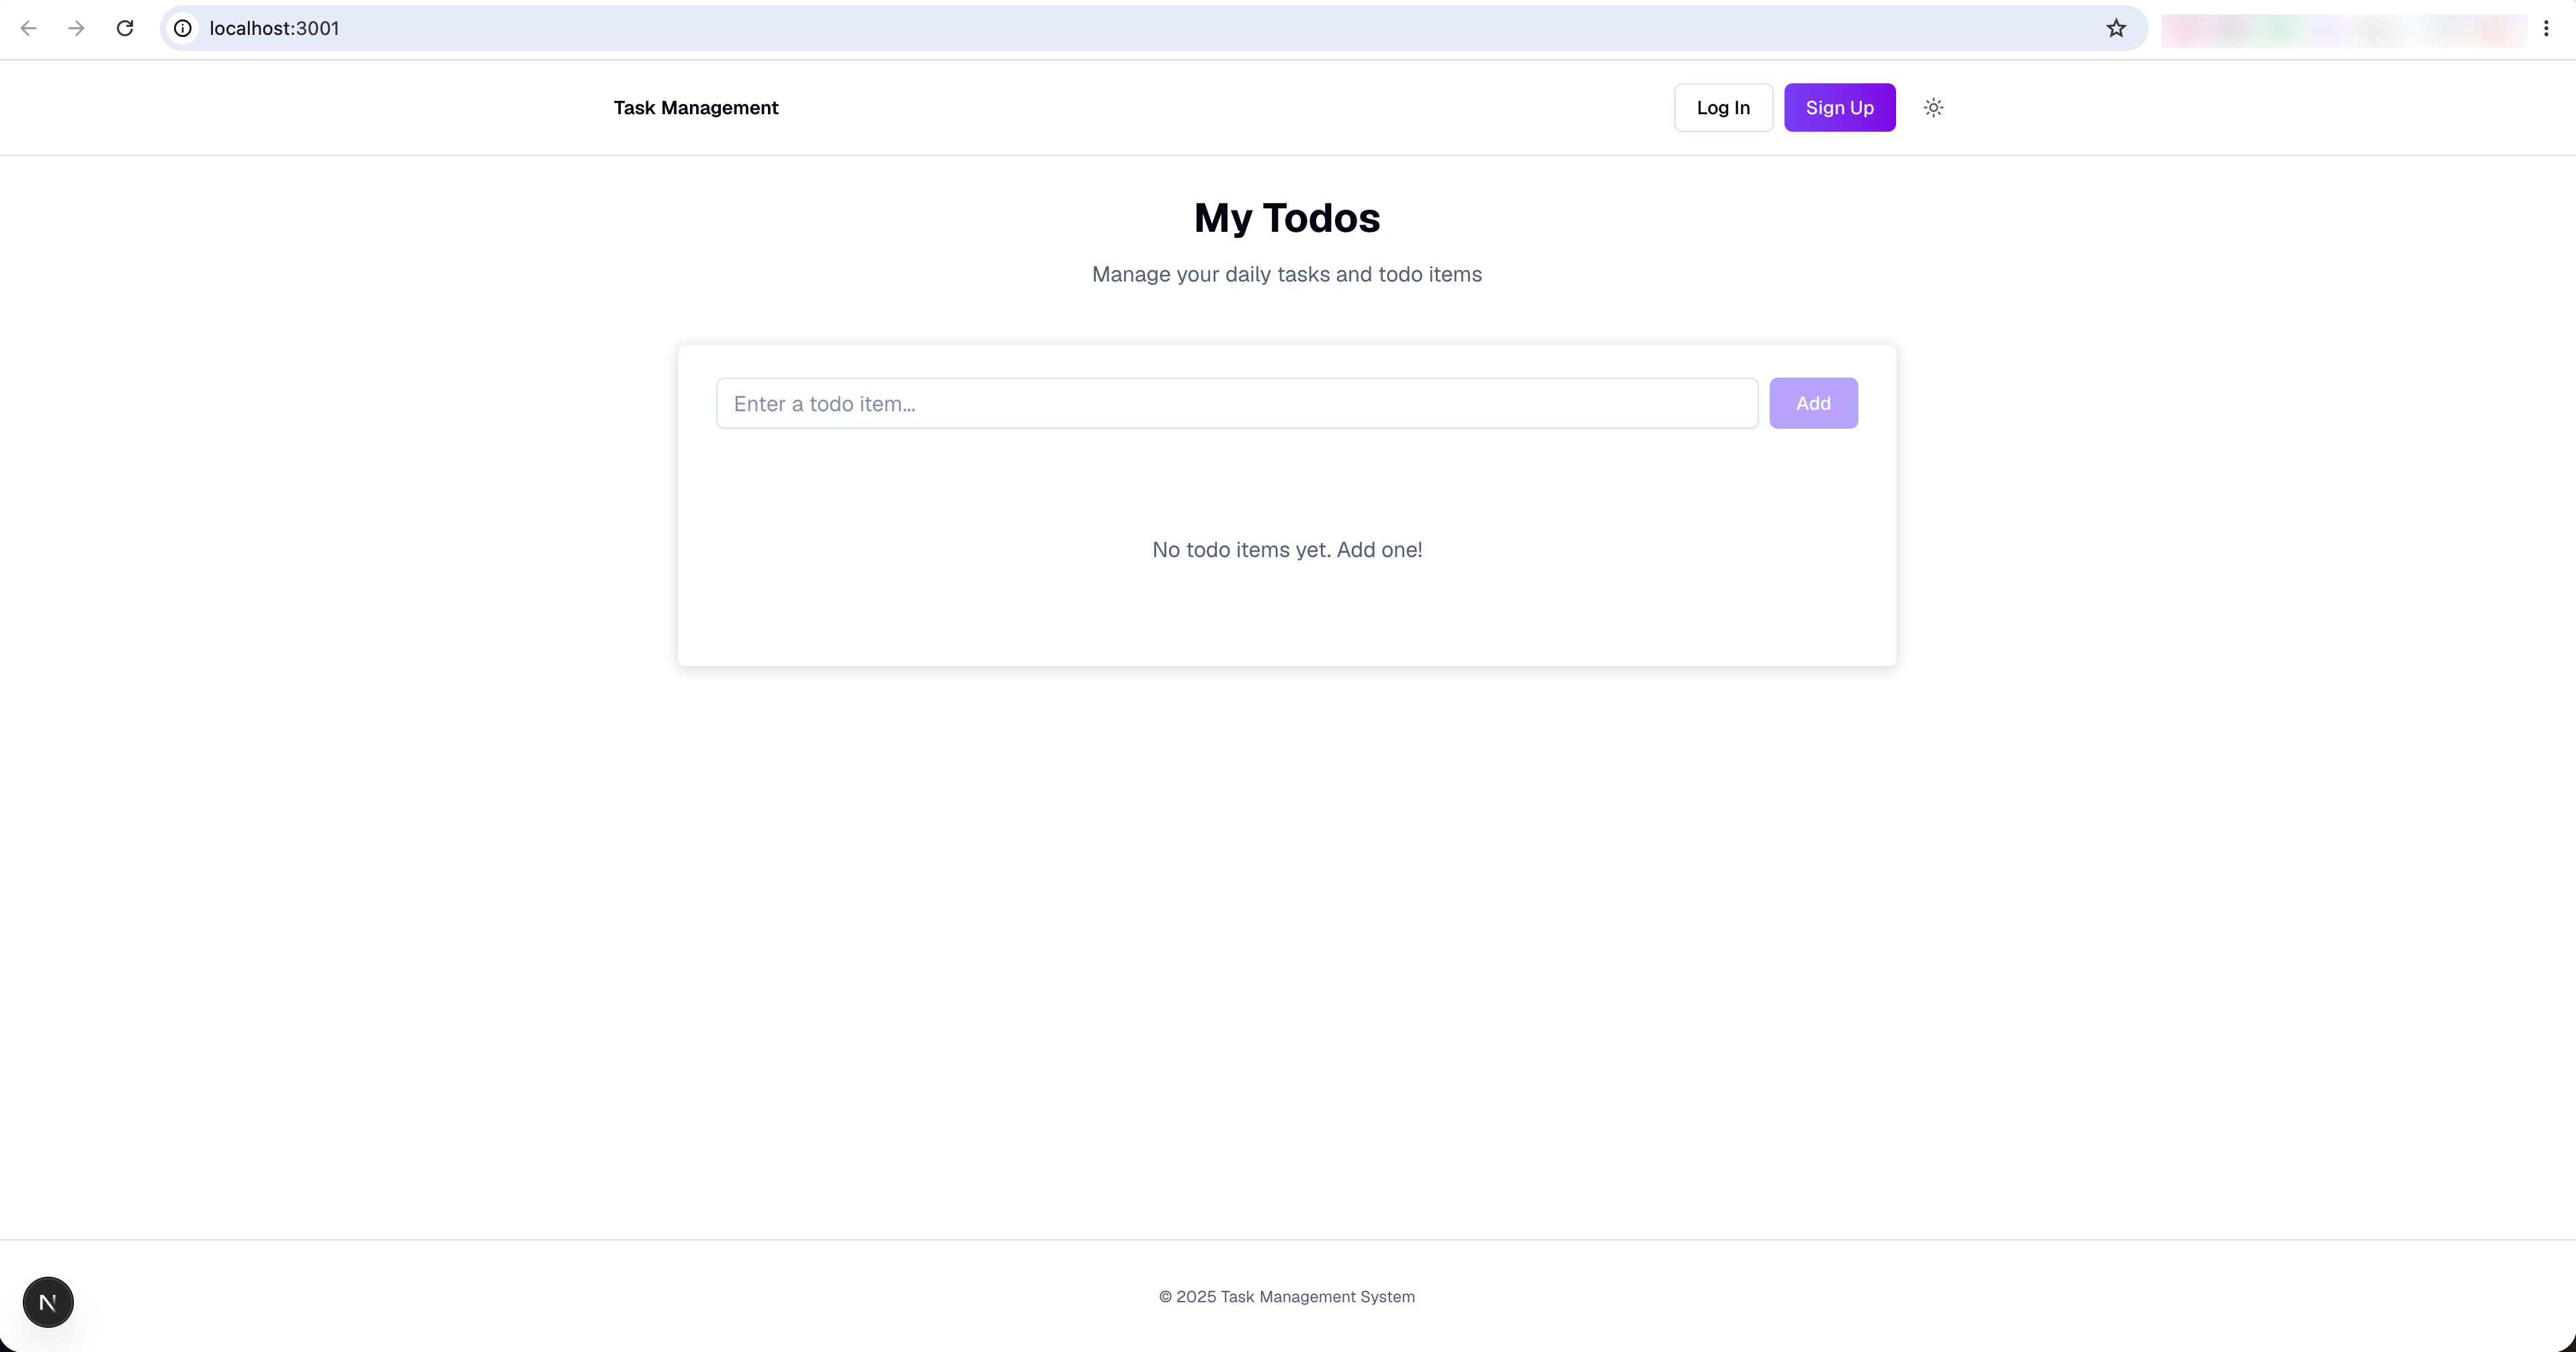
Test Guest Status
When not logged in, add a task from the page. The task should appear in the interface and support editing, deletion, and status changes. The Supabase database should have no saved records — confirming that guest tasks stay local and do not create backend data.
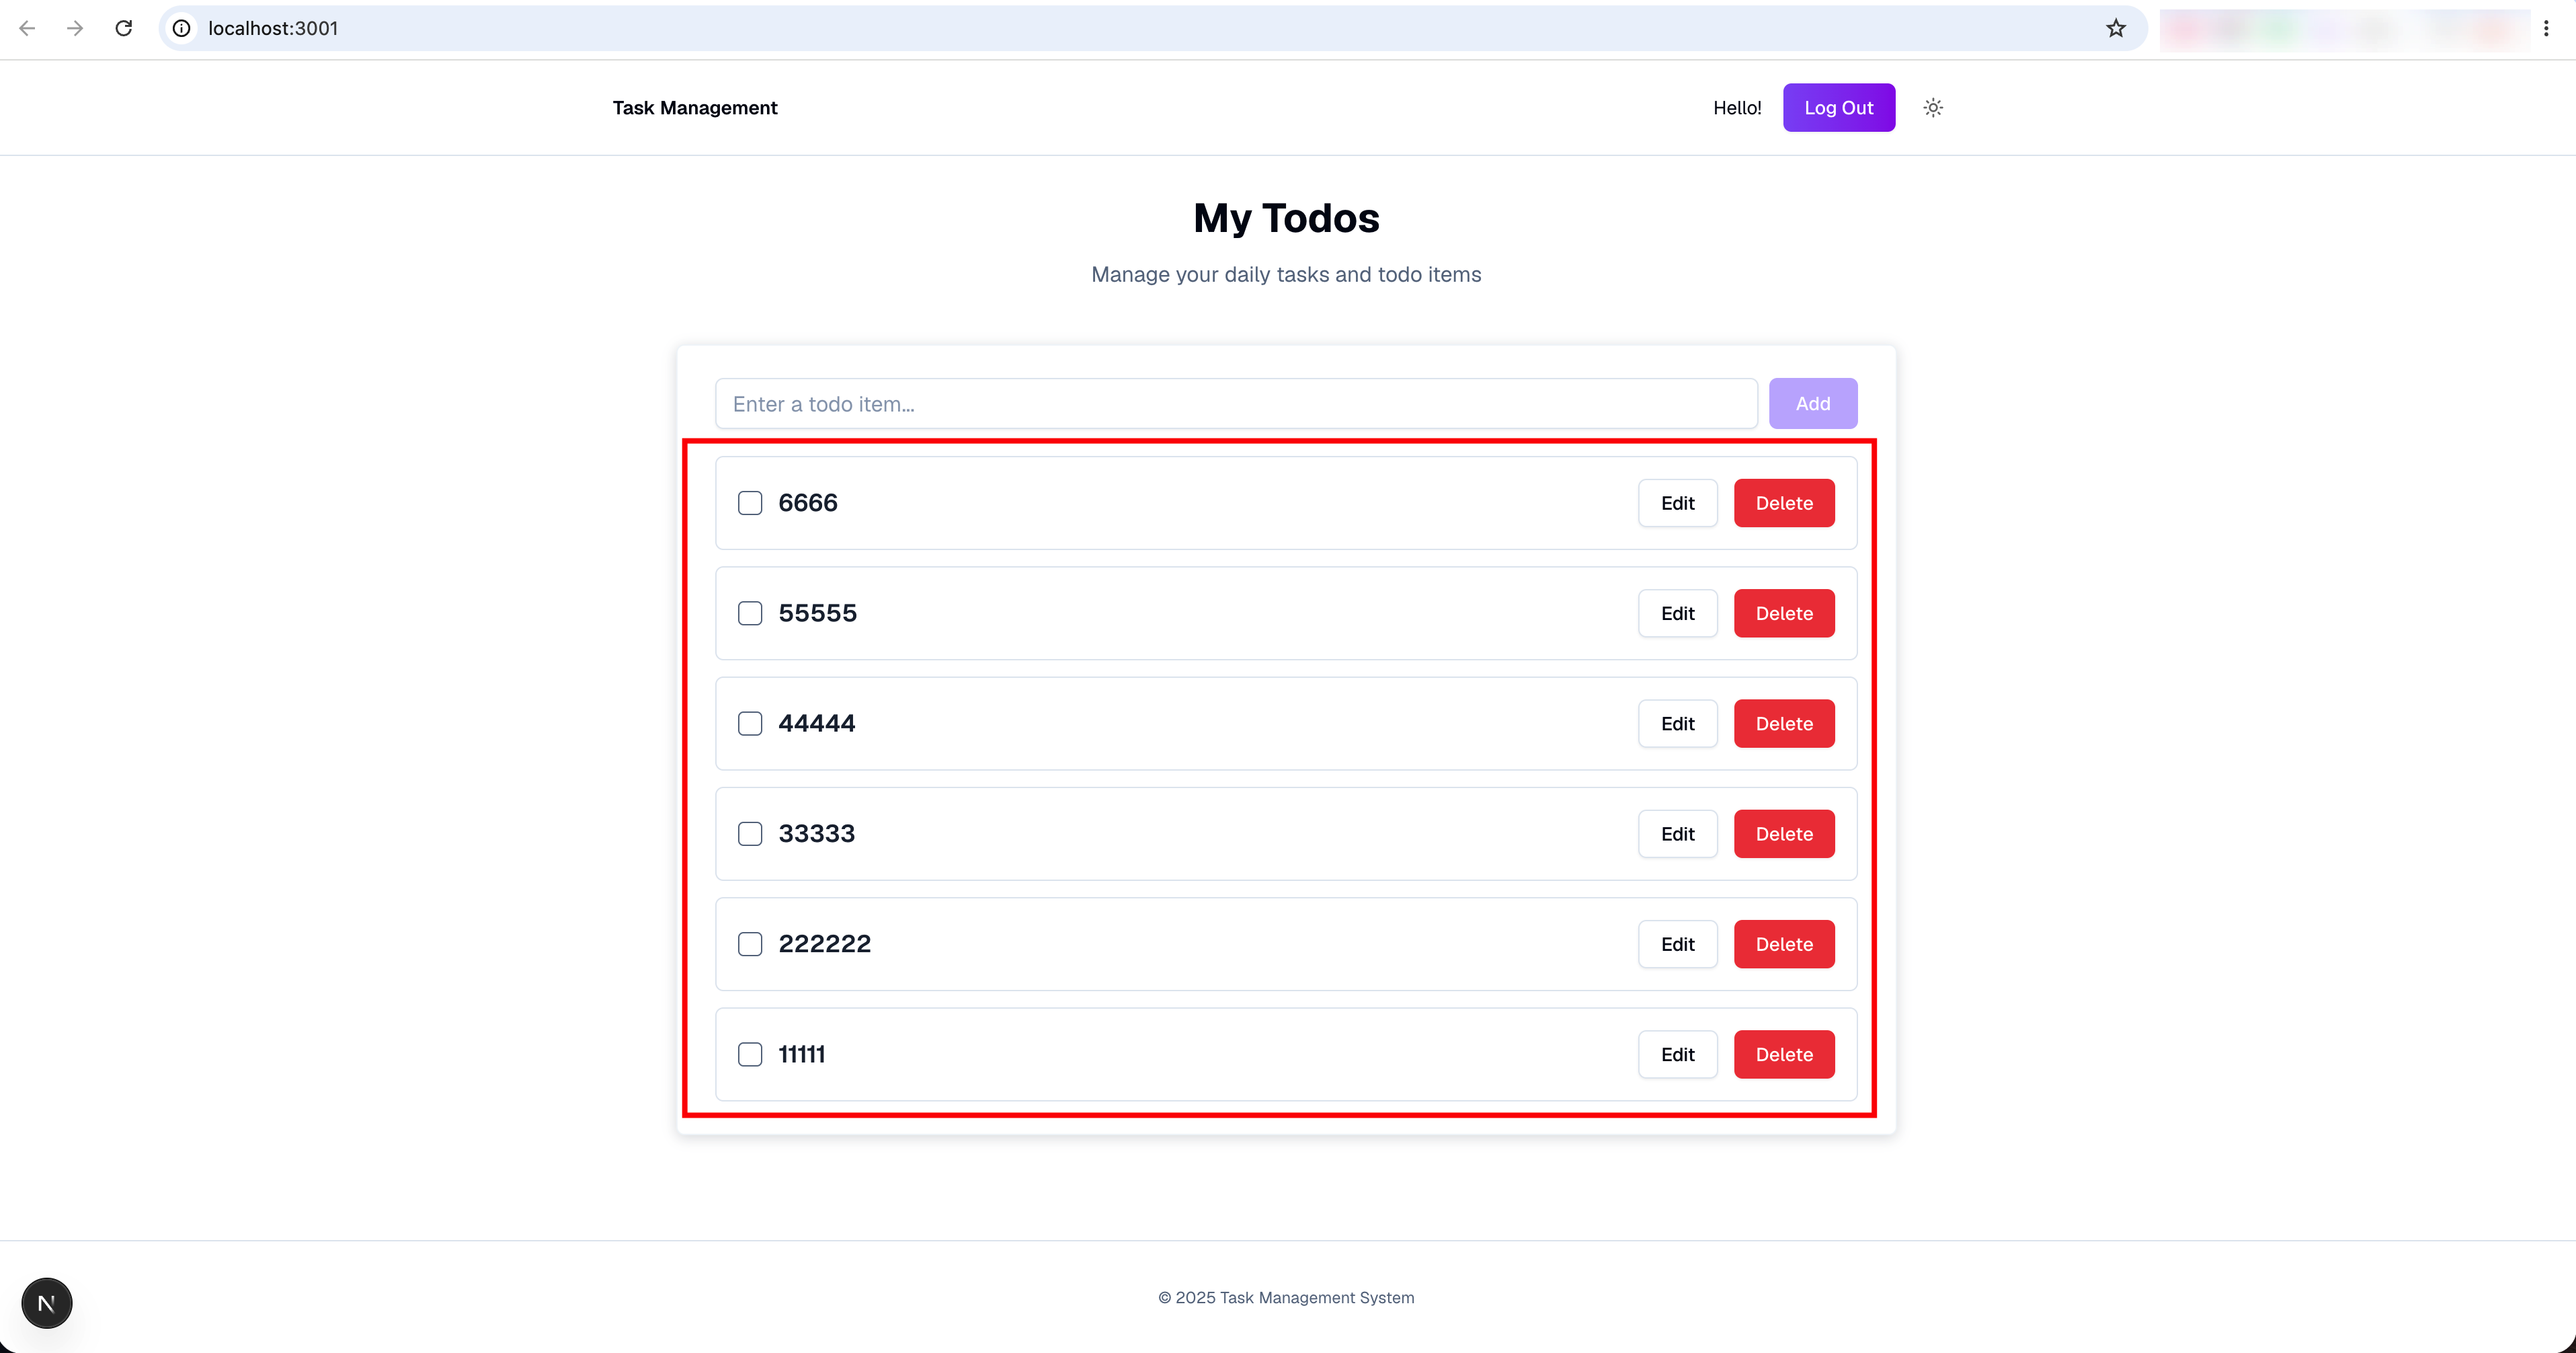
Test Login Status
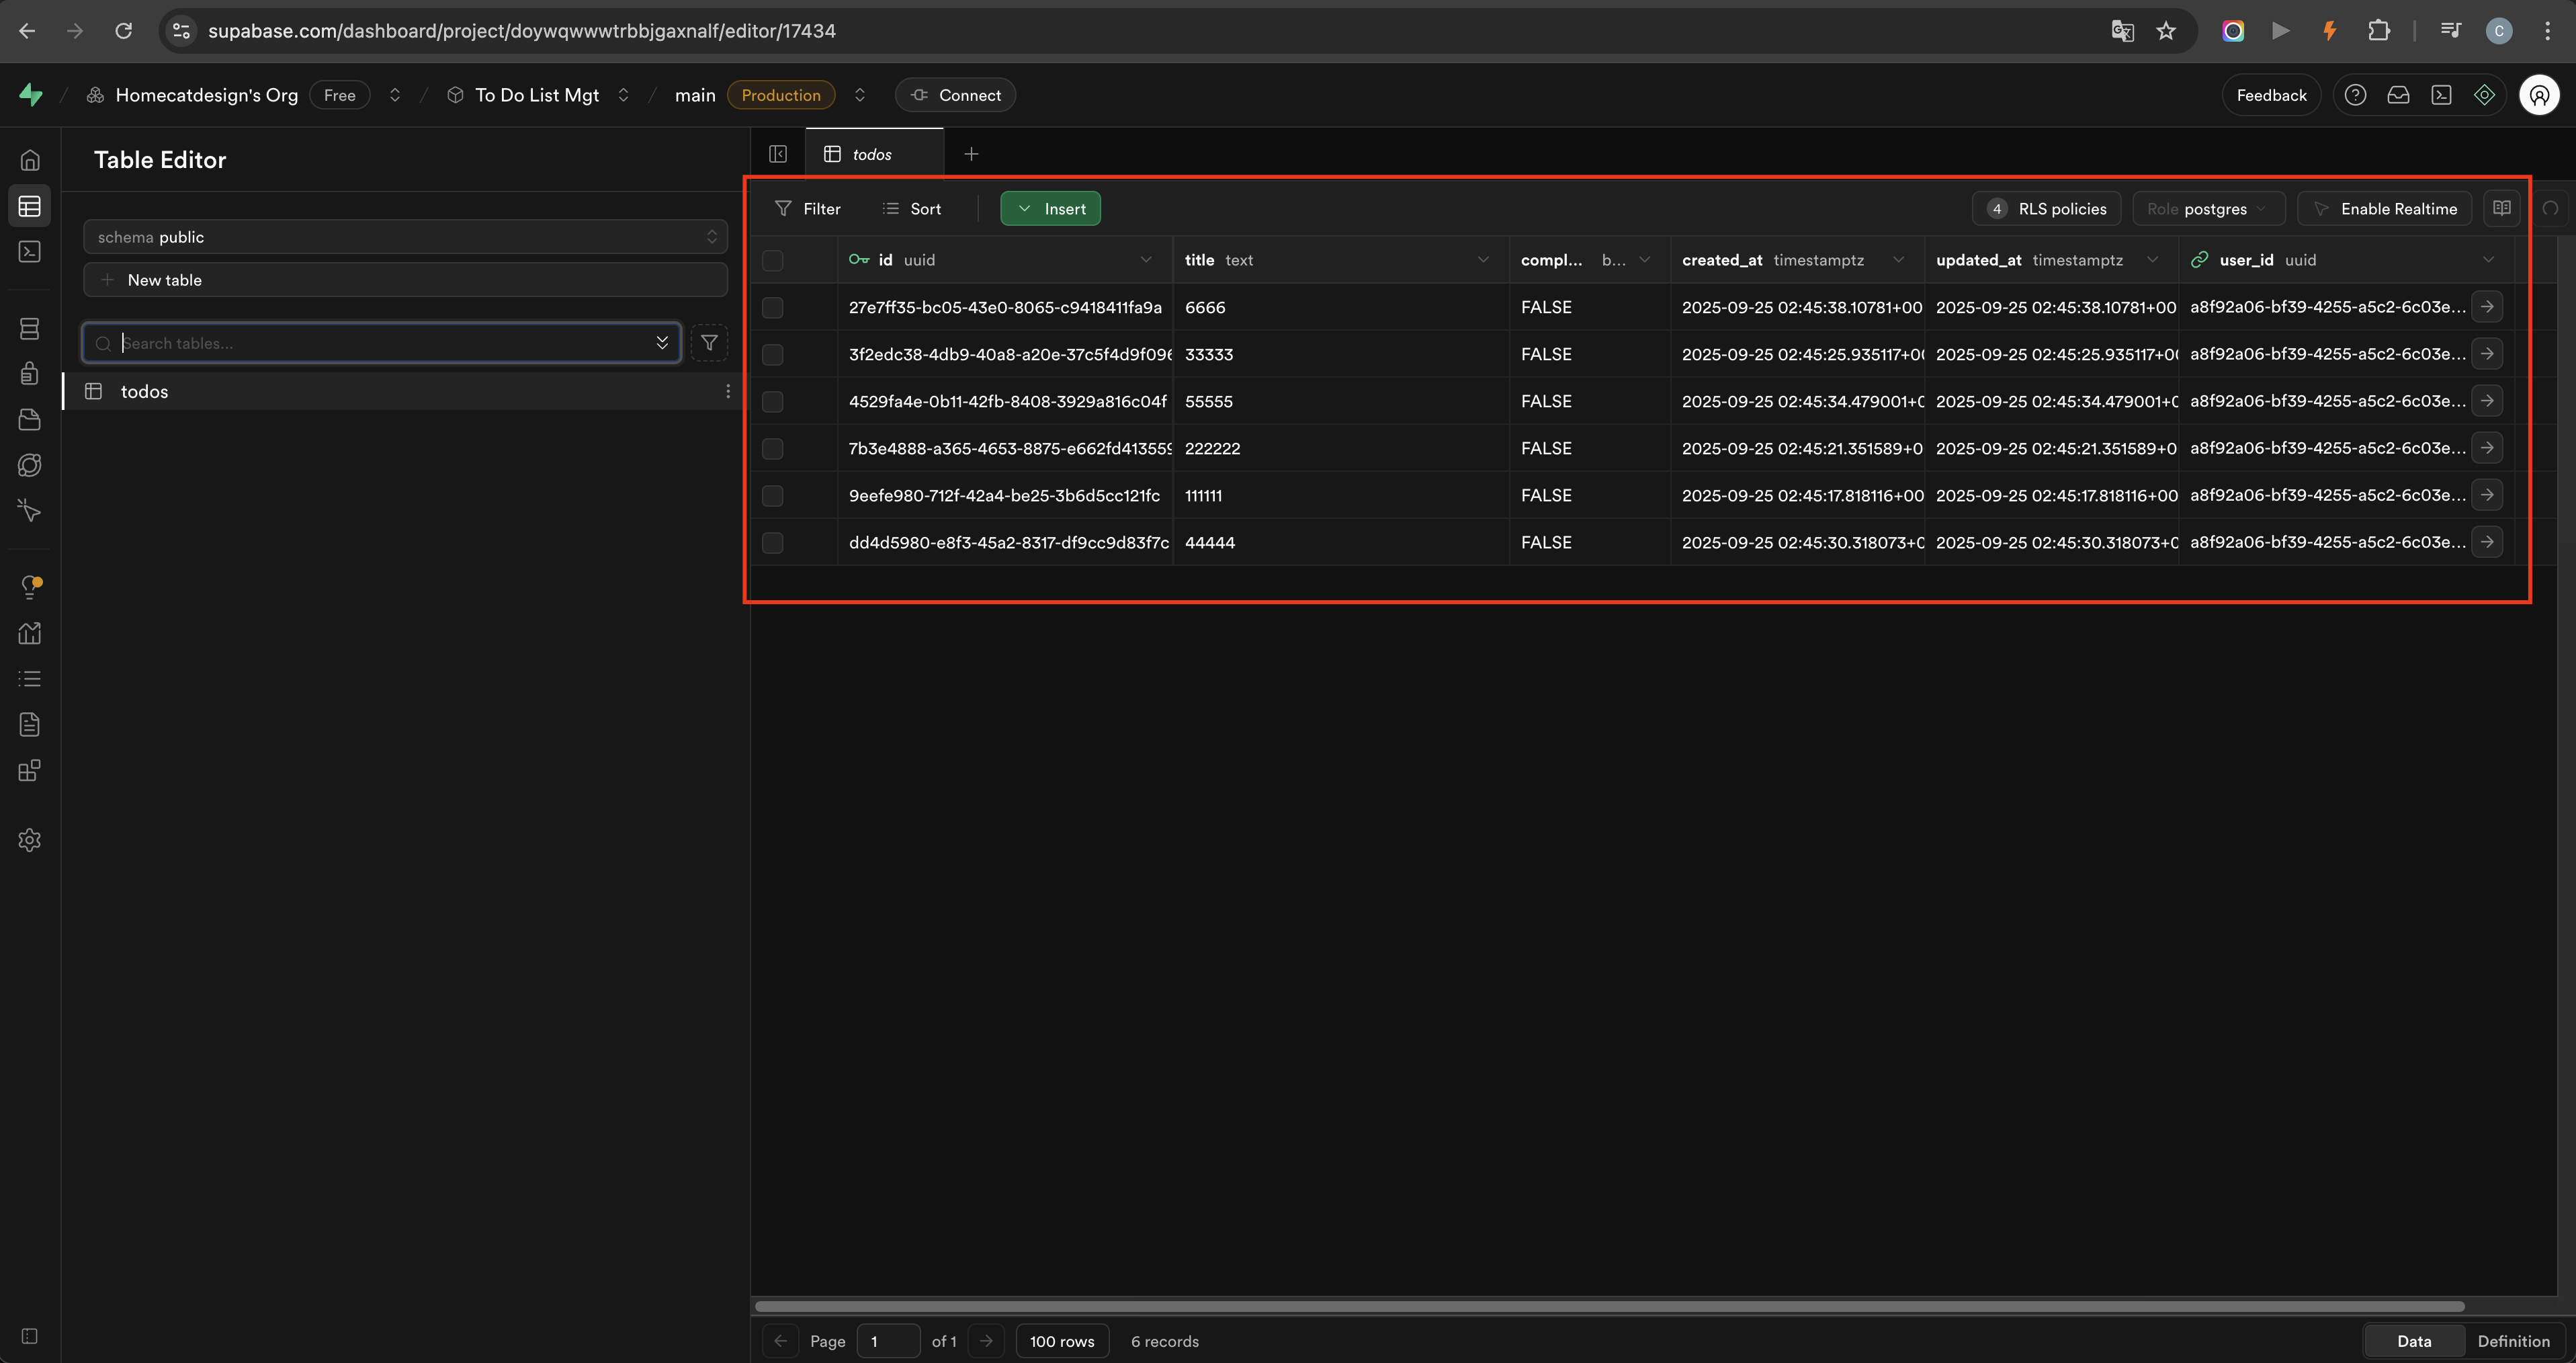
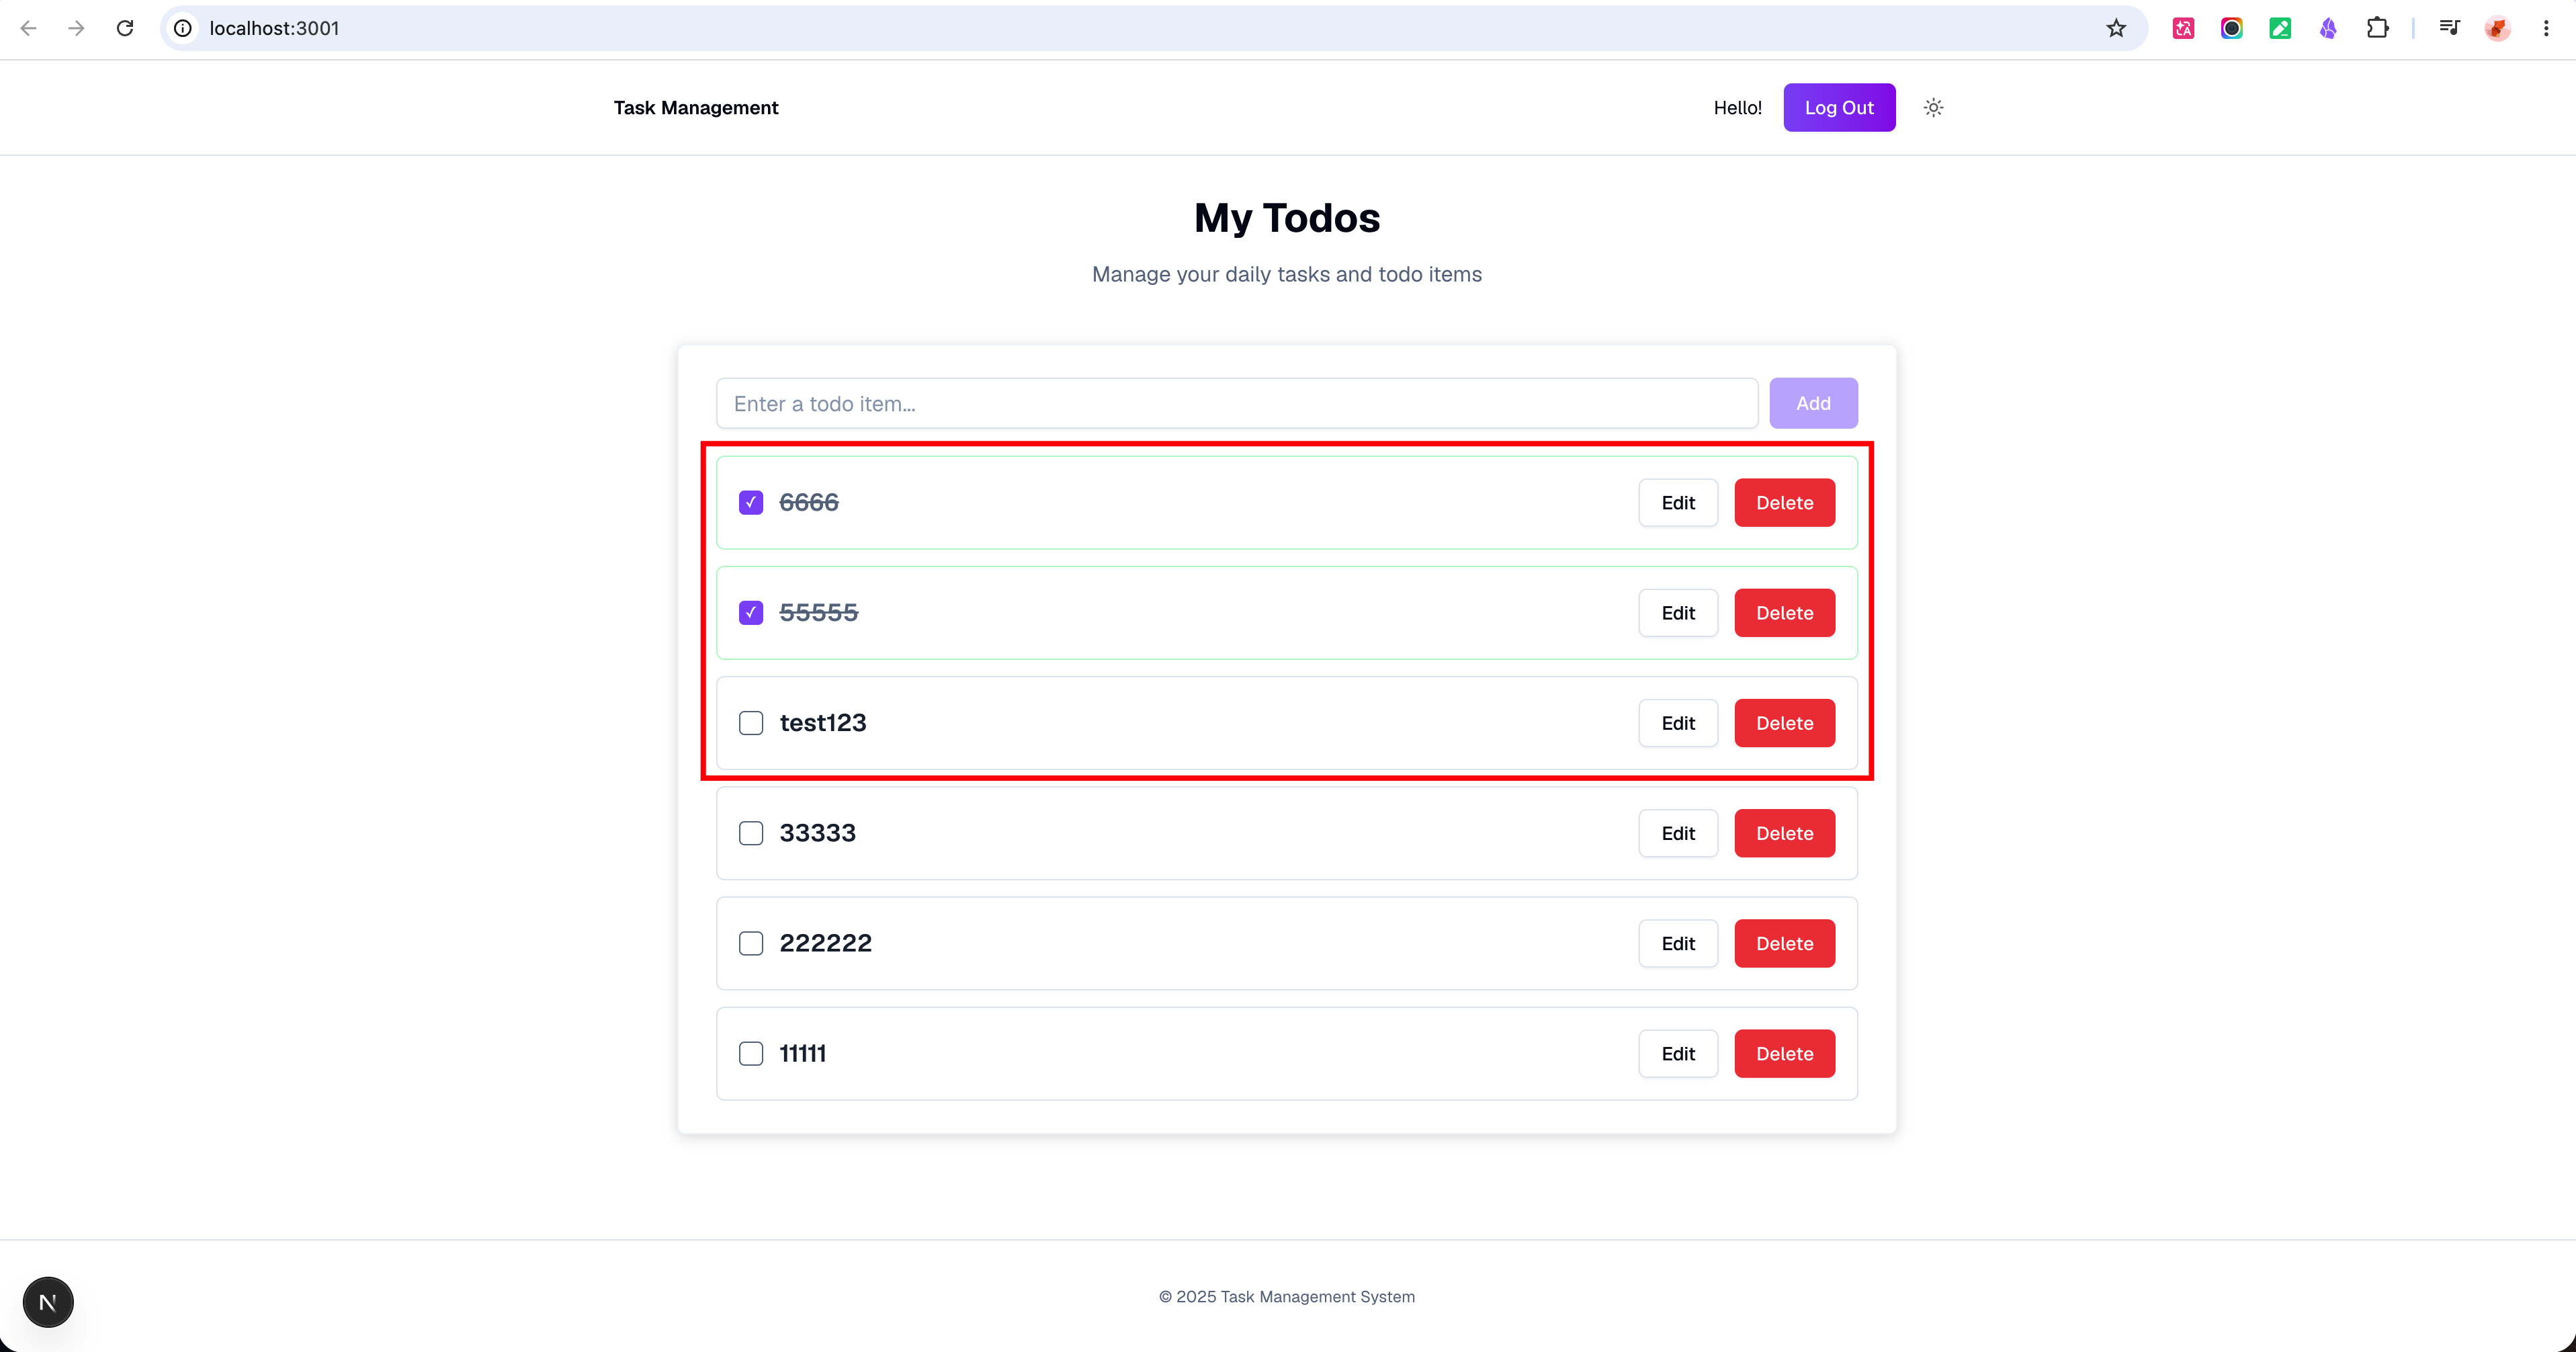
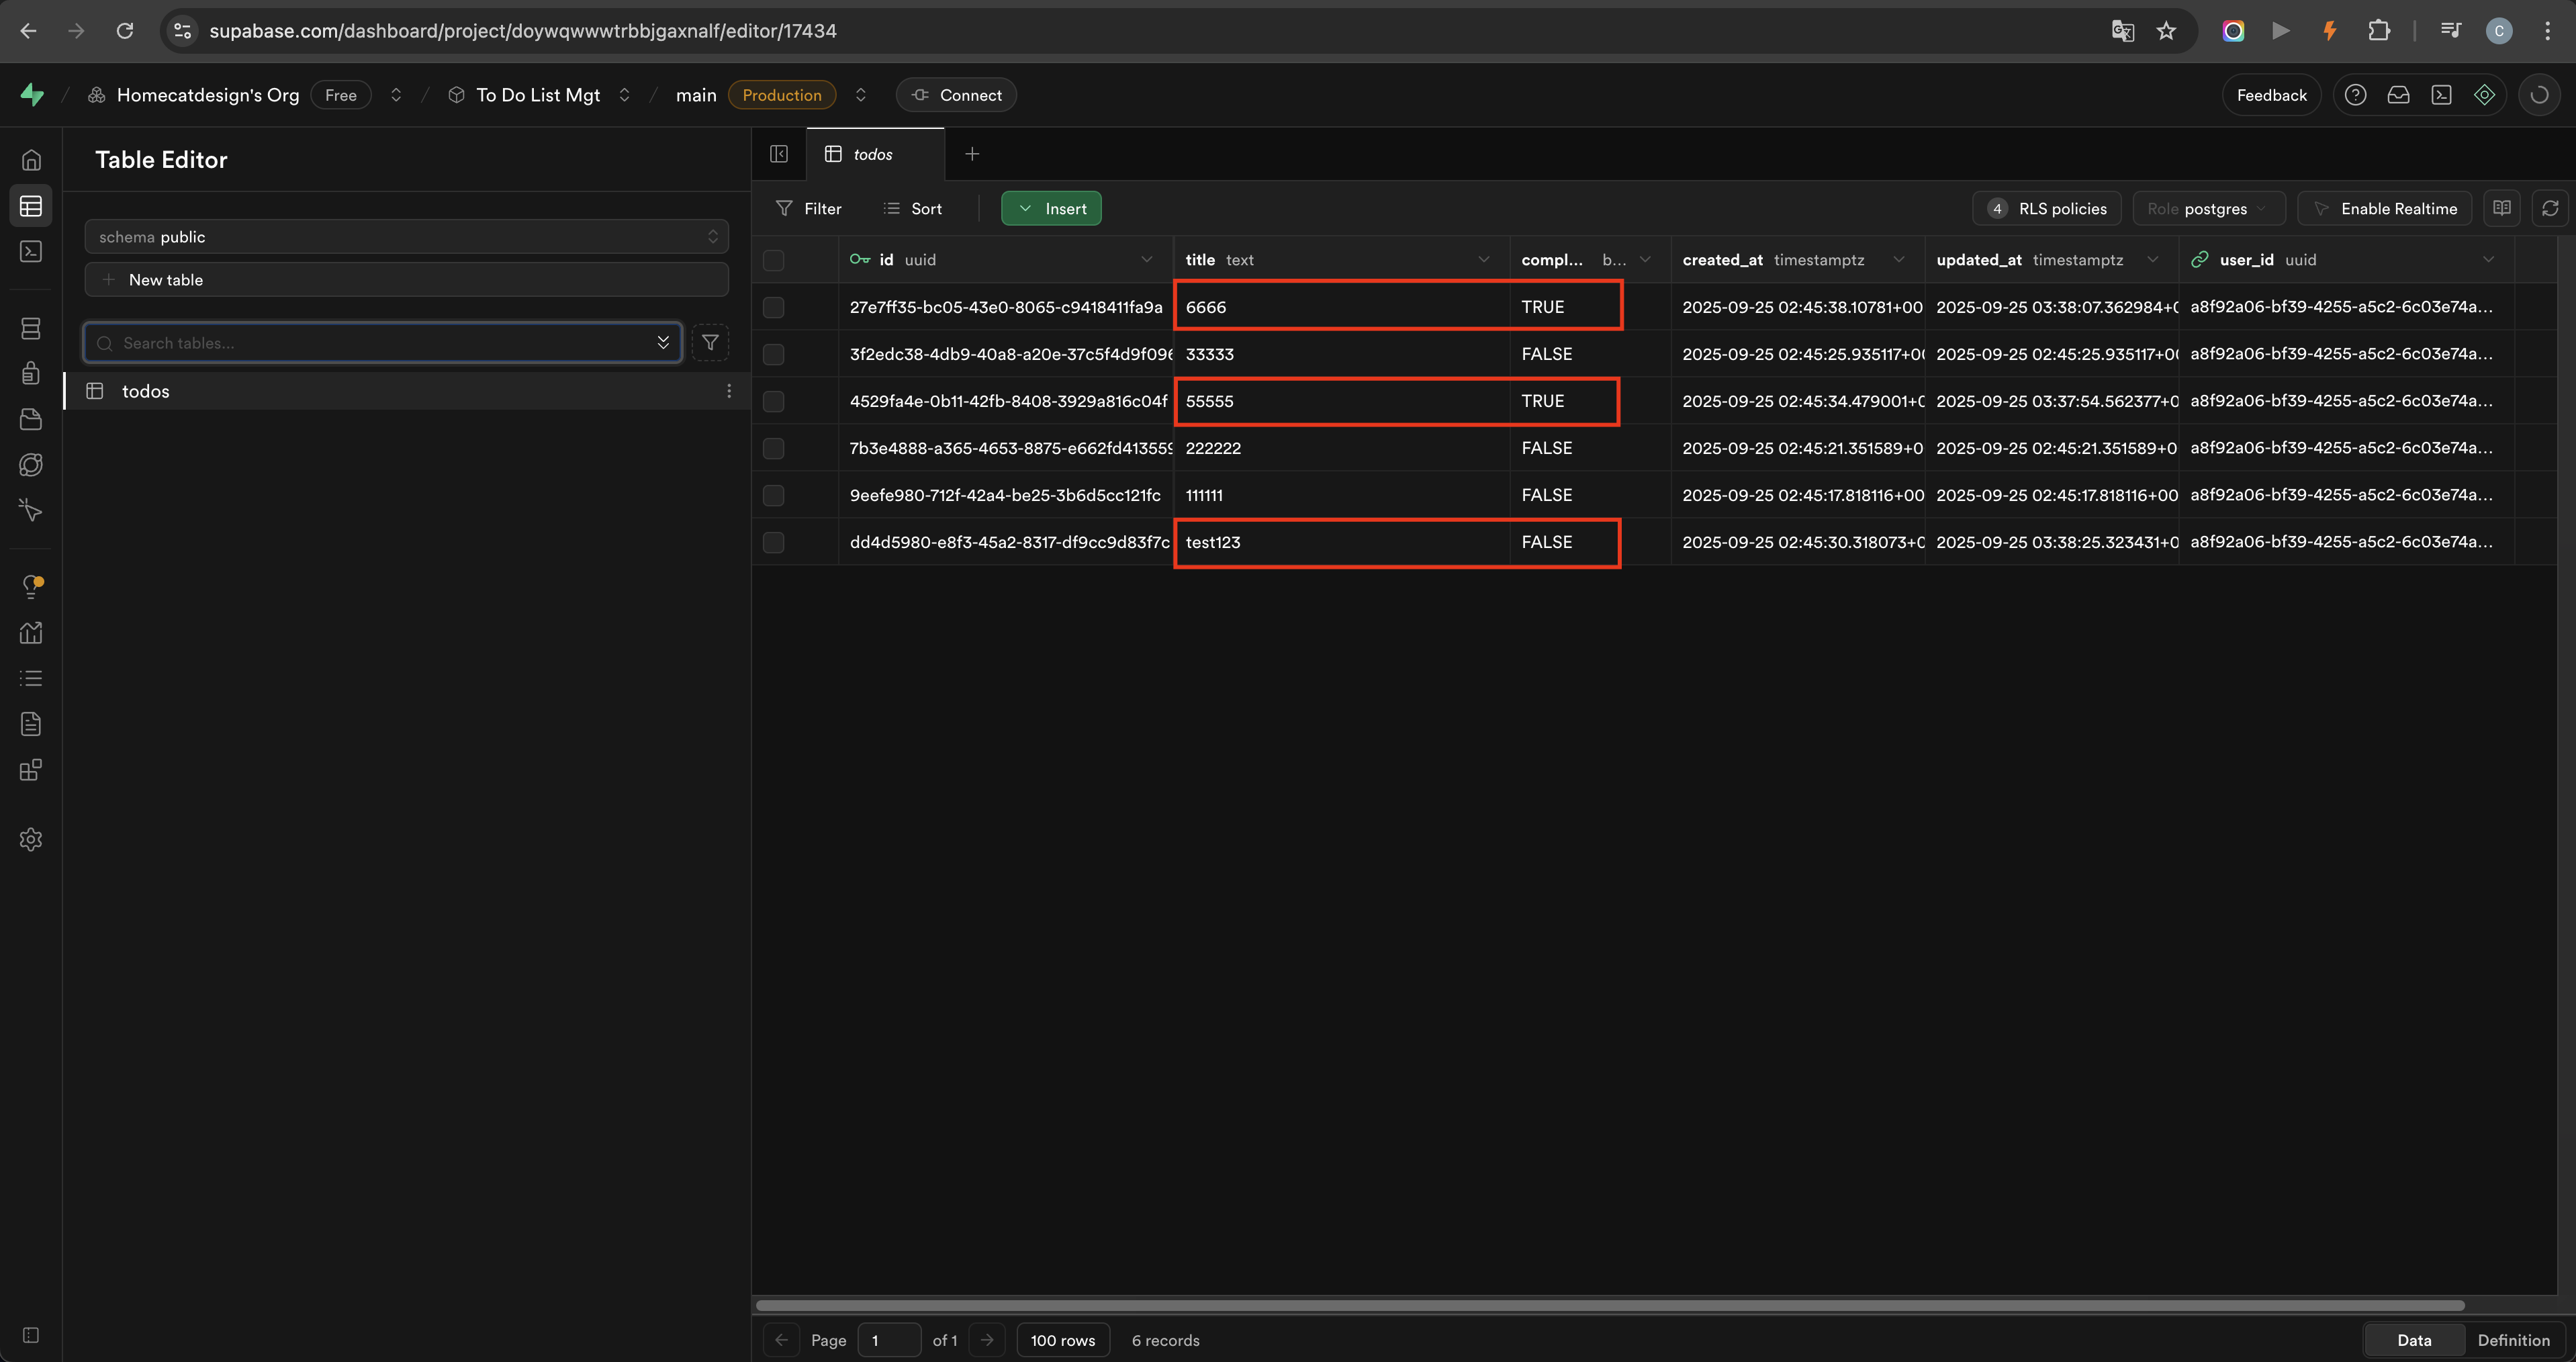
After logging in, add a new to-do item. When the Supabase database table is refreshed, a corresponding row should appear with the task content, ID, status, and related metadata.
Edit the task in the frontend and save it — the database row should update. Change the task status — the corresponding database field should change. Delete the task from the frontend — the matching database row should be removed.
At that point, the product has completed the full loop: create, read, update, complete, delete, authenticate, and persist.
7. Retrospective
The AI can handle a large part of the implementation loop. But moving from a Next.js template to a working full-stack product still requires the builder to understand project structure, environment variables, authentication settings, database state, and how to verify that every state works. That judgment is what the AI cannot replace.