The User Research Agent was built from an actual research workflow — run manually first, then turned into a system that any PM in the organization can use independently, without a dedicated research team.
The approach is deliberate: run the real project first, understand what requires judgment and what doesn't, then build the system.
Showcase
This short demo shows the conversations with Hermes Agent and the User Research Agent.
Background
When I needed to collect user feedback for my product, there was no user research team to hand it off to — so I ran the entire project myself. I've led or run at least five research projects before, either solo or with a small team.
The approach:
- I ran a full research cycle from start to finish — using AI to draft the screener and interview guide, generate transcripts, and produce the final report.
- From everything I learned in that project, I built an AI Agent.
Now I can call the Agent directly for future research work — and so can anyone else on the team. The Agent can also be deployed on the company's cloud as a shared enterprise resource, available to the entire organization.
1. Technical Architecture Analysis
I evaluated three options for building the User Research Agent: Claude Agent SDK, OpenClaw, and Hermes Agent.
1.1 Claude Agent SDK
A custom Agent built from scratch using Anthropic's Python SDK. High technical threshold — orchestration logic, memory, deployment, and workflow controls all need to be built and maintained from scratch.
1.2 OpenClaw
Open-source autonomous Agent platform. Self-hosted, connects to Slack and other IM products. Supports Claude and OpenAI API. It carries a well-known security risk that could lead to data exposure and requires serious consideration before using it.
1.3 Hermes Agent
Open-source Agent framework by Nous Research. Self-hosted with persistent memory. After completing a complex task, it writes a reusable Skill — so the system becomes more capable the longer it runs.
Decision Matrix
| Dimension | Claude Agent SDK | OpenClaw | Hermes Agent |
|---|---|---|---|
| Positioning | Custom-built framework | Enterprise self-hosted task platform | Self-growing Agent framework |
| Technical threshold | High | Medium | Medium |
| Time to first use | 2-4 weeks | 1 week | 1-2 weeks |
| Customization flexibility | Highest | Medium | Medium |
| Knowledge accumulation | Must be designed manually | Not supported | Natively supported; can automatically write Skills |
| Security risk | Low | Known CVE risk | Newer framework; no large-scale issues observed yet |
Hermes Agent was selected for its self-hosted architecture, native knowledge accumulation, and self-improvement capability — each completed research cycle makes the system more capable than the last.
2. Install Hermes Agent
Visit the Hermes Agent official website and follow the installation guide. No custom infrastructure required to get started. Authorize your OpenAI account to connect it to Hermes Agent.
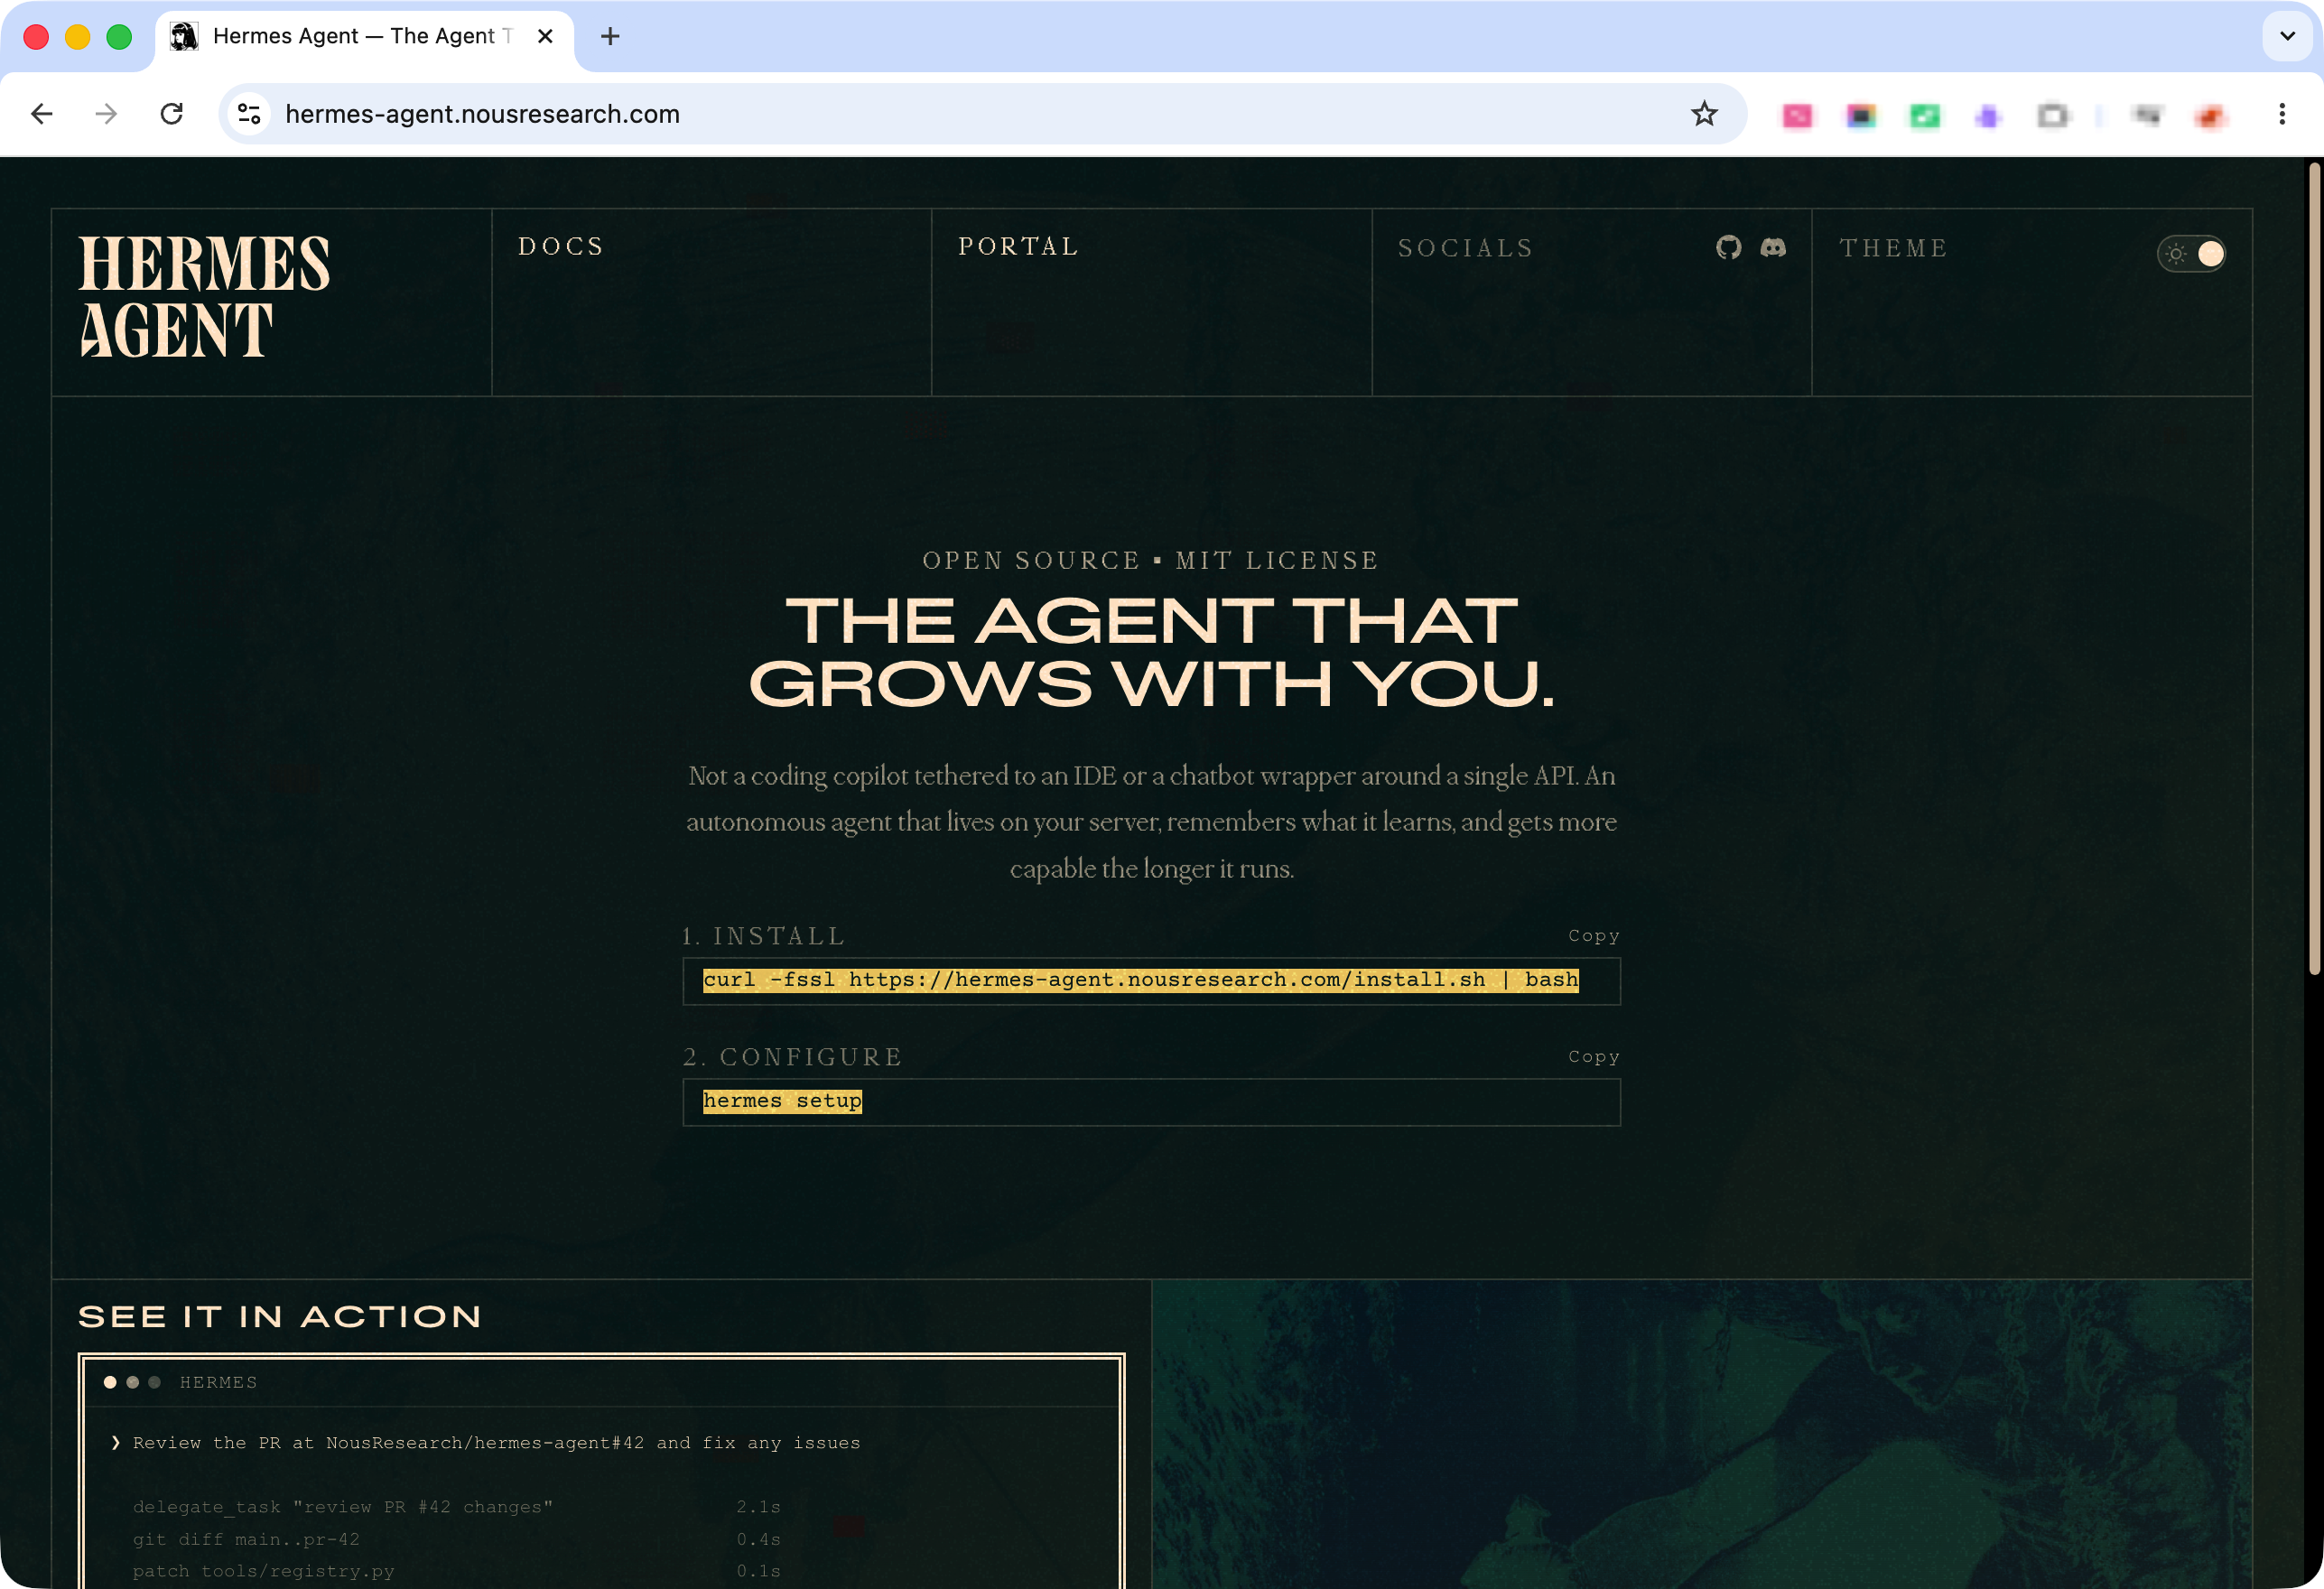
A few things worth knowing before you start:
- The primary entry point is Slack. All interactions happen directly in a channel or DM.
- If you run into issues during setup, just ask Hermes — it can guide you through conversationally.
- All ongoing usage works the same way: open Slack, start a message, and you're in a session.
3. Agent Architecture
I used AI to map out the Agent architecture before building — how the Skills connect, how memory persists across the research cycle, and where human checkpoints sit in the execution flow.
HERMES AGENT (self-hosted, enterprise cloud)
│
└── USER RESEARCH AGENT (dedicated instance)
    │
    ├── Agent Instructions
    │     Defines identity, intake behavior, and execution rules.
    │     Collects 5 required context variables before any Skill runs.
    │     Enforces one-step-at-a-time execution with human checkpoints.
    │
    ├── Session Memory
    │     Stores product background, research goal, recruitment plan,
    │     reward details, candidate responses, and transcripts.
    │     Persists across the full research cycle — Skills read from
    │     memory rather than asking the user repeatedly.
    │
    ├── Skill 1 — Strategy Generator
    ├── Skill 2 — Screener Builder
    ├── Skill 3 — Invitation Scheduler
    ├── Skill 4 — Interview Guide Builder
    ├── Skill 5 — Thank-you Email Generator
    ├── Skill 6 — Interview Analyzer
    └── Skill 7 — Report Generator

EXECUTION FLOW

[Session start: Agent collects context]
        ↓
Skill 1 → Skill 2 → Skill 3 → Skill 4
                                    ↓
                          [Human executes interviews]
                                    ↓
                          Skill 5 ← transcript provided
                          Skill 6 ← transcript provided (parallel)
                                    ↓
                               Skill 7

Human checkpoints (cannot be automated):
  - Sending screener to candidates
  - Confirming interview schedules
  - Conducting the interviews
  - Providing transcripts to the Agent
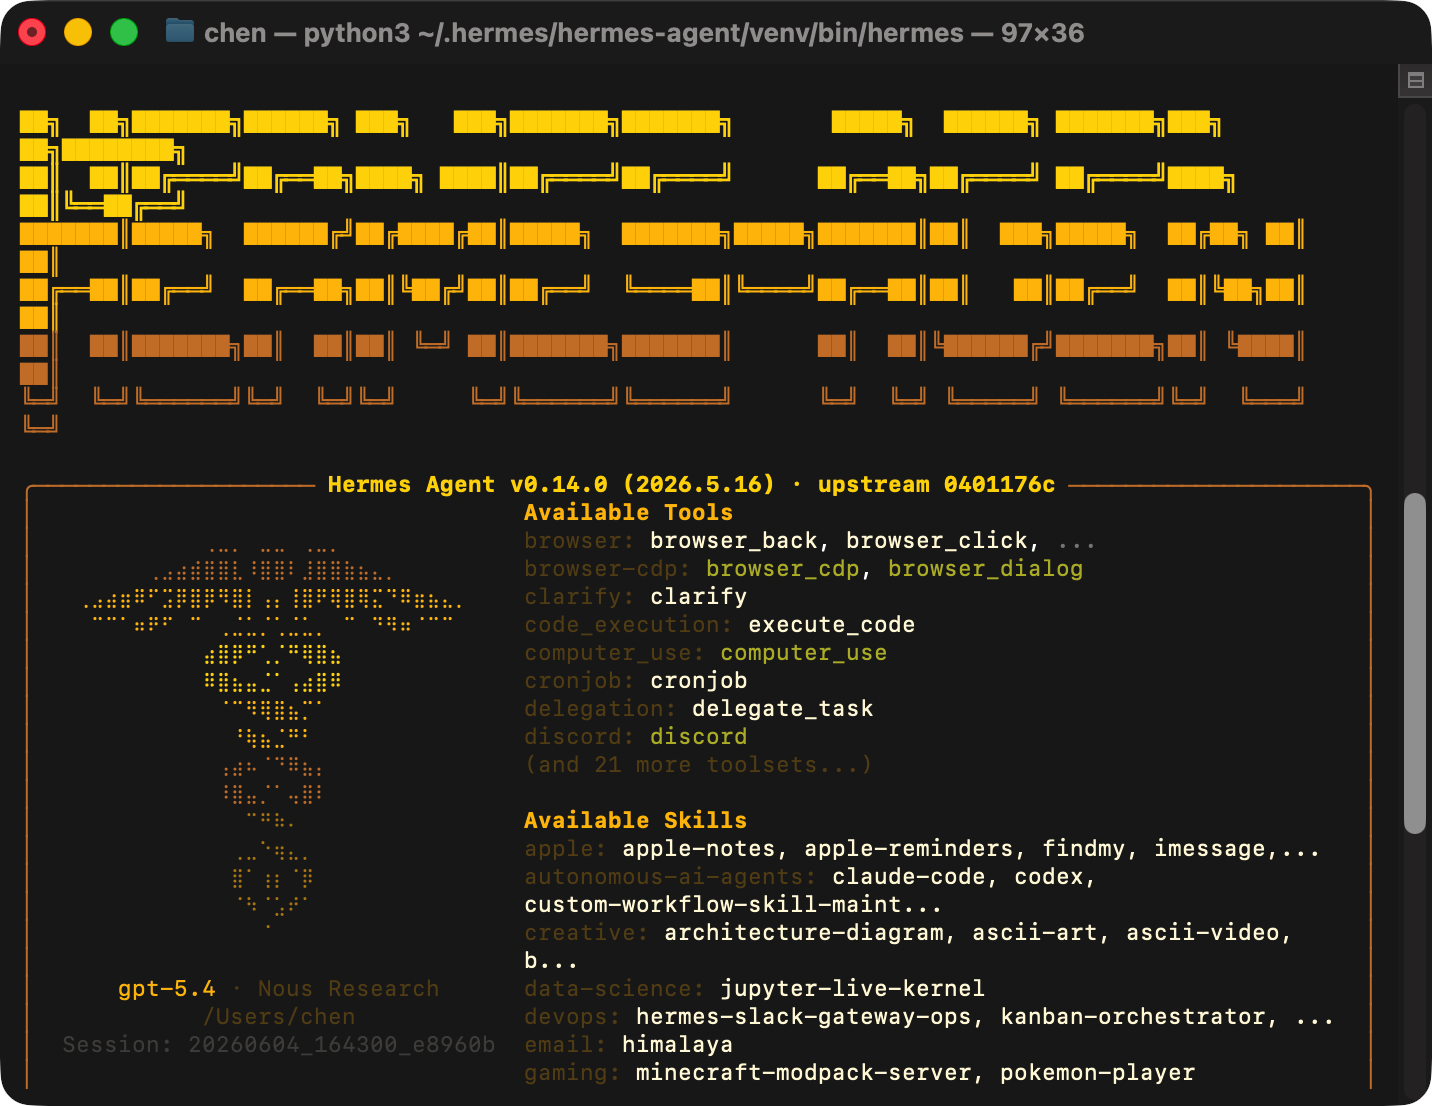
4. Launch Hermes Agent
To launch the agent, type hermes in your terminal. Hermes starts automatically and opens a session — no additional configuration needed. Once it's running, head to Slack to start the conversation.
5. Agent Instructions
The Agent Instructions define the User Research Agent's behavior: what context it needs before starting, how it executes Skills, and where it waits for human input. Before any Skill runs, the Agent collects five required context variables and will not proceed if any are missing.
# Role
Helps PMs run a complete user research cycle — from strategy to final report.

# Rule 1 — Intake First, Execute Later
Collects 5 required context variables at session start before running any Skill.

# Rule 2 — One Step at a Time
Completes one Skill at a time and waits for user confirmation before proceeding.

# Rule 3 — Missing Information
Stops and asks for clarification if any required input is missing or unclear.

# Skills Overview
7 Skills, each covering a distinct stage of the research cycle.

# Skill Execution Order
Skills execute in sequence — each one builds on the output of the previous step.
6. All Research Skills
The User Research Agent runs on 7 Skills, each covering a distinct stage of the research cycle — from strategy and recruitment through to analysis and reporting.
Skill 1 — Strategy Generator
Produces a research strategy document and runs a logical validation — can this approach actually achieve the stated goal — before generating anything.
# Purpose
Generate a research strategy document; validates the approach against the research goal before generating anything.

# Step 1 — Clarify Research Strategy
Confirms or derives the research methodology and presents it to the user for approval.

# Step 2 — Validate Research Goal
Checks whether the strategy can realistically achieve the stated goal; flags misalignments before proceeding.

# Step 3 — Generate Strategy Document
Produces the full strategy document including user profile, session structure, recruitment plan, and budget.
Skill 2 — Screener Builder
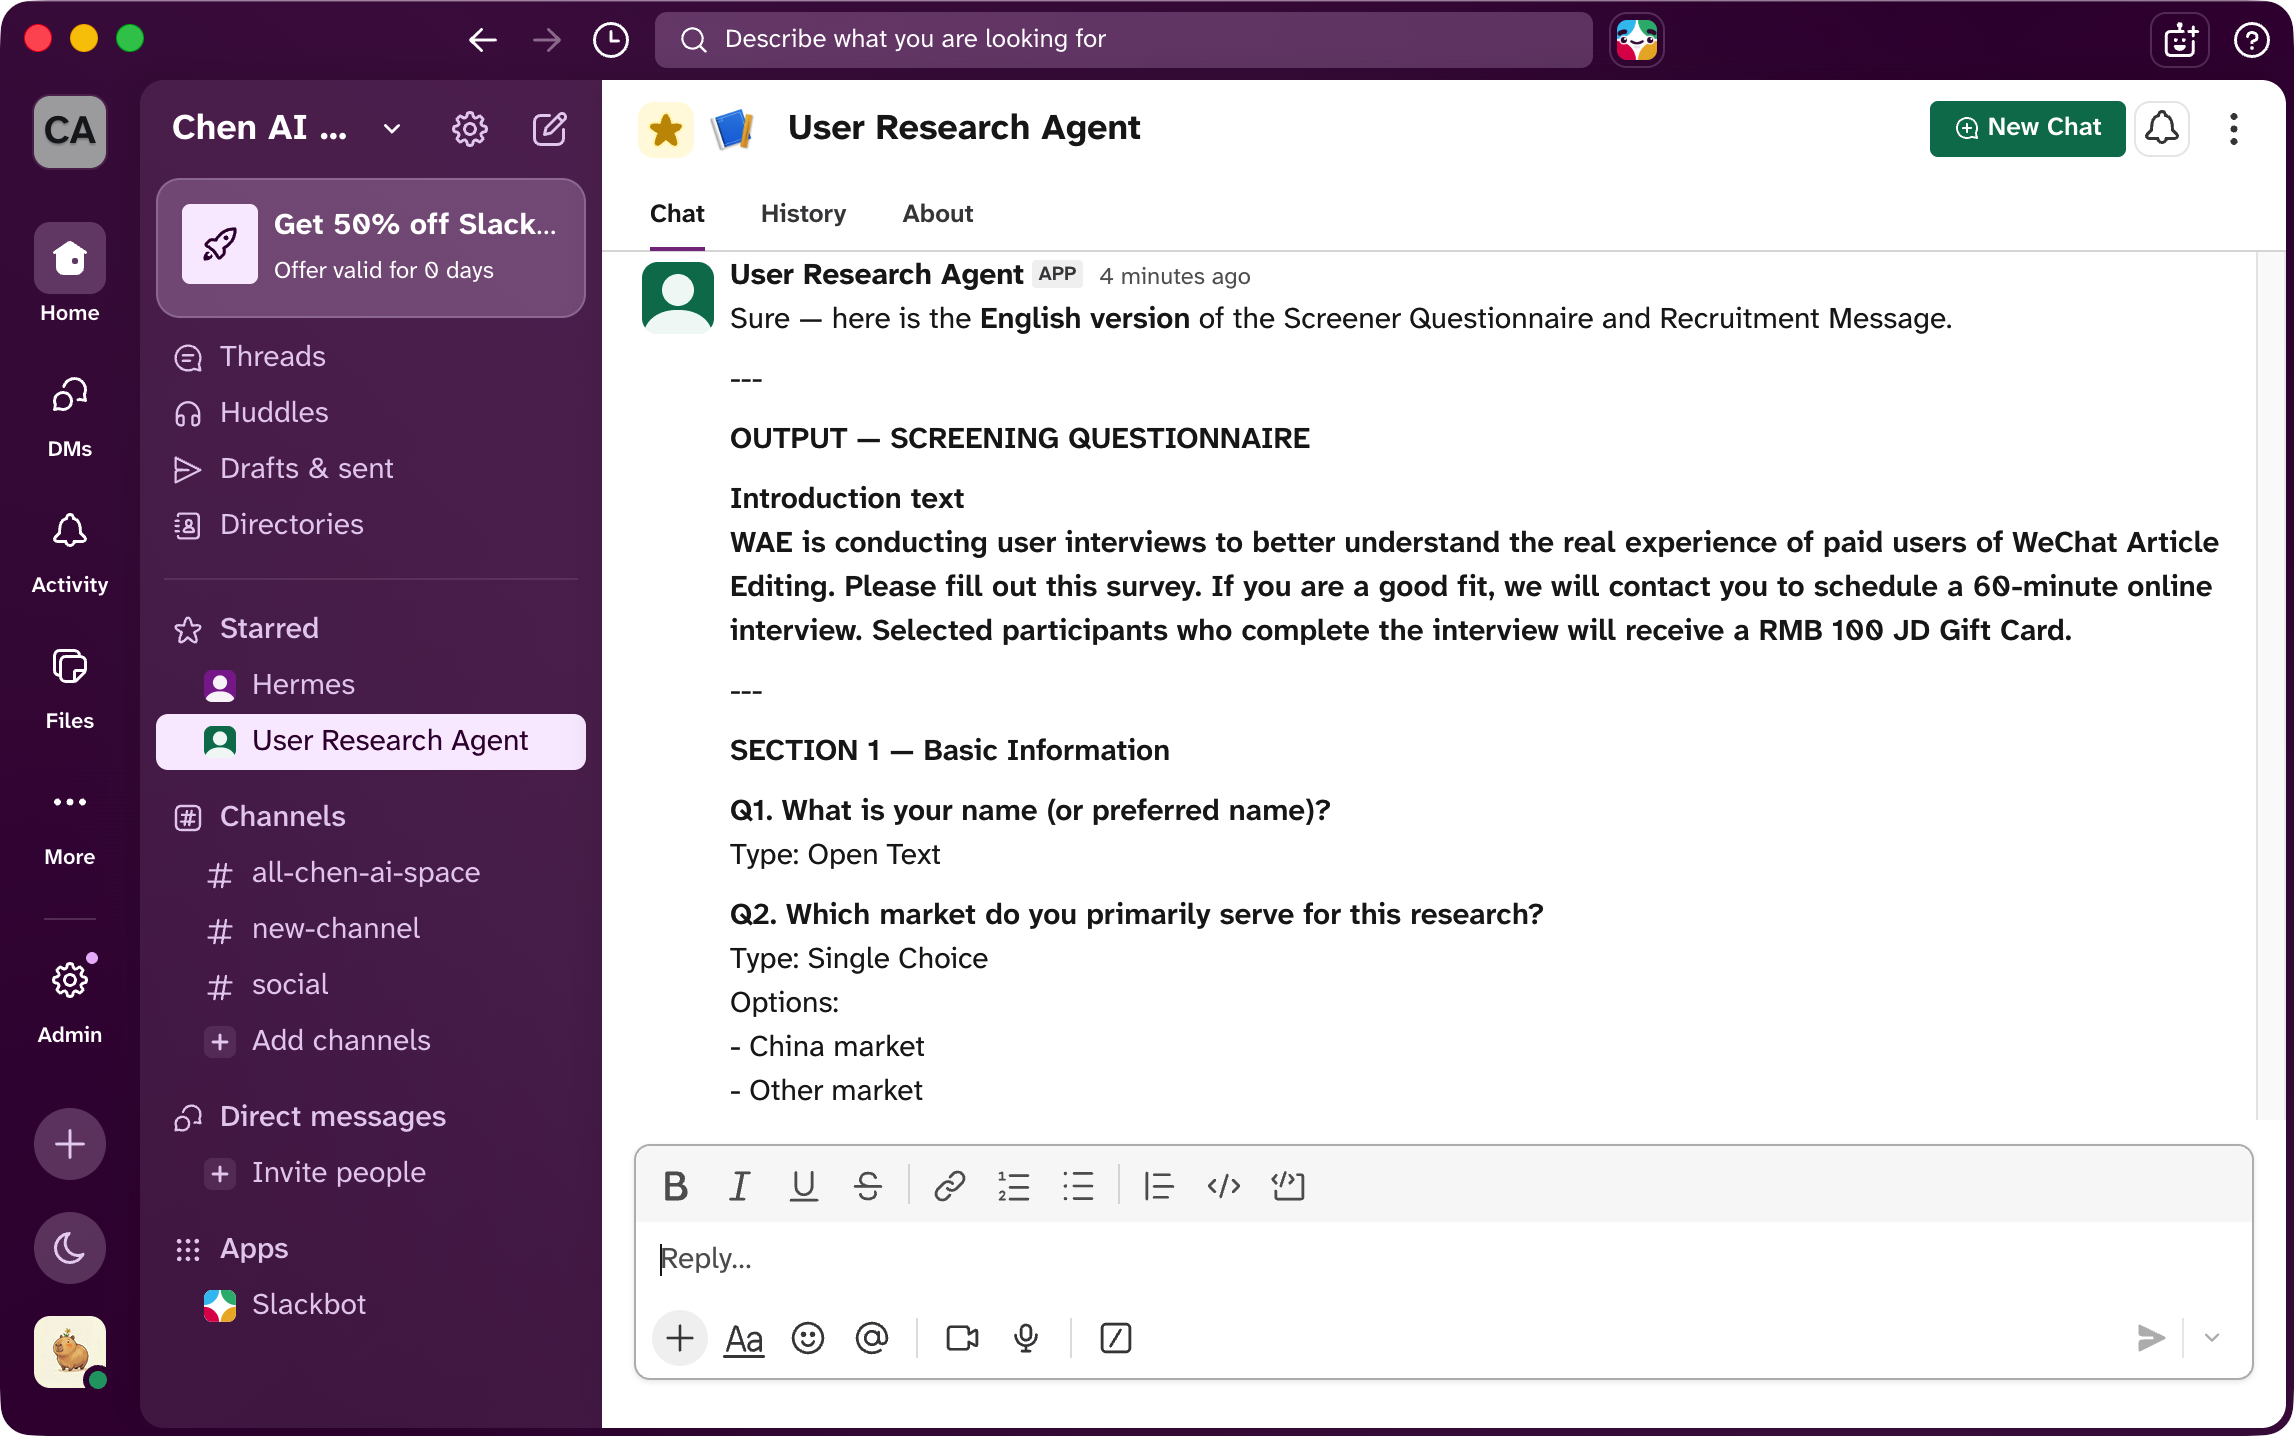
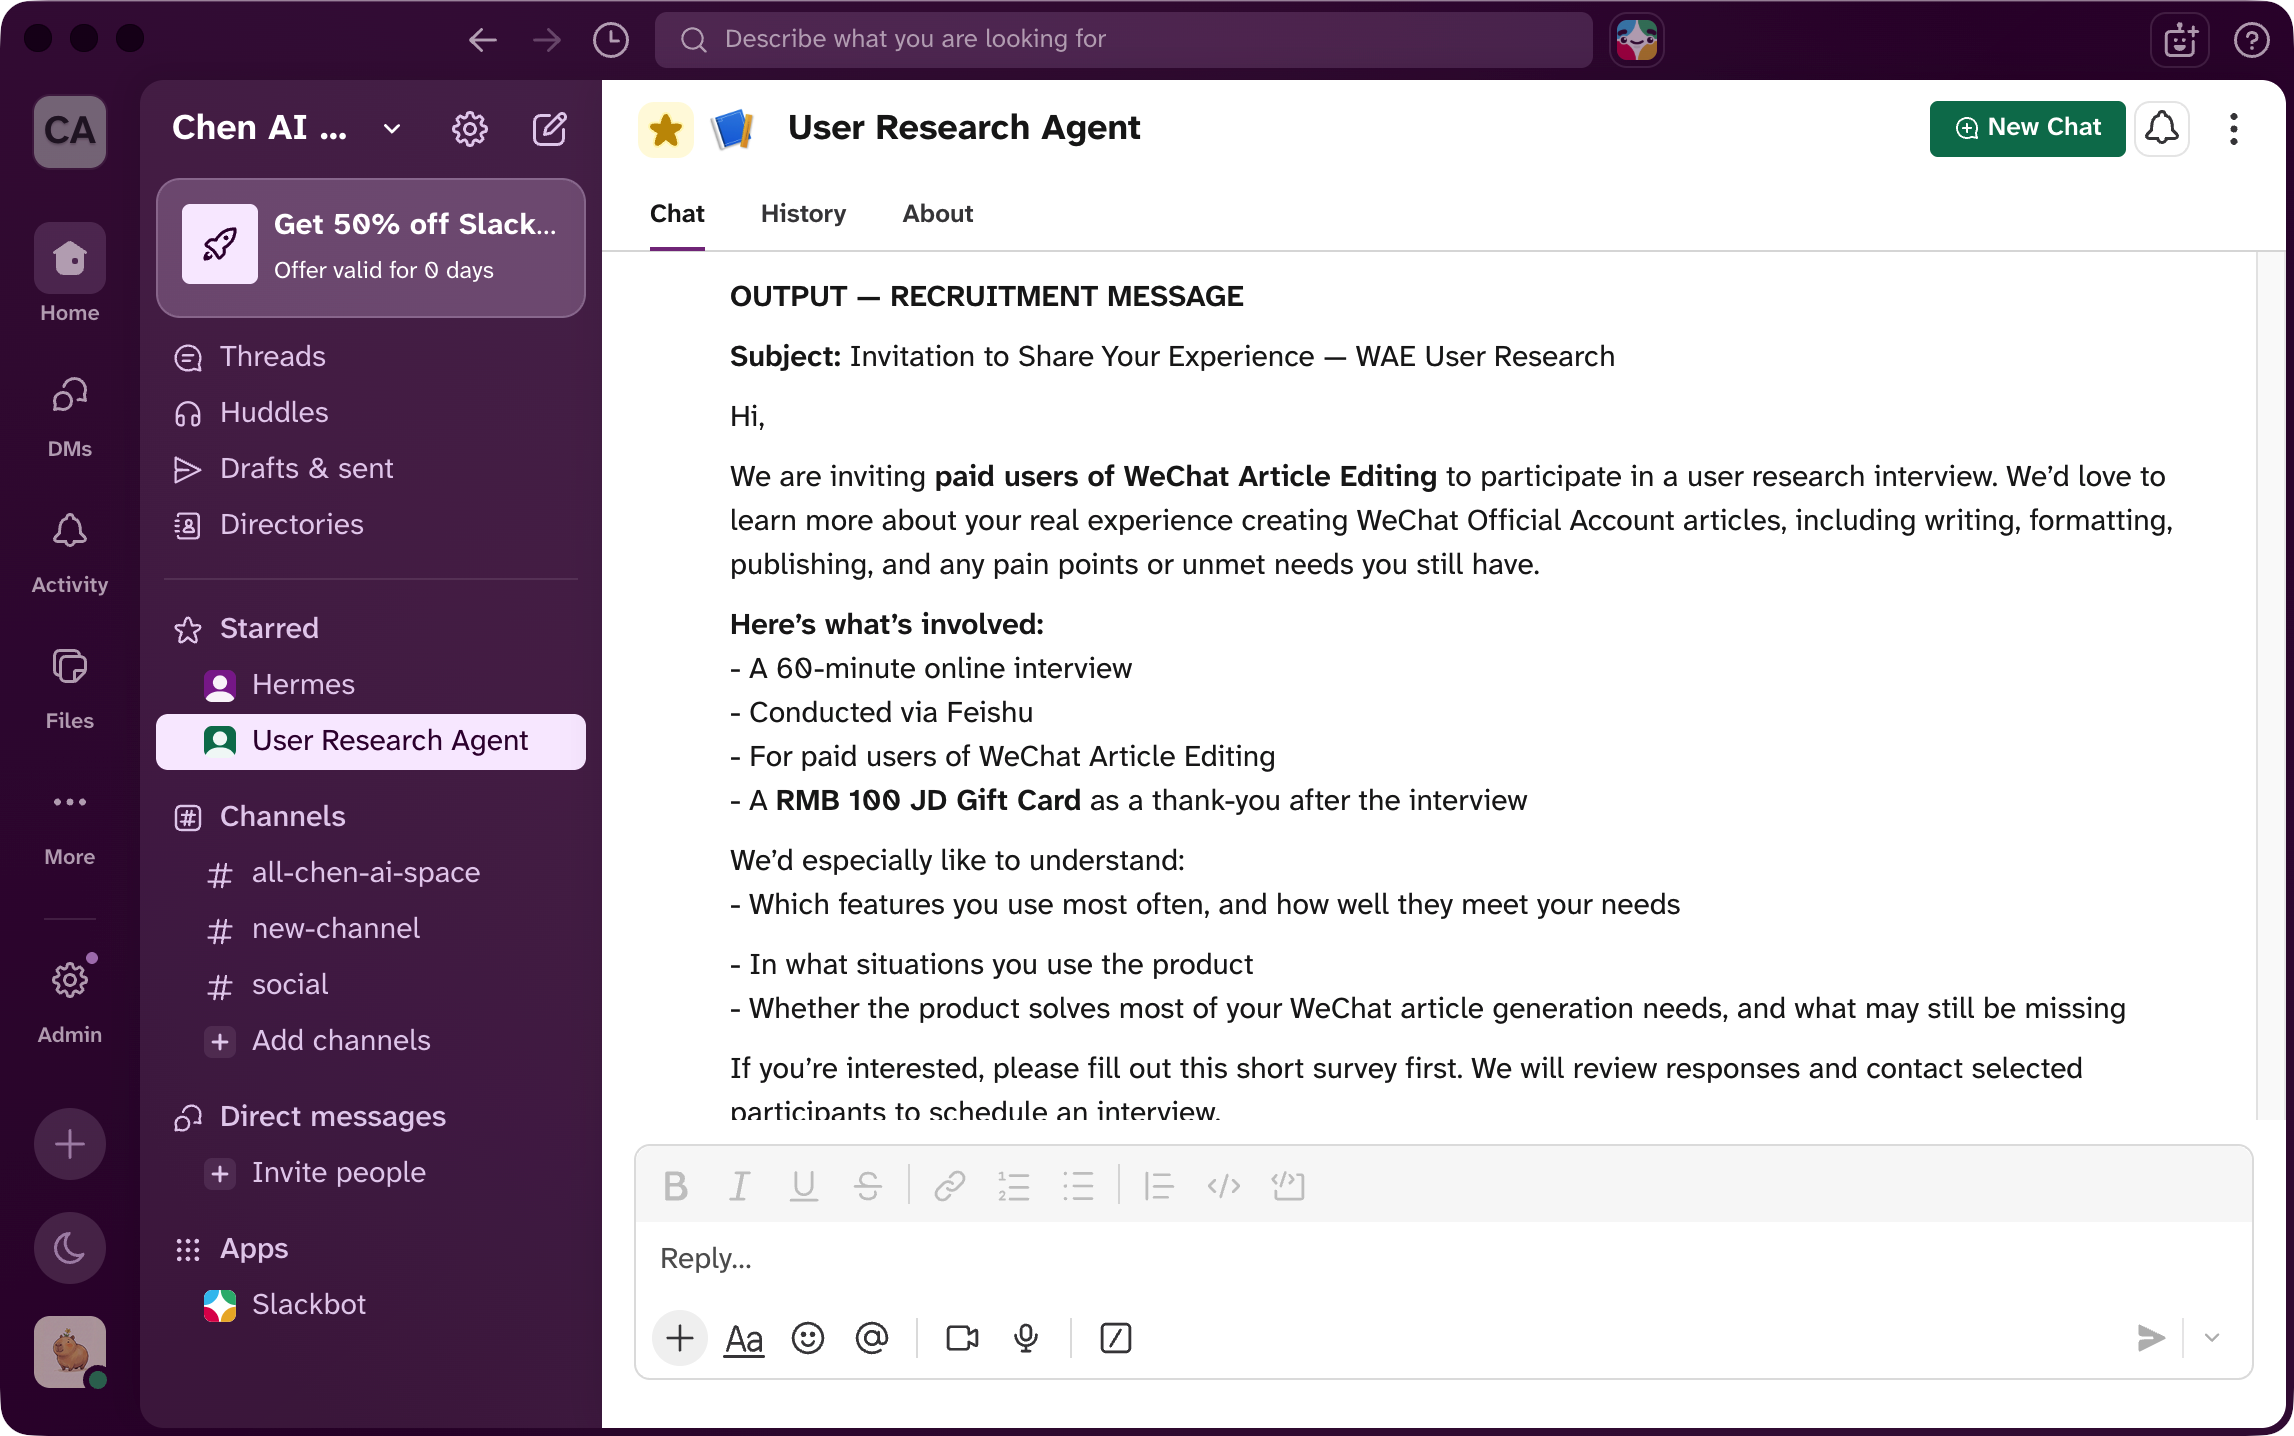
Generates the complete screening questionnaire with every question, type, and option listed for review, plus a recruitment message with session time, reward details, and delivery method.
# Purpose
Generate a complete screening questionnaire and a recruitment message based on the confirmed strategy.

# Step 1 — Check Company Information
Confirms company and product name from session memory, or asks the user.

# Step 2 — Generate Screening Questionnaire
Produces all questions with types and options listed for review.

# Step 3 — Generate Recruitment Message
Produces an outreach message to accompany the questionnaire link.

# Step 4 — User Review
Prompts review of both outputs before the user sends them out.
Skill 3 — Invitation Scheduler
Reminds the user to generate meeting links first, waits for those links, then produces personalized invitation emails per candidate with confirmed or alternative time slots.
# Purpose
Generate personalized invitation emails for each confirmed candidate.

# Step 1 — Collect Candidate Information
Gathers name, email, and preferred time slot for each candidate.

# Step 2 — Collect Available Time Slots
Asks the user for available interview windows.

# Step 3 — Remind User to Generate Meeting Link
Prompts the user to create Zoom links before generating emails.

# Step 4 — Match Times and Generate Emails
Matches candidate preferences to available slots; generates one email per candidate.

# Step 5 — User Review
Prompts review before sending.
Skill 4 — Interview Guide Builder
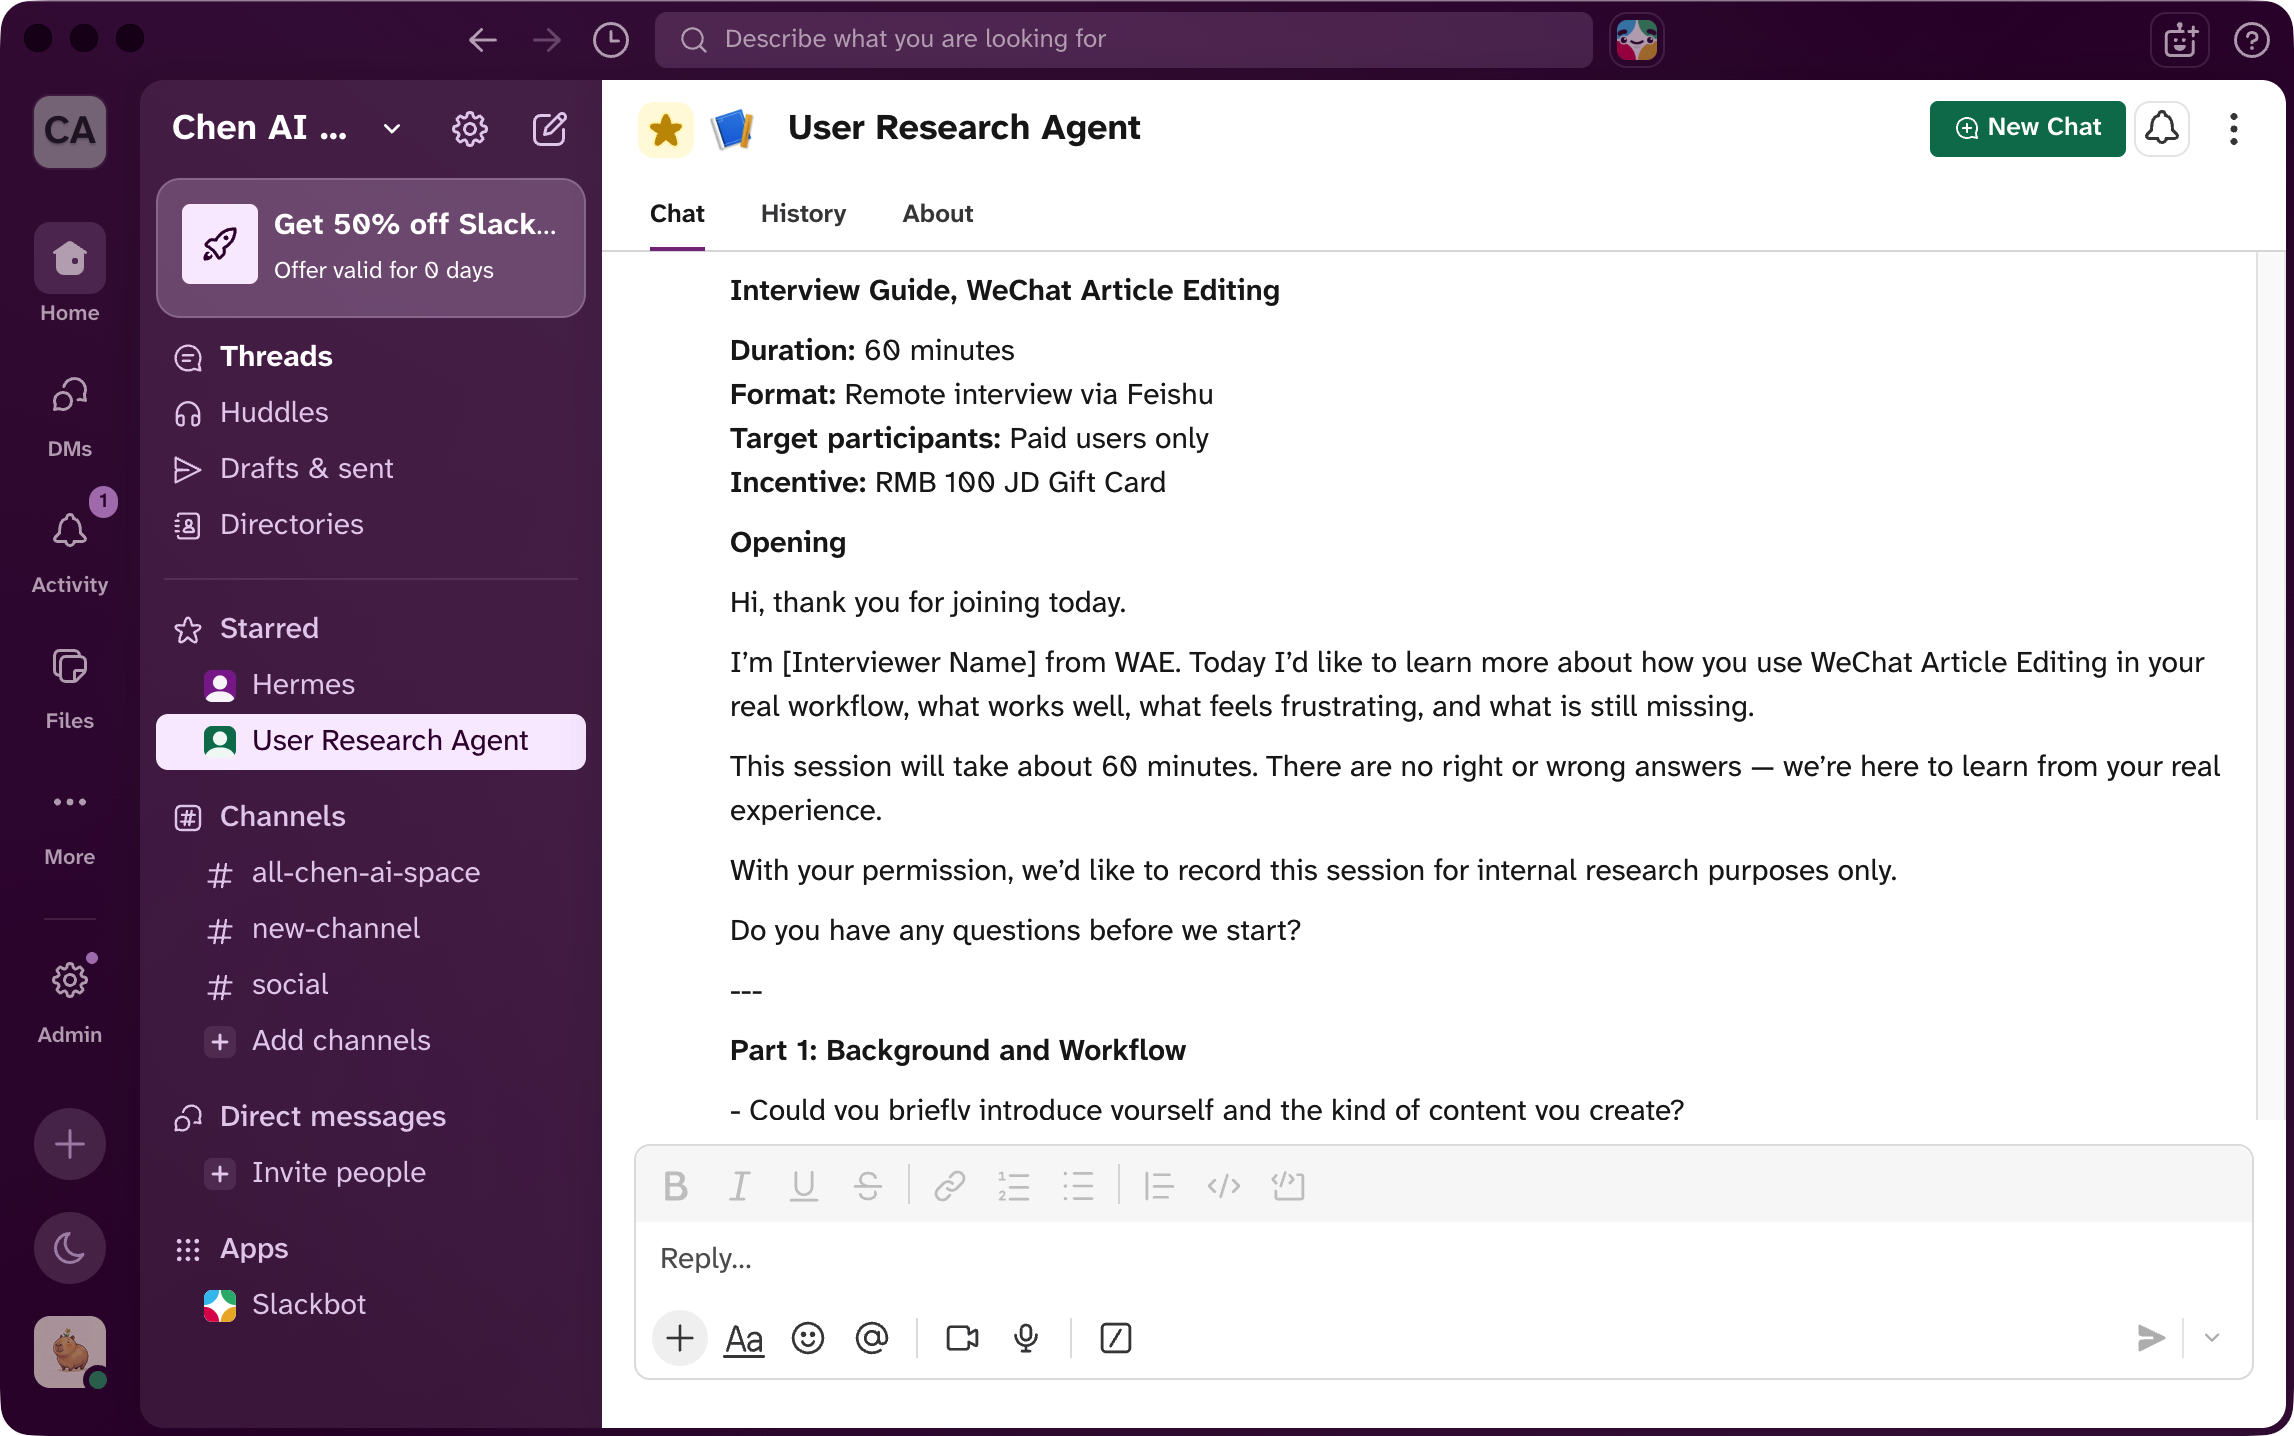
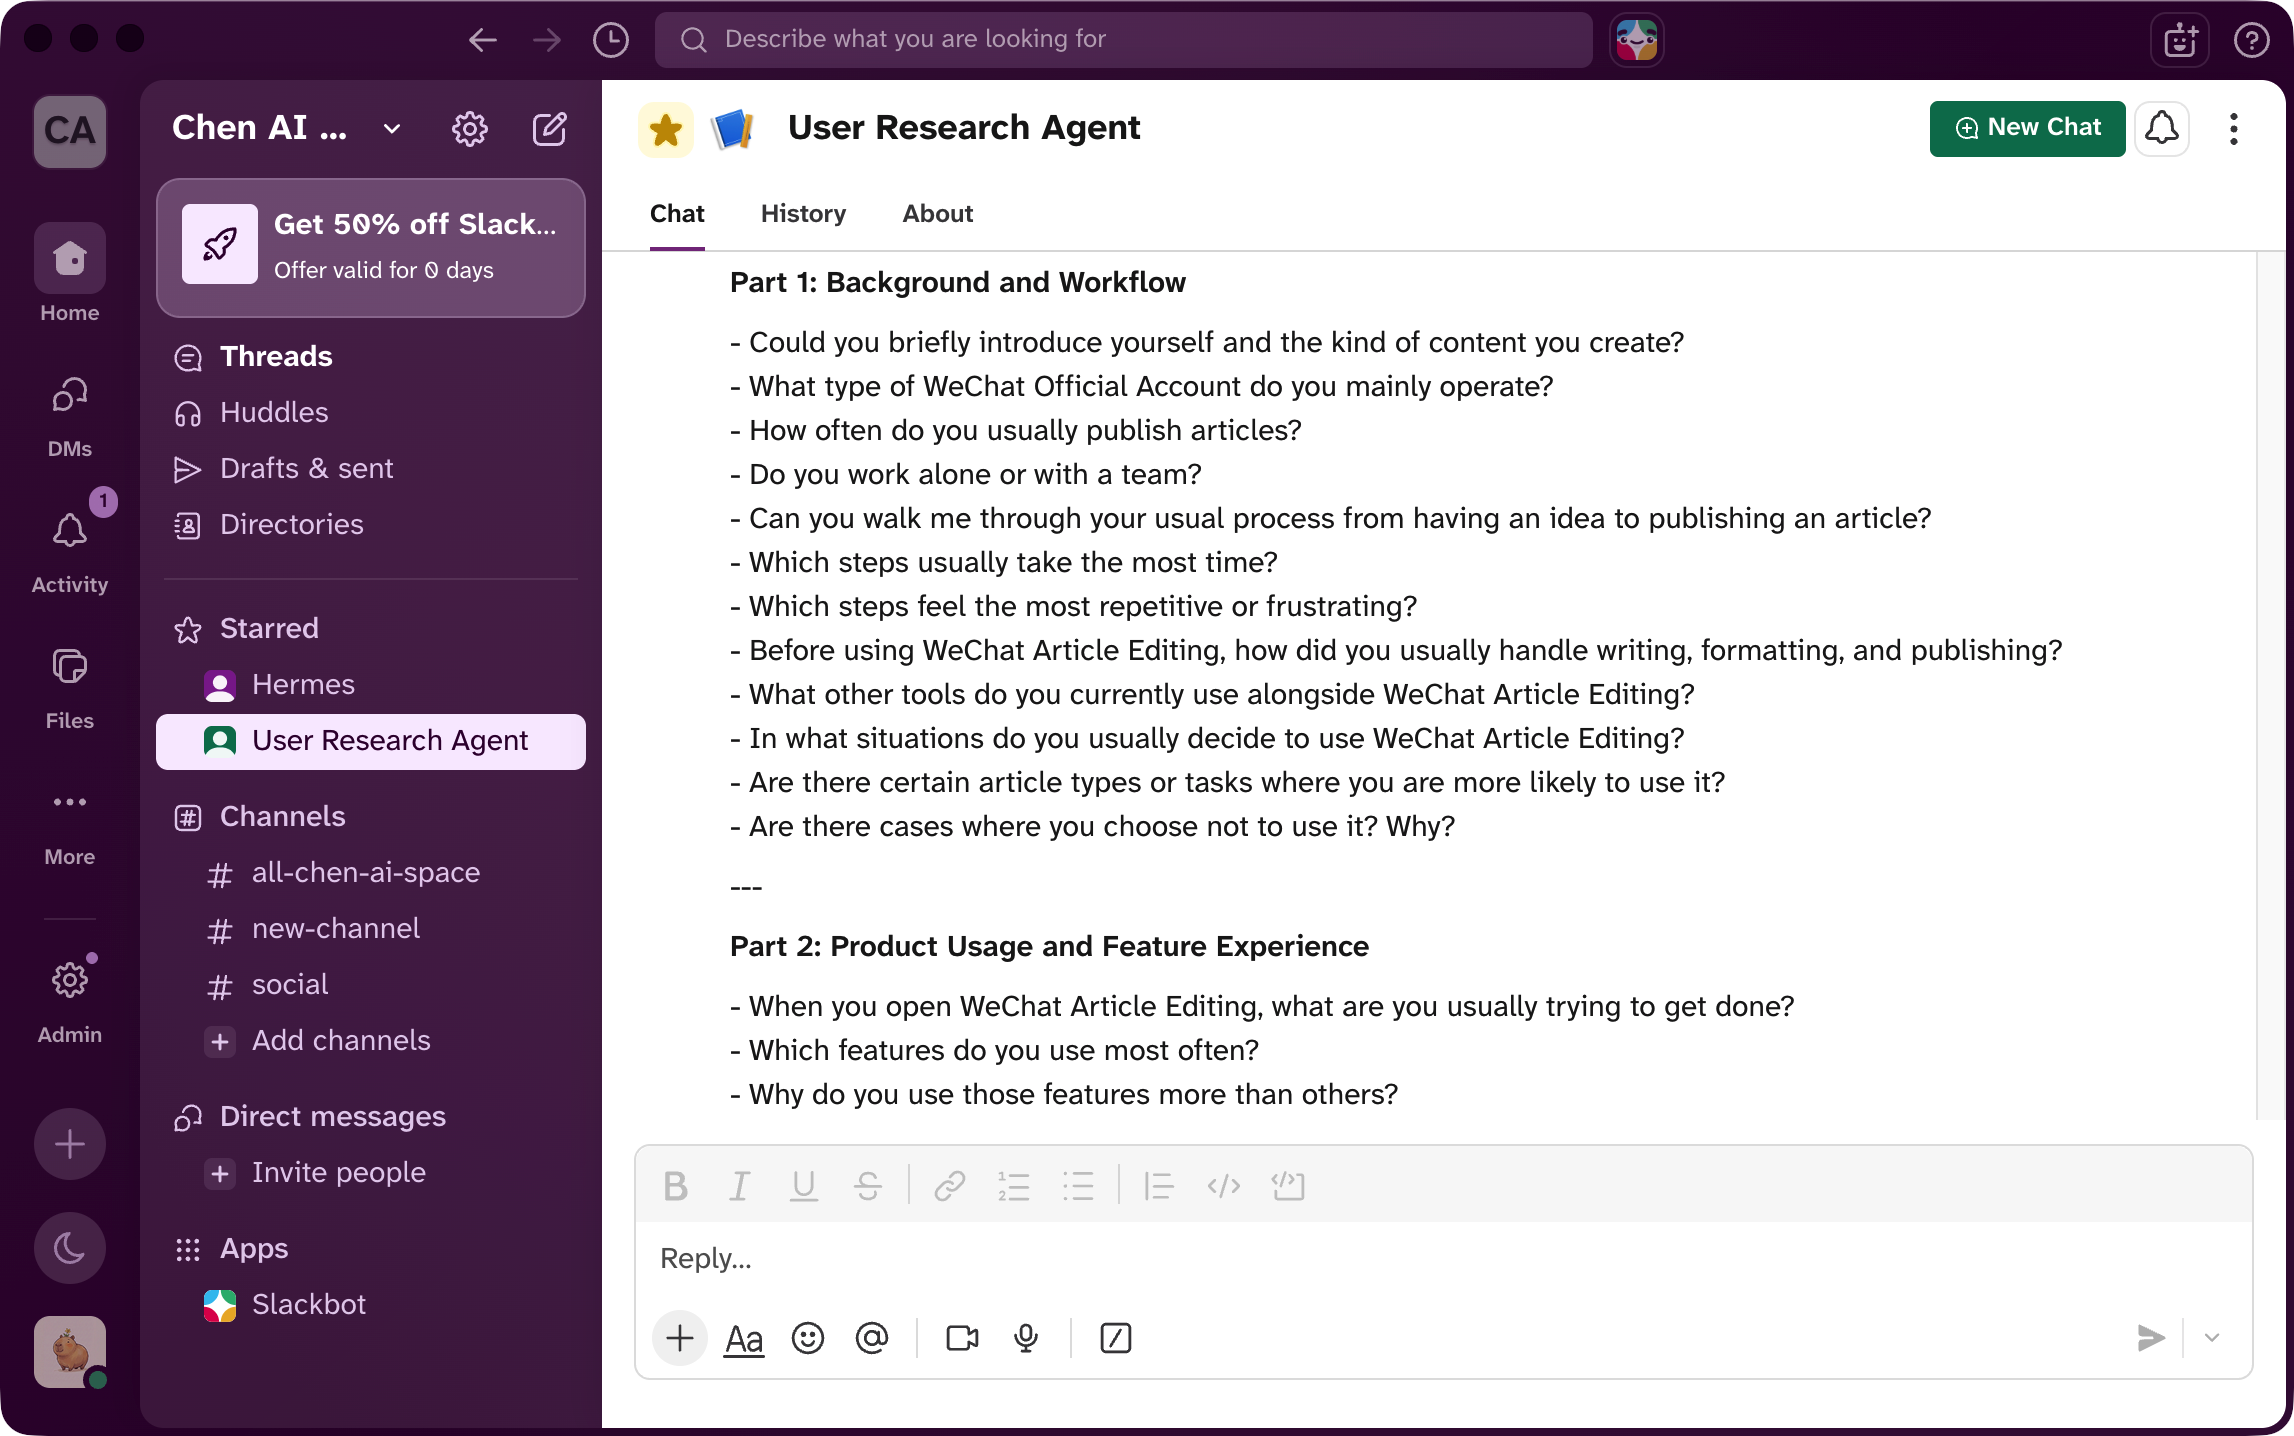
Generates a customized guide for each candidate with their screener responses pre-filled into the relevant questions, and prompts the interviewer to rehearse before going live.
# Purpose
Generate a customized interview guide per candidate with their screener responses pre-filled.

# Step 1 — Collect Candidate Questionnaire Responses
Gathers screener answers for each candidate from the user.

# Step 2 — Generate Interview Guide (one per candidate)
Produces a full guide with opening, two-session structure, and post-task questions.

# Step 3 — Dry Run Reminder
Prompts the interviewer to rehearse the guide before going live.
Skill 5 — Thank-you Email Generator
Extracts specific moments from the interview transcript and writes a personalized thank-you email referencing those details — generated only after the reward code for that candidate is provided.
# Purpose
Generate a personalized thank-you email for each candidate after their interview.

# Step 1 — Collect Interview Transcripts
Asks the user to provide transcripts for each candidate.

# Step 2 — Collect Reward Codes
Requests each candidate's reward code before generating any email.

# Step 3 — Extract Key Moments from Transcript
Identifies specific highlights from each transcript to reference in the email.

# Step 4 — Generate Thank-you Email (one per candidate)
Produces a personalized email referencing transcript details and including the reward code.

# Step 5 — User Review
Prompts review before sending.
Skill 6 — Interview Analyzer
Distinguishes moderator prompts from participant responses before analyzing, treats confirmation summaries as high-signal moments, and outputs three layers: individual summaries, cross-interview synthesis, and a Key Takeaways Outline.
# Purpose
Analyze transcripts and generate three layers of output: individual summaries, cross-interview synthesis, and Key Takeaways.

# Step 1 — Confirm Transcripts Are Available
Checks session memory or asks the user to provide transcripts.

# Step 2 — Learn the Moderator's Speaking Pattern
Identifies high-signal moments based on how the interviewer confirms responses during the session.

# Step 3 — Generate Individual Interview Summaries
Produces a structured summary per candidate.

# Step 4 — Generate Cross-Interview Synthesis
Identifies patterns, differences, and moderator insights across all sessions.

# Step 5 — Generate Key Takeaways Outline
Produces 3–5 clear, opinionated headline conclusions.

# Step 6 — User Review
Prompts review of Key Takeaways before proceeding to the report.
Skill 7 — Report Generator
Identifies the audience and maps each team to their focus areas, validates that all concerns are covered by the findings, then generates a process version for internal sharing, an executive version for leadership, or both.
# Purpose
Identify the audience, validate finding coverage, and generate the right report version(s).

# Step 1 — Collect Audience Information
Asks who will receive the report and what their roles are.

# Step 2 — Map Audience to Focus Areas
Maps each team to their typical concerns and confirms with the user.

# Step 3 — Validate Key Takeaways Against Audience
Checks that every audience concern is addressed by the findings before generating.

# Step 4 — Determine Report Version(s)
Decides whether to generate a Process Version, an Executive Version, or both.

# Step 5 — Generate Report(s)
Produces the selected version(s) with audience-specific sections.

# Step 6 — Final Review
Prompts review of key takeaways, audience coverage, and next steps before sharing.
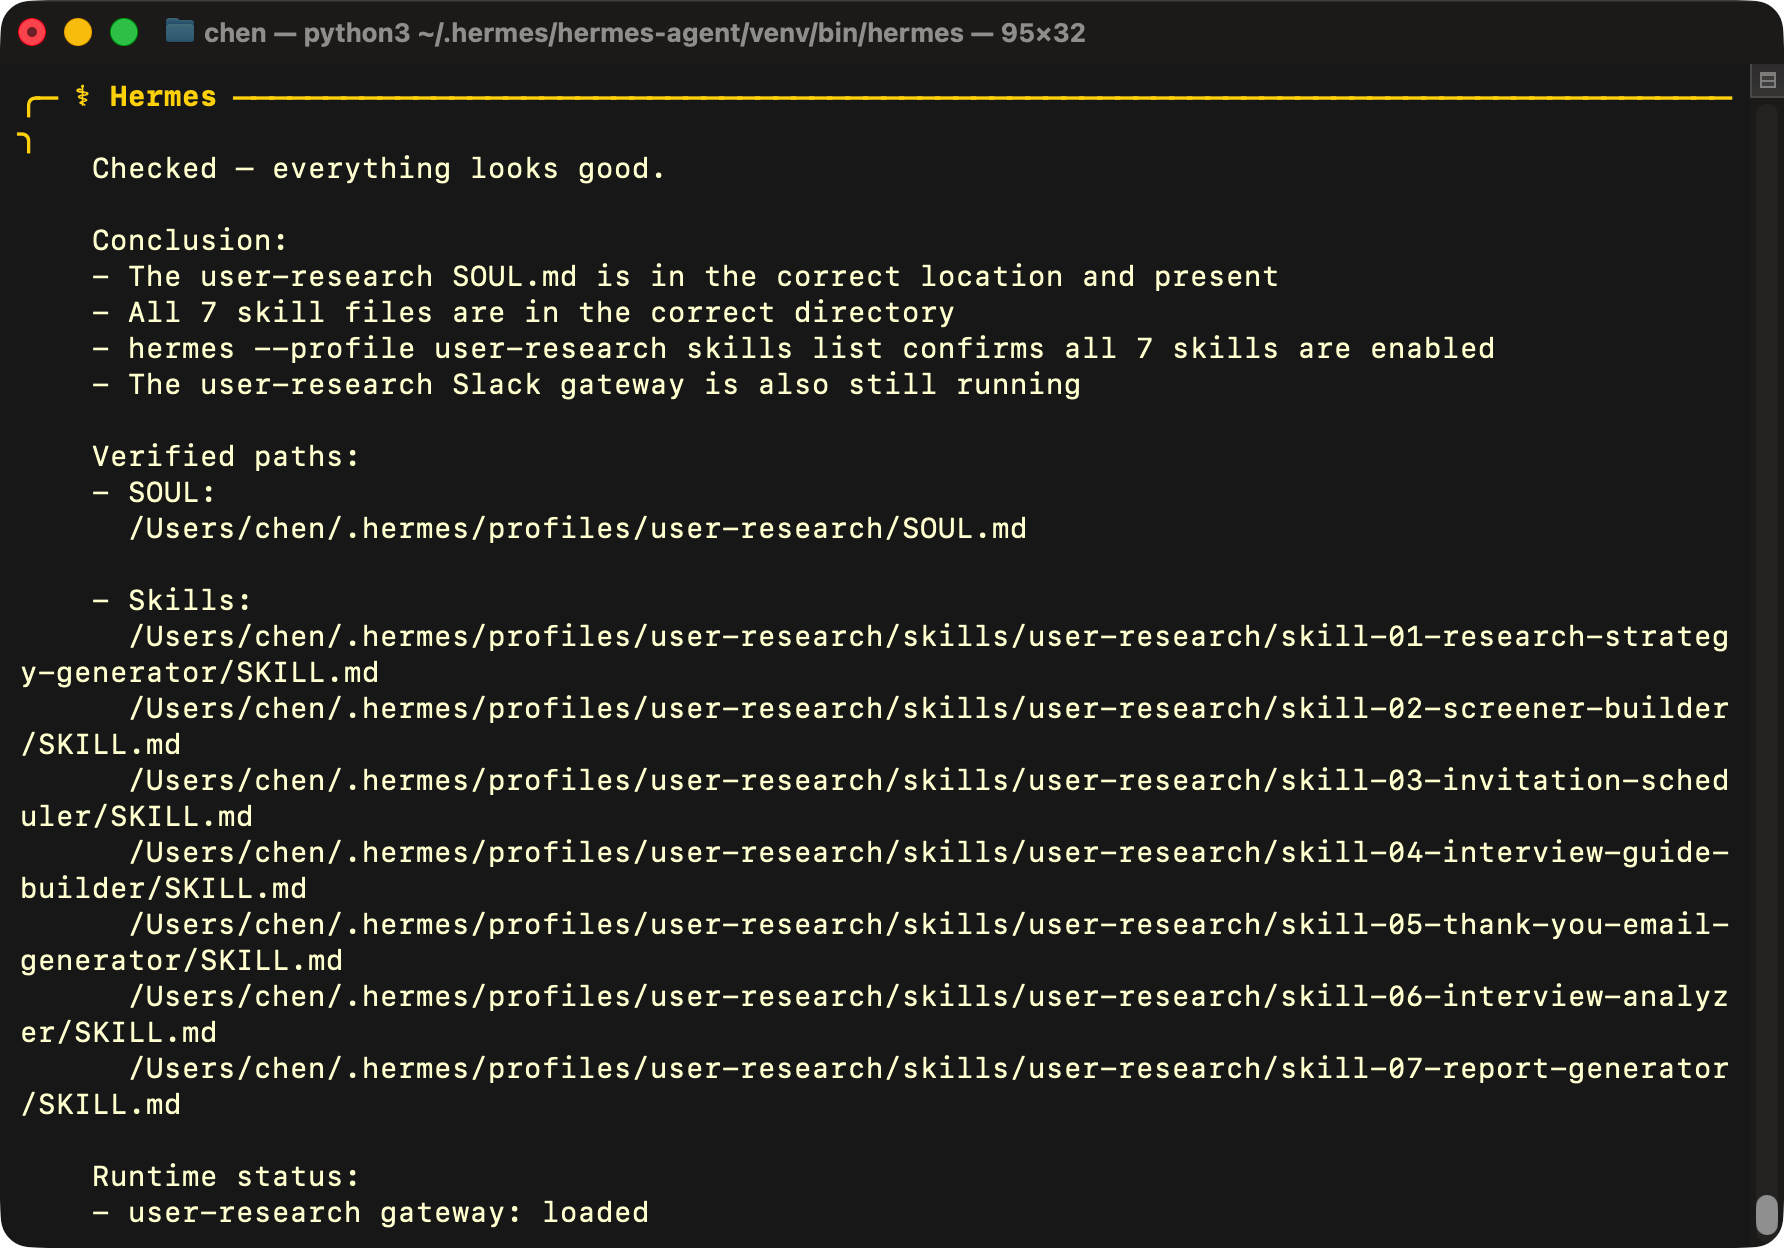
7. Create User Research Agent on Hermes
Create a dedicated User Research Agent inside Hermes Agent, then provide the Agent Instructions file and all 7 Skill files to it. The User Research Agent will learn from each file so that it acquires full research capabilities.
Once loaded, ask Hermes Agent to launch the User Research Agent. From here, you can run a complete user research project with its help — end to end, any time anyone on the team needs it.
8. Test the Agent
First, create a bot in Slack and name it User Research Agent. Once it's set up, open a conversation with it and tell it to start — the agent kicks off from there and handles the research workflow.
You can also call the agent directly inside Hermes Agent. Either way works, but a dedicated Slack bot keeps things organized — conversations stay separate and nothing gets mixed up.
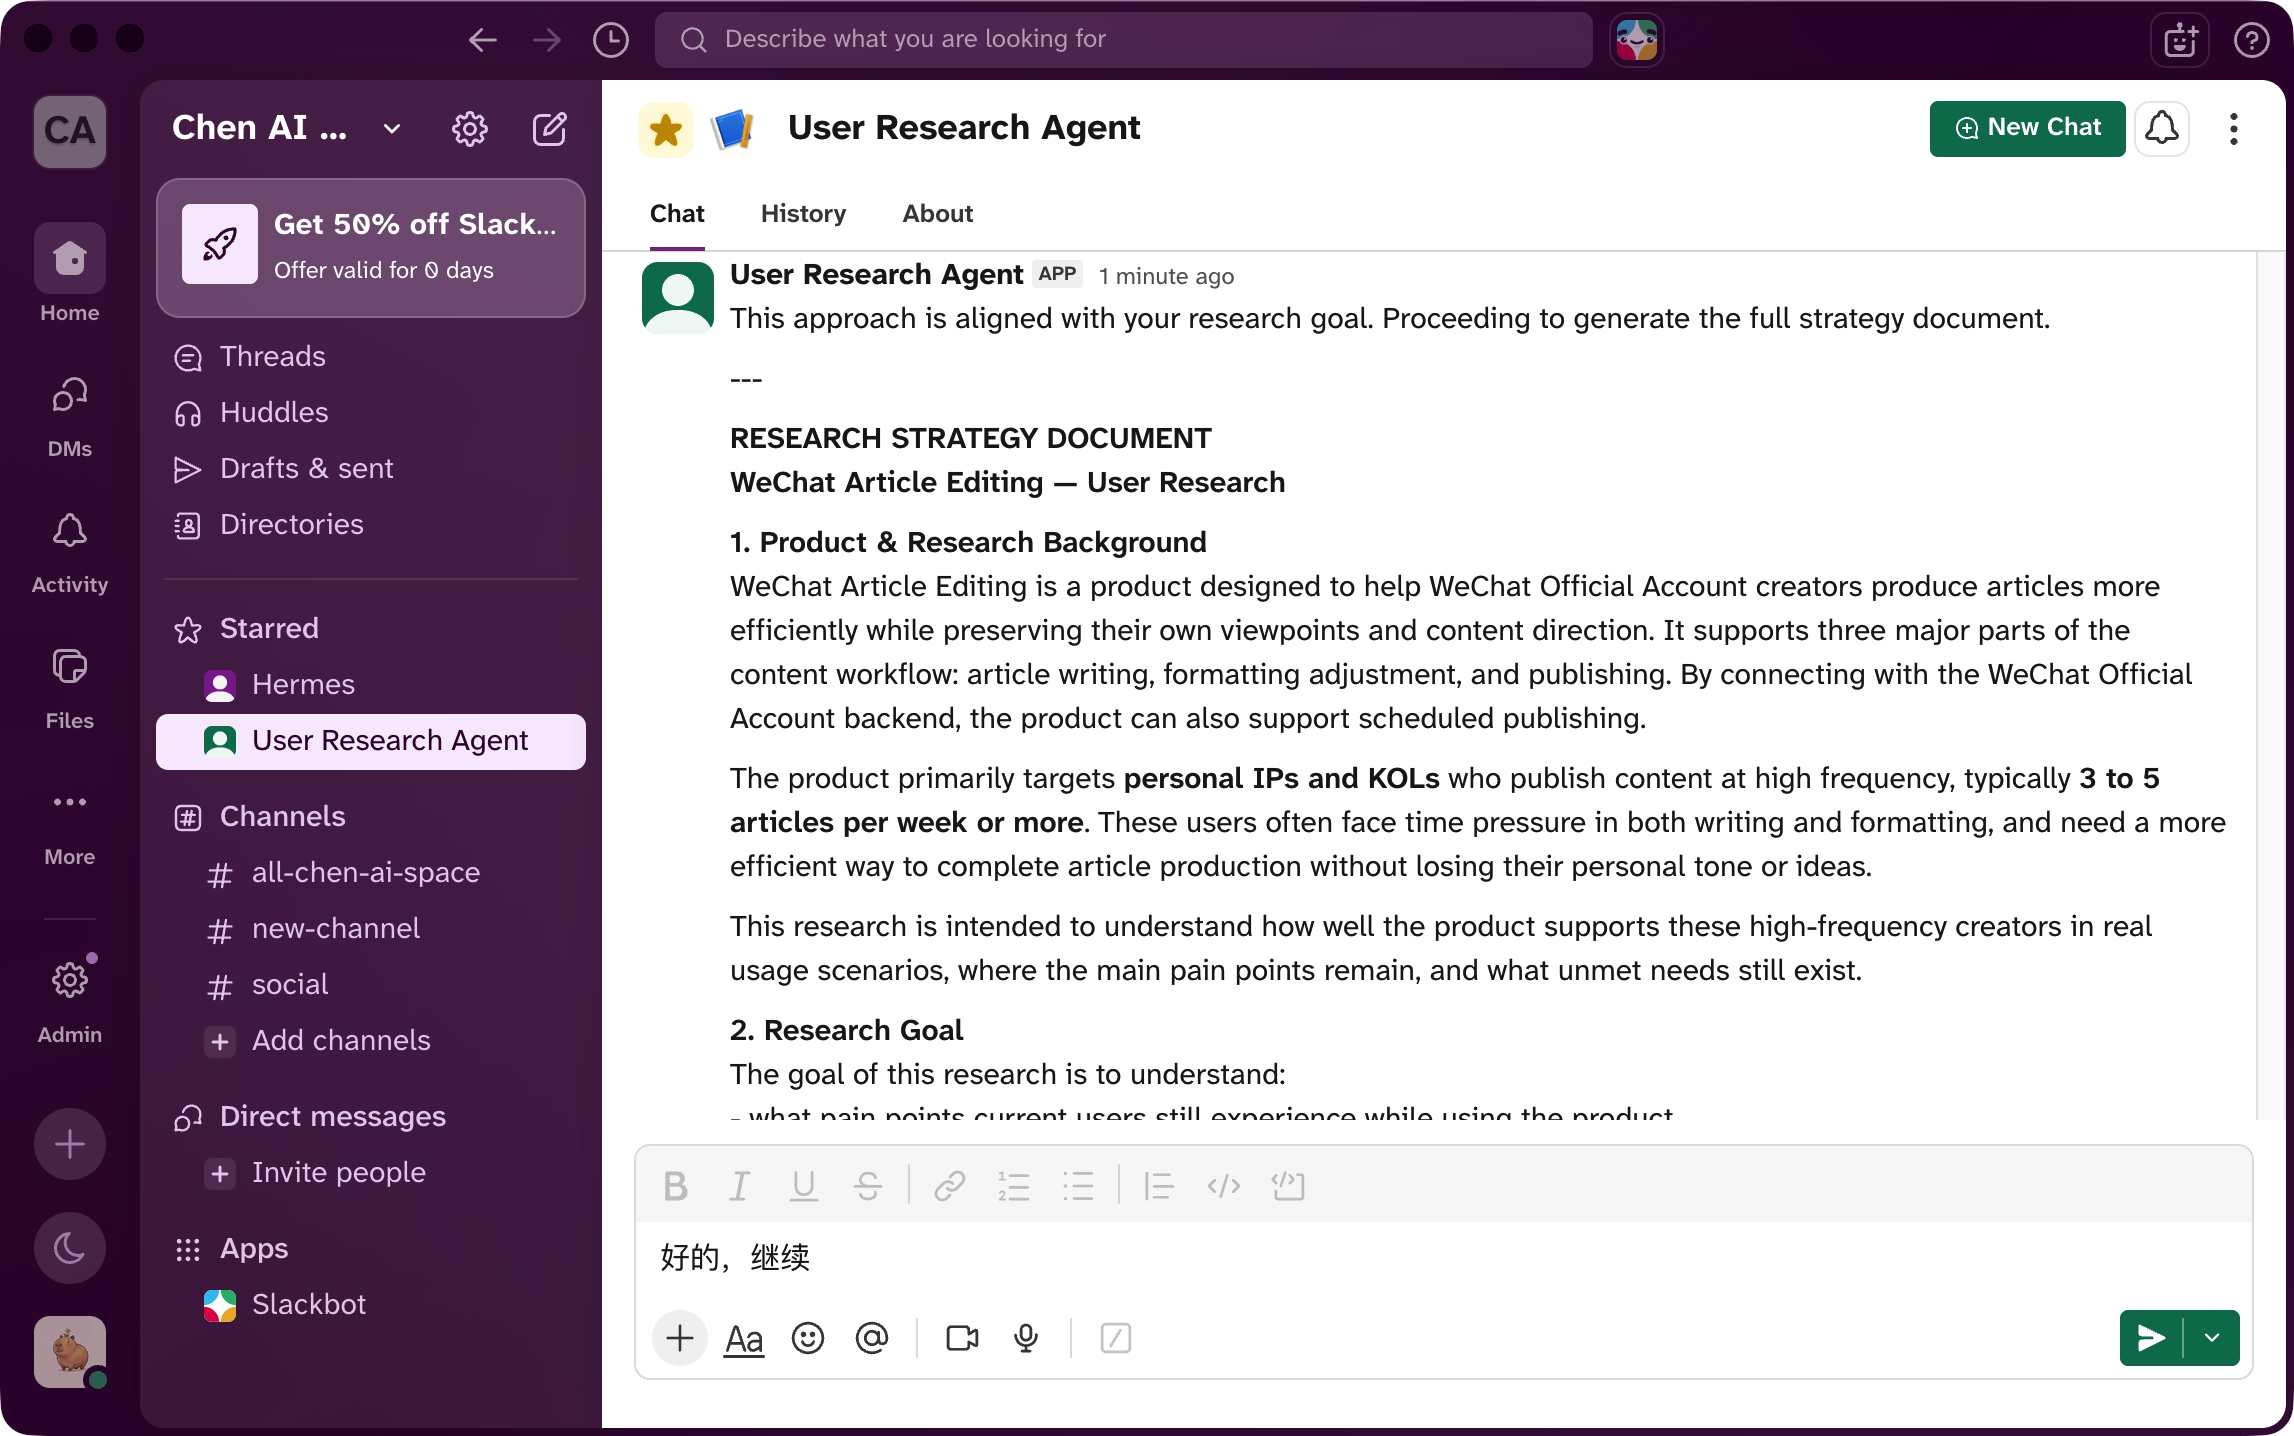
I gave the agent some basic product information and asked it to break down the research strategy, then generate a screener survey. Within minutes, I had everything needed to start screening candidates.
With more context provided, the agent moved on to generate the recruitment message and interview guide. With these in hand, I was ready to run the mock interview.
9. Retrospective
Three things I learned from building this Agent:
-
After asking Hermes Agent to update
soul.md, ask it to verify the file afterward. It sometimes confirms the update is done when nothing has actually changed in the file. When setting up a new agent, always ask Hermes to open the document and confirm the content matches what you specified. -
After the agent is set up, test it with a real case and check whether every output still aligns with the research goal — the screener, interview guide, and every step in between should all be pulling toward the same objective. Make sure everything the agent produces can meet the goal of the research project.
-
If the output from any Skill falls short during testing, update the rules inside that Skill directly. That's the fastest way to improve quality — the next run will reflect the change immediately.